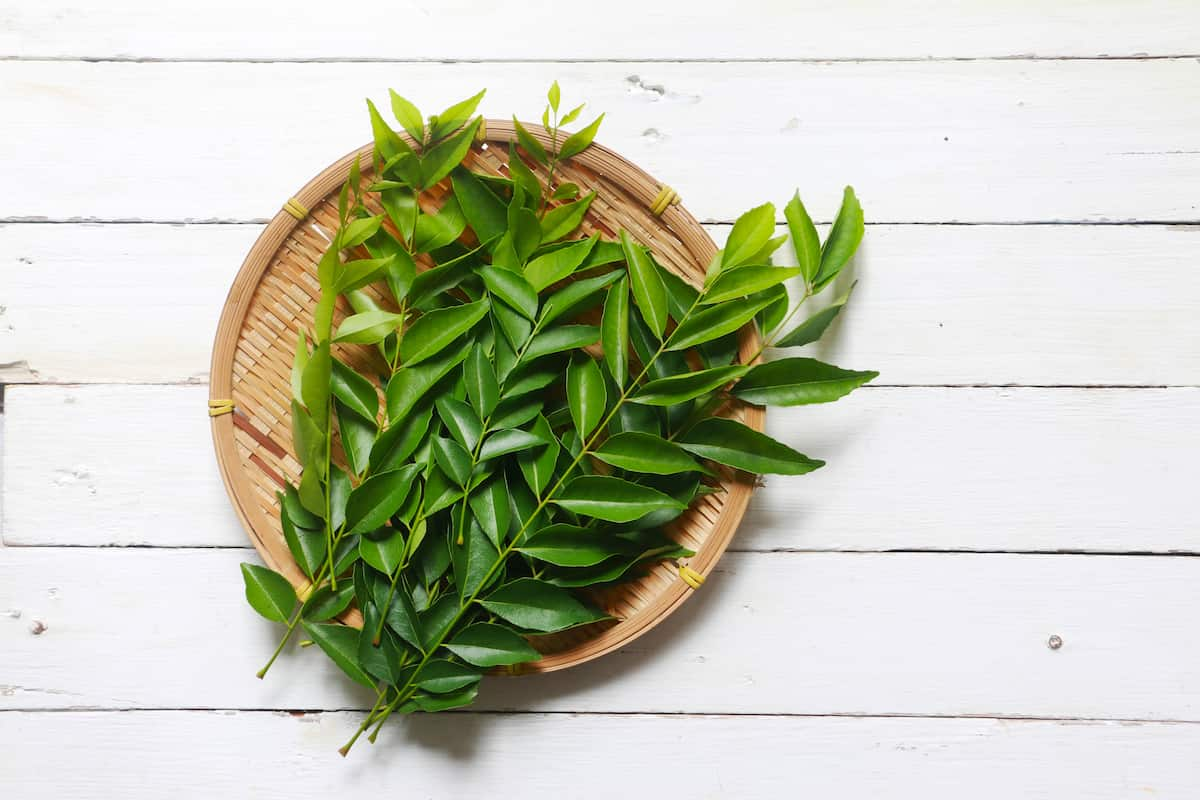
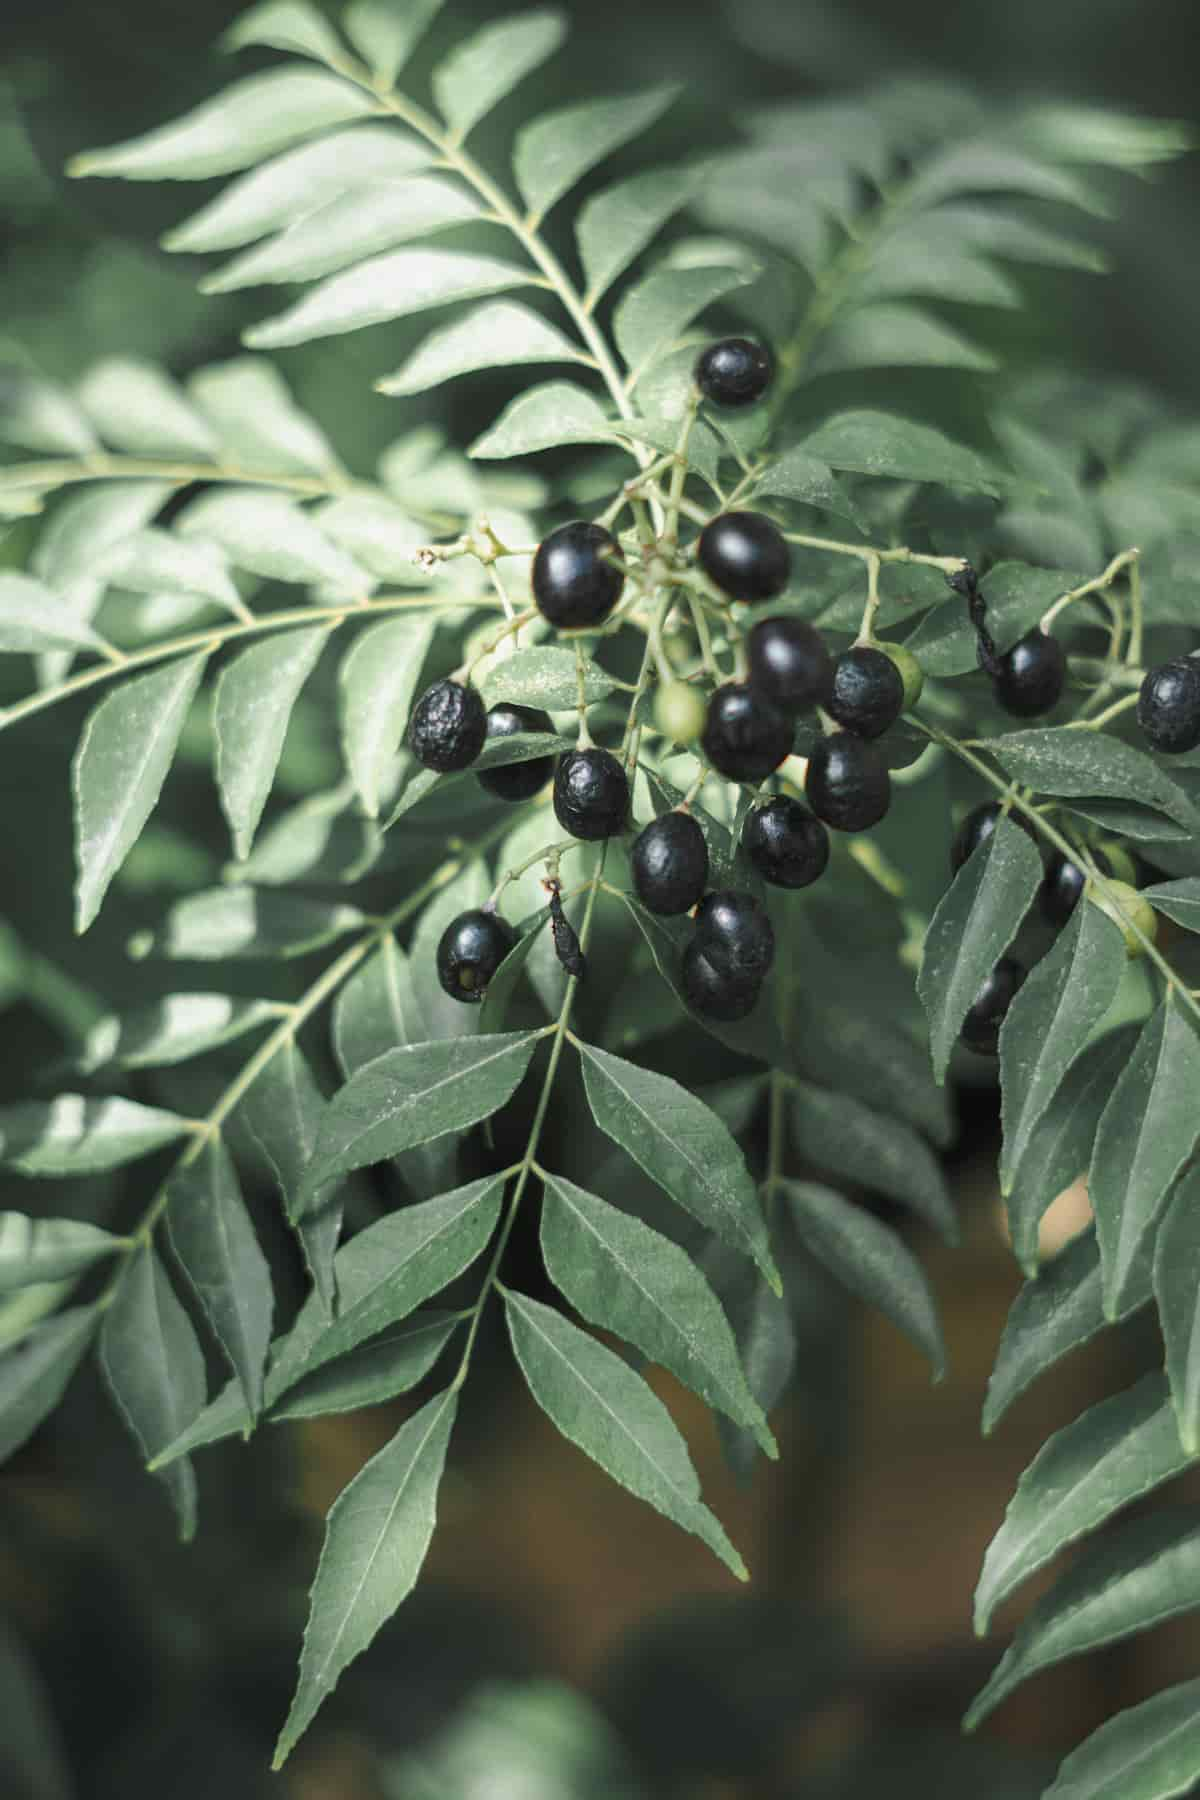
Curry leaf plants are popular and aromatic additions to many Southeast Asian and Indian dishes. Growing your own curry leaf plant at home is a rewarding and cost-effective way to enjoy fresh curry leaves all year round. This comprehensive guide will walk you through ten simple steps to grow a curry leaf plant from cuttings.

Even if you are an experienced gardener or a beginner, these tips will make growing your own curry leaves easy and enjoyable. Below we learn how to grow curry leaves plants from cuttings and how to grow curry leaves at home without seeds in 10 simple DIY steps.
How to Grow Curry Leaf Plant from Cuttings
Healthy Curry Leaf Cuttings
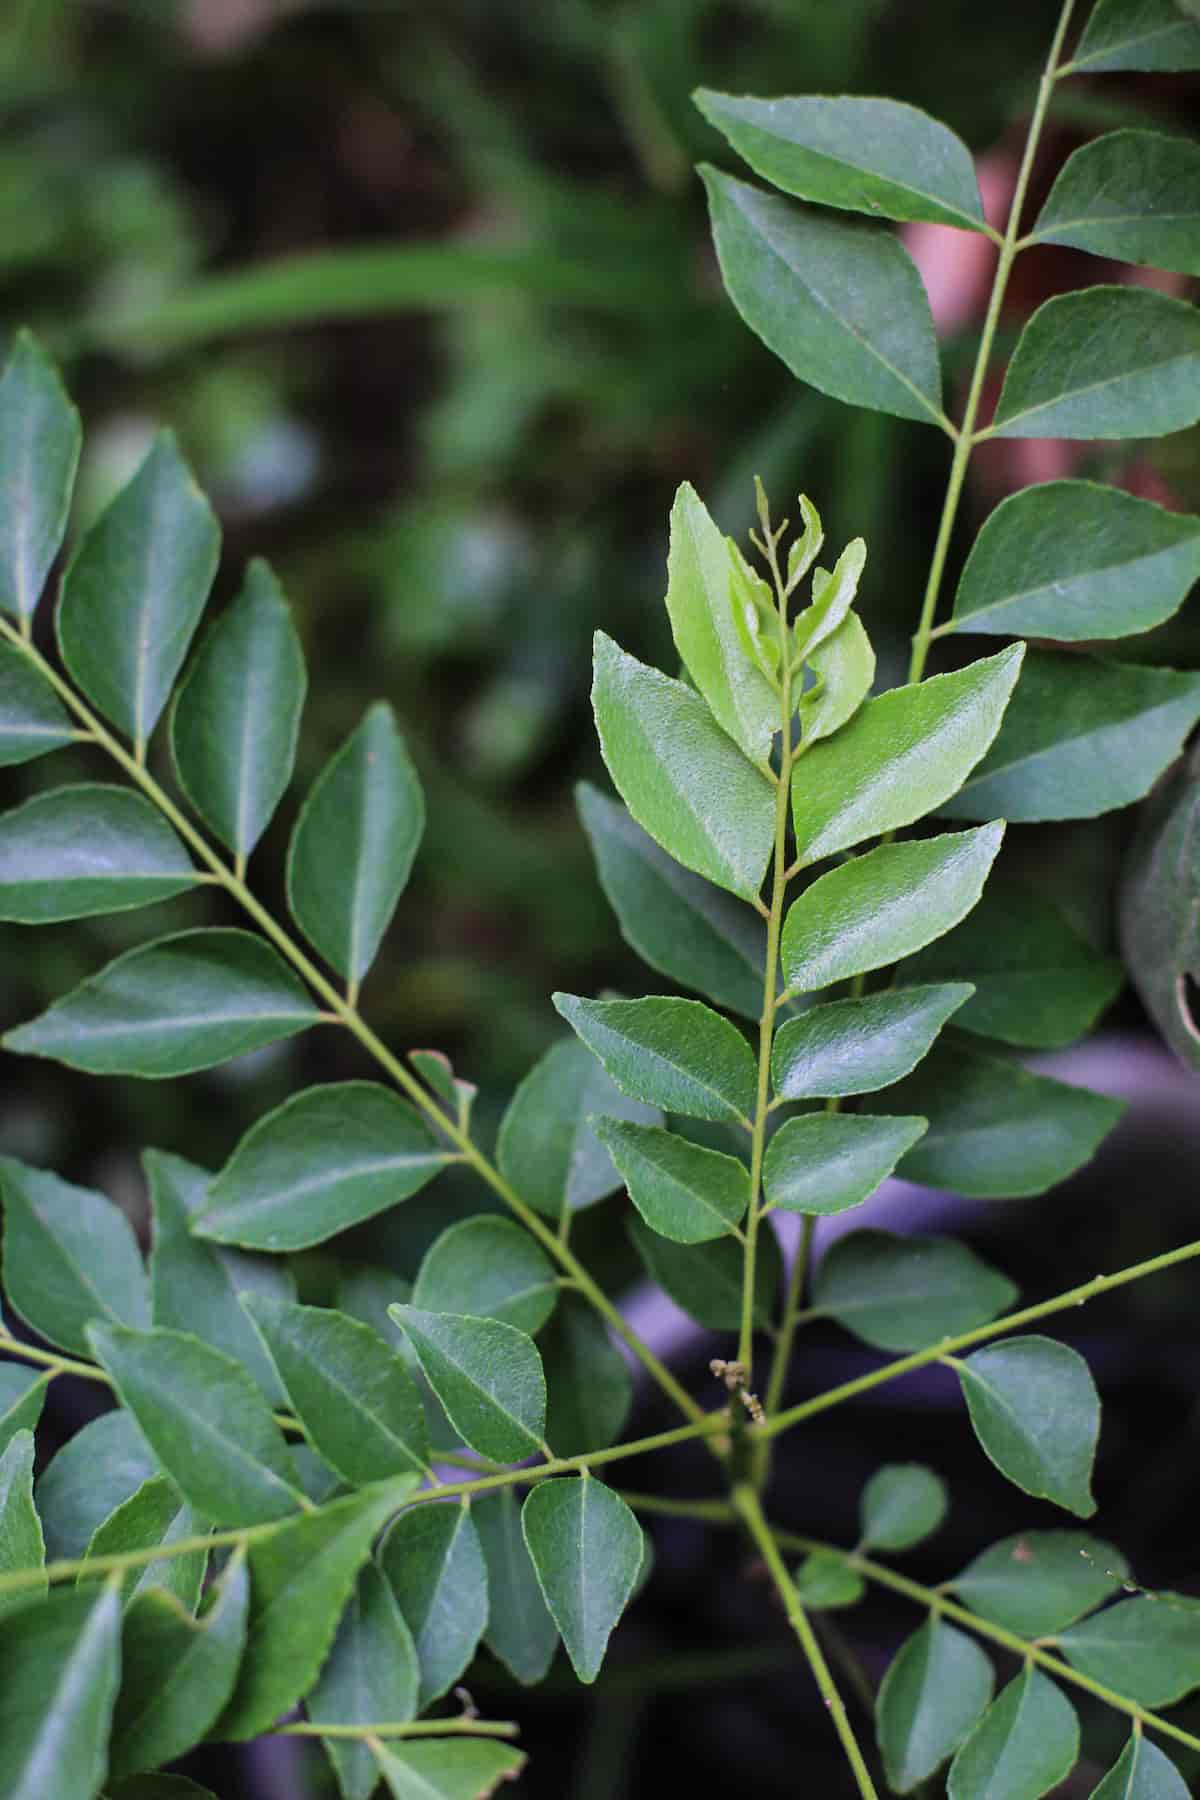
Begin by sourcing healthy curry leaf cuttings from a mature plant. During the active growth season, such as the late spring or early summer, cuttings should be taken for optimal success. Look for a healthy branch with fresh, green leaves and at least 6 inches of length. Use sharp, clean pruning shears or scissors to make a clean, diagonal cut just below a leaf node, ensuring the cutting has at least 2-3 nodes.
Prepare for Propagation
Once you have obtained your curry leaf cuttings, remove the lower leaves, leaving only the top few leaves on the cutting. This will help reduce moisture loss and encourage root growth. If you wish, you can also lightly scrape the bottom of the cutting to expose the cambium layer, which may stimulate faster root development.
Use a Rooting Hormone (Optional)
Although not strictly necessary, using a rooting hormone can increase the chances of successful propagation. Dip the cut end into a powdered or liquid rooting hormone, covering the bottom inch of the cutting. Gently tap off any excess hormone before proceeding to the next step.
Suitable Growing Medium
Choose a well-draining potting mix, such as perlite, peat moss, and vermiculite, to plant your curry leaf cuttings. This will provide the ideal environment for root growth while preventing waterlogging. Fill a small pot or container with the prepared growing medium, and make a hole in the center with a pencil or your finger.
Plant the Cutting
Place the prepared cutting into the hole in the growing medium, ensuring the bottom node is well-covered. Gently firm the soil around the cutting to provide support and eliminate any air pockets. Water the cutting thoroughly, allowing excess water to drain out from the bottom of the pot.
Create a Humid Environment
To encourage root growth and prevent the cutting from drying, create a humid environment by covering the pot with a plastic bag or placing it in a propagator. Make sure there is enough space for air circulation around the cutting. Place the pot in a warm, bright location but avoiding direct sunlight, as excessive heat can damage the cutting.
Monitor and Maintain
Check on the cutting regularly, ensuring the soil remains moist but not soggy. If needed, mist the cutting with water to maintain humidity. After 4-6 weeks, you should notice new growth, indicating that the cutting has developed roots. Gently tug on the cutting; if it offers resistance, the roots have formed.
In case you missed it: Sesame Production Guide: A Step-By-Step Cultivation Practices

Acclimate the New Plant
Once the curry leaf cutting has been rooted, remove the plastic bag or propagator cover to acclimate the new plant to regular humidity levels. Gradually expose the plant to more sunlight over a week or two, avoiding direct, harsh sunlight initially.
Transplant
The curry leaf plant has to be moved to a bigger container once the acclimatization time has passed so that it may continue growing. Pick a container with holes on the bottom and potting soil that drains effectively. Remove the plant from its container, taking care not to harm the roots. Fill the new container with potting mix until the plant is just below the rim, then gently firm the soil around the plant. Be sure to give the plant plenty of water and put it somewhere that gets indirect sunlight.
Care
Now that your curry leaf plant is established provide proper care to ensure its continued growth and health. Keep the soil moist, but let it dry out somewhat between watering’s, and your plant should thrive. Fertilize the plant every 4-6 weeks with a balanced, slow-release fertilizer to encourage lush foliage. Prune the plant periodically to maintain its shape and promote bushier growth.
In case you missed it: How to Start Strawberry Farming in the USA: A Step-By-Step Production Guide

Conclusion
Growing a curry leaf plant from cuttings is a simple and rewarding process. Following these ten steps, you can enjoy fresh, homegrown curry leaves in your favorite dishes year-round. With proper care and maintenance, your curry leaf plant will thrive, providing you with an endless supply of aromatic leaves to enhance your culinary creations.
- Ultimate Guide to Ossabaw Island Hog: Breeding, Raising, Diet, and Care
- Ultimate Guide to Juliana Pig: Raising Facts, Size, Diet, Care, and Lifespan
- Raising Lleyn Sheep: Disadvantages, Price, Uses, Characteristics, and Care
- Ultimate Guide to Meishan Pig: Breed Facts, Breeding, Raising, and Care
- Ultimate Guide to Teacup Pigs: Raising, Diet, Lifespan, Cost, and Care
- Guide to Raising Poll Dorset Sheep: Facts, Profile, Characteristics, Uses, and Care
- Ultimate Guide to Bighorn Sheep: Characteristics, Diet, Lifespan, Breeding, and Lifecycle
- Ultimate Guide to Raising Katahdin Sheep: Farming Facts, Breed Profile, Uses, and Care
- Ultimate Guide to Raising Oreo Cows: Belted Galloways Farming Facts, Profile, Uses, and Care