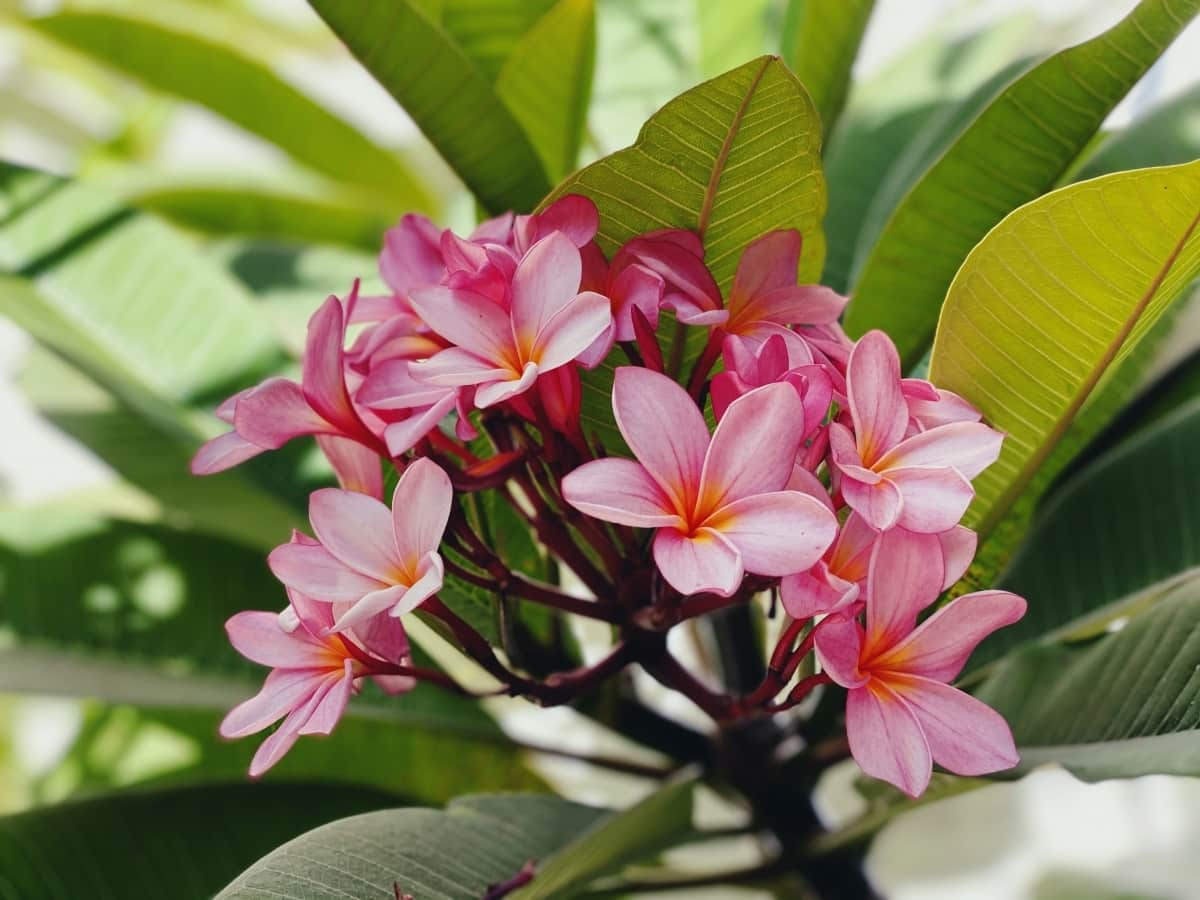
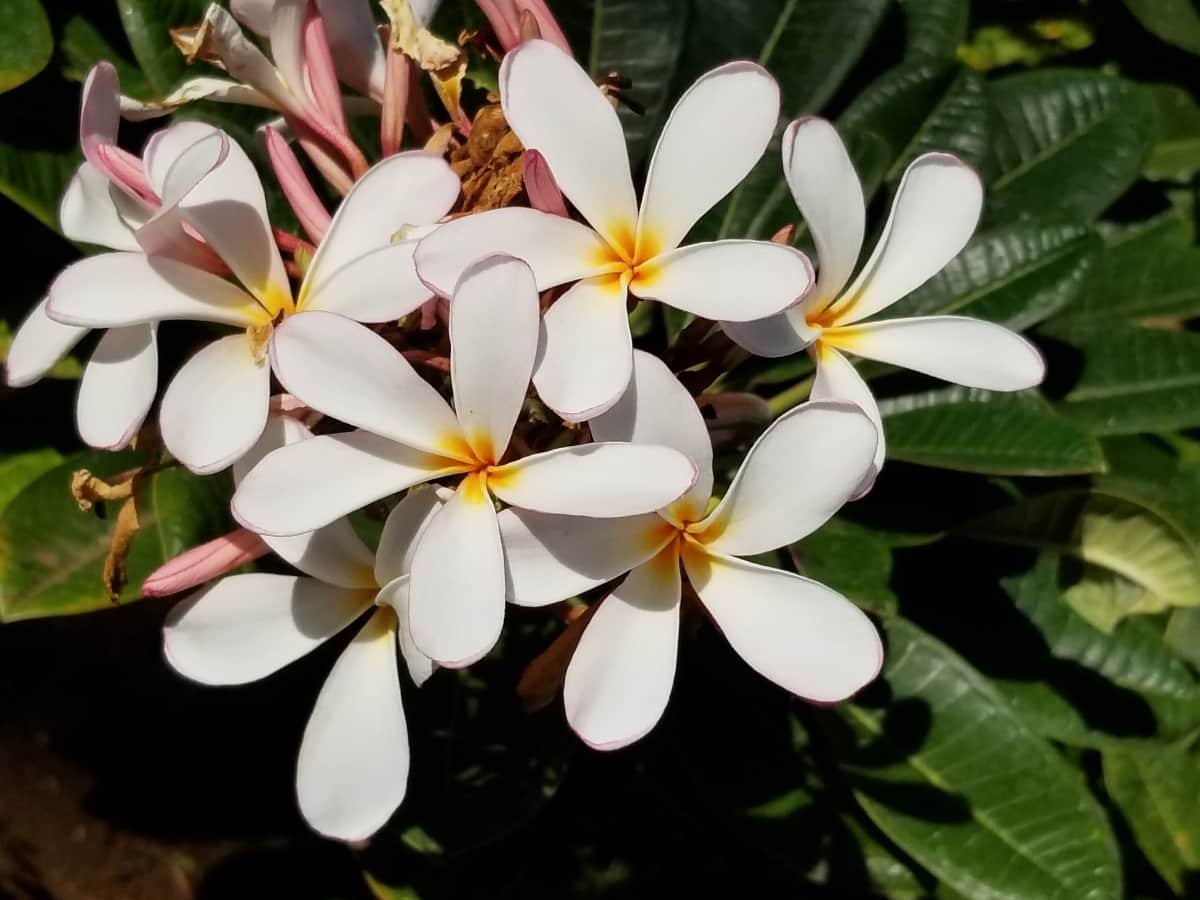
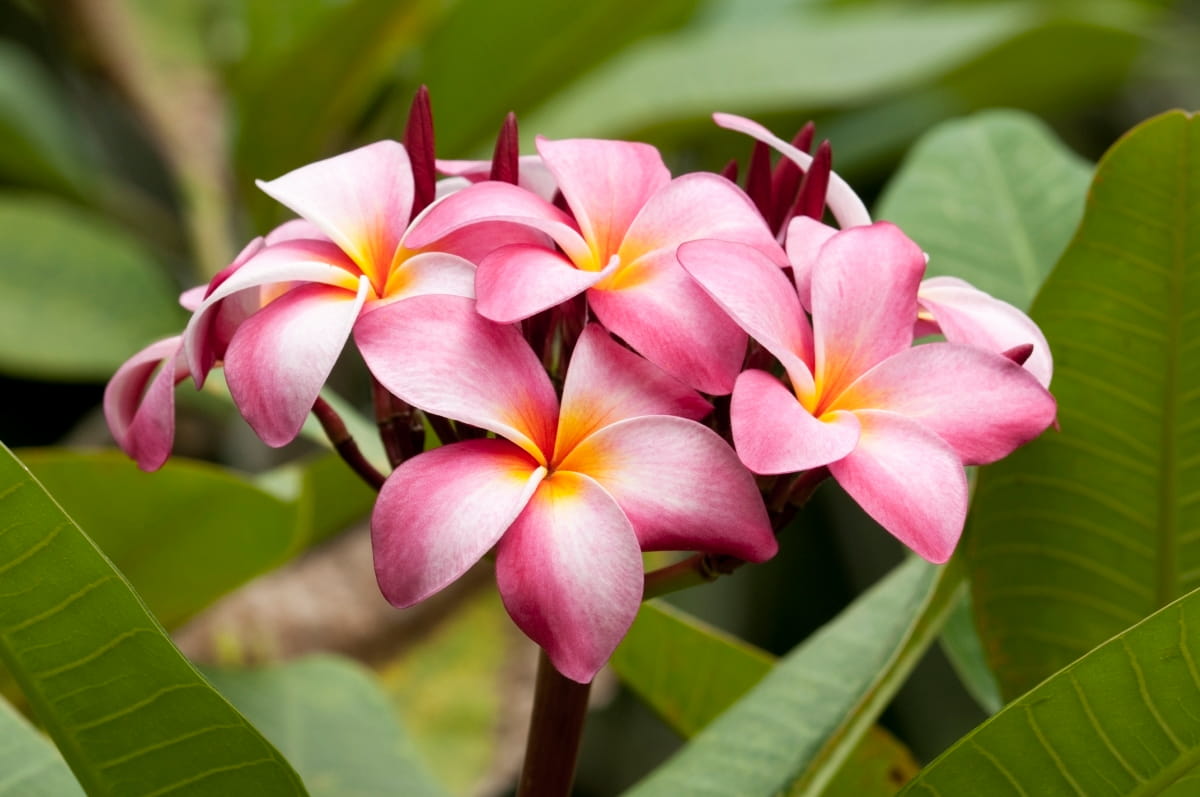
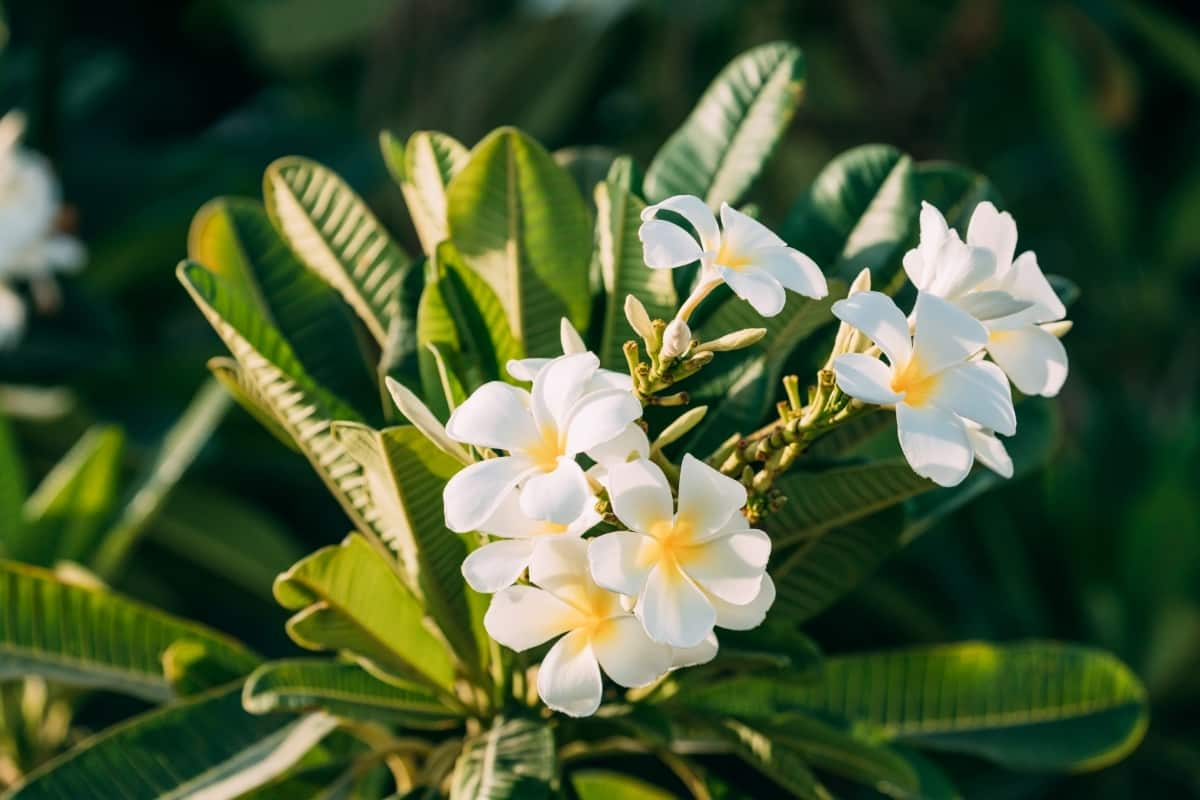
Plumerias are popular plants that can grow into huge trees in their native environment. It is a beautiful plant that produces vibrant and fragrant flowers. Growing Plumeria from cuttings is an excellent option to add this stunning beauty to your garden or indoor space.

How to Grow Plumeria from Cuttings
Information About Growing Plumeria
| Common Name | Plumeria, Frangipani |
| Classification | Tropical plant |
| Flowers | Colors and bloom times change by species |
| Light | Full to partial shade |
| Water | Allow soil to dry slightly |
| Humidity | Moderate to low |
| Fertilizer time | Spring and summer |
| Soil | Fast-draining and fertile soil |
Understanding Plumeria Cuttings: A Comprehensive Guide for Beginners
Plumeria cuttings are a fascinating way to propagate these stunning tropical plants. How to plant Plumeria cuttings in the ground? It’s important to know that Plumeria cuttings are essentially severed branches or stems from an existing Plumeria plant. These cuttings can be taken during certain times of the year when the plant is actively growing. When selecting a Plumeria cutting, there are a few things to consider.
Look for healthy, mature branches with at least three nodes – these are the small bumps where new growth occurs. Choosing a cutting with a slightly thicker base is also beneficial, promoting better root development. Creating an ideal environment for your Plumeria cuttings is crucial to their success. Use well-draining soil mixed with perlite or sand, and choose pots with drainage holes. Placing them in a sunny spot protected from strong winds will also aid their growth.
Selecting the Right Plumeria Cutting: Tips and Considerations
Firstly, look for a healthy and mature branch to take your cutting from. It should be at least 12-18 inches long with several nodes along its length. Nodes are where new roots will form, so the more nodes, the better. Next, examine the leaves on the branch. They should be vibrant green and free from any signs of disease or pest damage.
Avoid cuttings with yellowed or wilted leaves, as they may not root successfully. Another important consideration is the variety of Plumeria you want to grow. Select a cutting from a parent plant with desirable characteristics such as prolific blooming or strong fragrance if possible.
Preparing the Cutting: Essential Steps for Successful Plumeria Propagation
- Firstly, select a healthy cutting from an established Plumeria tree. Look for a stem at least 12 inches long with several leaf nodes. Ensure the cutting is taken from a branch that is not flowering or producing seed pods.
- Use scissors or pruning shears to cut just below a leaf node on the selected stem. This will encourage new plant growth from that point.
- After making the cutting, allow it to dry out in a shady location for about one week. This will help prevent rotting when you plant it in soil.
- Prepare your potting mix while waiting for the cutting to dry. A well-draining mix of equal parts perlite, sand, and peat moss works well for Plumerias.
- Dip the bottom end into hormone powder once your cutting has dried to promote root development. Then gently insert it into your prepared potting mix so that only about one-third of the cutting is buried.
- How often do water Plumeria cuttings? Water sparingly after planting – Plumerias prefer slightly drier conditions when first establishing roots. Place your potted cutting in an area with indirect sunlight or under grow lights if indoors. In about four weeks, you should start seeing signs of new growth emerging from the tip of your Plumeria cutting.
When is the Best Time to Take Plumeria Cuttings?
The best time for propagating Plumeria is late spring and early summer. During this period, Plumerias are in their active growth phase, which means they have a higher chance of successful rooting. The warmer temperatures and longer days provide optimal conditions for new growth and root development.
In case you missed it: The Best Fertilizer for Frangipani/Plumeria: When and How to Apply

Creating the Ideal Growing Environment for Plumeria Cuttings
Plumerias require at least six hours of direct sunlight each day to flourish. Next, make sure the soil is well-draining. A sandy loam and perlite mix is the best soil for Plumeria cuttings and provides excellent drainage while retaining enough moisture for healthy root development. Protect your Plumeria cuttings from strong winds and extreme weather conditions. Strong gusts can damage fragile stems and prevent proper growth. Consider using windbreakers or positioning them near walls or fences for added protection.
Rooting Hormones and Techniques for Promoting Root Development in Plumeria Cuttings
Rooting hormones play a crucial role in promoting root development in Plumeria cuttings. These hormones contain plant growth regulators that stimulate new root growth, increasing the chances of successful propagation. One popular rooting hormone is indole-3-butyric acid (IBA), found in powder or liquid form. Before applying the hormone, dip the cut end of your Plumeria cutting into the water to moisten it.
To apply the rooting hormone, dip the moistened end of the cutting into the powder or solution. Make sure to tap off any excess before planting it in well-draining soil. Another technique for promoting root development is using a misting system. It is the best way to root a Plumeria cutting. This involves regularly spraying a fine mist of water onto your Plumeria cuttings to keep them hydrated and create a humid environment that encourages root growth.
Potting and Caring for Plumeria Cuttings: Best Practices for Optimal Growth
You can ensure these beautiful tropical plants thrive and bloom beautifully by providing the right environment and care. When potting your Plumeria cuttings, choosing a well-draining mix is important. This will prevent waterlogged soil, which can lead to root rot. A mix of perlite, sand, and peat moss works well for Plumerias.
After planting, water your Plumeria cutting thoroughly but be careful not to overwater the plant. To promote healthy growth, fertilize your Plumeria cuttings every 2 weeks during the growing time using a balanced fertilizer high in phosphorus. This will encourage more blooms once they mature. Remember to support your growing Plumeria by staking or tying them gently if needed. As they grow taller and develop thicker stems, this extra support will prevent breakage during strong winds or heavy rain.
Watering and Fertilizing Plumeria Cuttings: Dos and Don’ts
When watering Plumeria cuttings, the key is finding the right balance. You want to keep the soil moist but not soggy. To water your Plumeria cuttings correctly. As for fertilizers, it’s essential not to overdo it. Plumerias are relatively low-maintenance plants that don’t require excessive feeding. Use a balanced fertilizer with equal parts N, P, and K. Apply a diluted solution every two weeks during active growth periods.
How Long Does It Take to Grow Plumeria from Cutting?
Plumeria enthusiasts know patience is key in growing these tropical beauties from cuttings. While Plumeria trees can bloom in one to three years, the vibrant and fragrant flowers are well worth waiting for.
Protecting Plumeria Cuttings from Pests and Diseases
Plumerias are not immune to pests and diseases, so it’s important to take proactive measures to keep your cuttings healthy. The spider mite is one common pest that can wreak havoc on your Plumeria. These tiny critters feed on the leaves, causing them to yellow and wither. To combat spider mites, regularly inspect your plants and use a gentle insecticidal soap if necessary.
In case you missed it: How to Grow Succulent Seeds: Easiest and Fast Growing Succulents from Seed

Another pesky invader that Plumeria enthusiasts often encounter is the mealybug. If you spot any signs of mealybugs, such as cottony-looking clusters, remove them manually or use an organic insecticide. Fungal diseases like black tips can also pose a threat to Plumeria cuttings. To prevent fungal infections, ensure proper airflow around your plants by spacing them adequately and avoiding overwatering.
Plumeria Cutting Growth Stages: How Long Do Plumeria Cuttings Last?
Once you’ve taken your cutting and successfully rooted it, the first stage is the establishment phase. During this time, the cutting will focus on developing its root system to anchor itself in its new environment. This stage usually lasts for about 2-4 weeks. After the establishment phase, your Plumeria cutting will enter a vegetative growth period.
This is when you’ll start seeing new leaves emerging from the tip of the cutting. The length of this stage can change depending on various factors such as temperature, light conditions, and care provided. On average, it can last anywhere between 6 months to a year. As your Plumeria continues to grow and mature, it will reach a point where it begins to produce flower buds.
Monitoring Growth Progress: Signs of Success or Failure in Plumeria Cuttings
Firstly, keep an eye on the leaves. Healthy Plumeria cuttings should have vibrant green leaves that appear glossy and waxy. If the Plumeria plant leaves start turning yellow or brown and become droopy, it could indicate a problem with watering, nutrient deficiencies, or even pests. Another sign of success in Plumeria cuttings is the emergence of new growth. Look for tiny buds forming along the stem or at the tip of branches.
These buds will eventually develop into new leaves and branches, indicating that your cutting successfully establishes roots. On the other hand, if there is no new growth after several weeks or months, it may be a sign of failure in rooting. Remember that monitoring growth progress is an ongoing process throughout the lifecycle of your Plumeria cuttings.
Transplanting Rooted Plumeria Cuttings: Steps to Ensure a Smooth Transition
- Choose the right time: Wait until your Plumeria cutting has developed a well-established root system before transplanting. This usually takes around six to eight weeks.
- Select a suitable location: Do Plumeria cuttings need full sun? Plumerias love sunlight, so choose a location that receives 6 to 8 hours daily. Ensure good drainage in the area as well.
- Prepare the soil: Plumerias prefer well-draining soil with plenty of organic matter.
- Dig a hole: Dig a hole just slightly larger than the root ball of your Plumeria cutting. Place the cutting into the hole, ensuring it sits at the same level as in its previous pot.
- Water thoroughly: After planting, give your Plumeria cutting a thorough watering to help settle it into its new home and eliminate any air pockets around the roots.
- Monitor and care for your transplant: Keep an eye on your newly transplanted Plumeria cutting, ensuring it receives adequate water but avoiding overwatering, which can cause rotting.
In case you missed it: How to Grow Jujube Tree: Propagation From Seeds, Cuttings, and Grafting

Conclusion
Plumerias are beautiful and fragrant flowers that can bring a tropical look to your garden. Proper care is essential to ensure your Plumeria plant’s health and vitality. With their vibrant colors, intoxicating fragrance, and graceful blooms, it’s no wonder that Plumerias are a favorite addition to gardens, patios, and even indoor spaces. Growing Plumeria from cuttings is a cost-effective method to expand your collection of these plants.
- Ultimate Guide to Ossabaw Island Hog: Breeding, Raising, Diet, and Care
- Ultimate Guide to Juliana Pig: Raising Facts, Size, Diet, Care, and Lifespan
- Raising Lleyn Sheep: Disadvantages, Price, Uses, Characteristics, and Care
- Ultimate Guide to Meishan Pig: Breed Facts, Breeding, Raising, and Care
- Ultimate Guide to Teacup Pigs: Raising, Diet, Lifespan, Cost, and Care
- Guide to Raising Poll Dorset Sheep: Facts, Profile, Characteristics, Uses, and Care
- Ultimate Guide to Bighorn Sheep: Characteristics, Diet, Lifespan, Breeding, and Lifecycle
- Ultimate Guide to Raising Katahdin Sheep: Farming Facts, Breed Profile, Uses, and Care
- Ultimate Guide to Raising Oreo Cows: Belted Galloways Farming Facts, Profile, Uses, and Care