Drip irrigation offers an efficient and precise way to water gardens, ensuring that plants in flower beds, raised beds, and vegetable gardens receive the right amount of moisture directly at their roots.

How to Install Drip Irrigation in Flower Beds
Understanding Drip Irrigation Systems
This system is ideal for flower beds, raised beds, and vegetable gardens, as it delivers water slowly and precisely. The process of drip irrigation design and installation for beginners might seem daunting at first, but with a clear understanding, it can be a straightforward task. It involves a network of pipes, tubes, valves, and emitters that can be tailored to fit your garden’s specific needs.
Drip irrigation systems are versatile; you can even learn how to add a drip line to a sprinkler system, enhancing an existing garden watering setup. By understanding how these systems work, you’ll be better equipped to plan and install one effectively.
Planning Your Drip Irrigation Layout
Before diving into the drip irrigation installation guide, it’s crucial to plan your system’s layout. Start by sketching your flower bed, noting the locations of plants and their watering needs. Consider factors like plant type, size, and root depth. Planning how to lay out the drip system ensures efficient water delivery to each plant.
Remember, your layout might vary if you’re learning how to set up drip irrigation for raised beds or how to install a drip irrigation system for a vegetable garden. Each garden type has unique requirements. For instance, raised beds may need a more uniform water distribution compared to densely planted flower beds. This planning stage sets a solid foundation for a successful installation.
Gathering Necessary Tools and Materials
To begin your drip irrigation installation, gather all the necessary tools and materials. You’ll need a main water line, drip tubing, emitters, micro-sprayers, connectors, and a filter to prevent clogging. Tools might include a tubing cutter, stakes to secure the tubing, and possibly a punch tool for emitter installation. If you plan to integrate the system with an existing sprinkler setup, you’ll need additional fittings to connect the drip line to the main line.
Preparing the Flower Bed Area
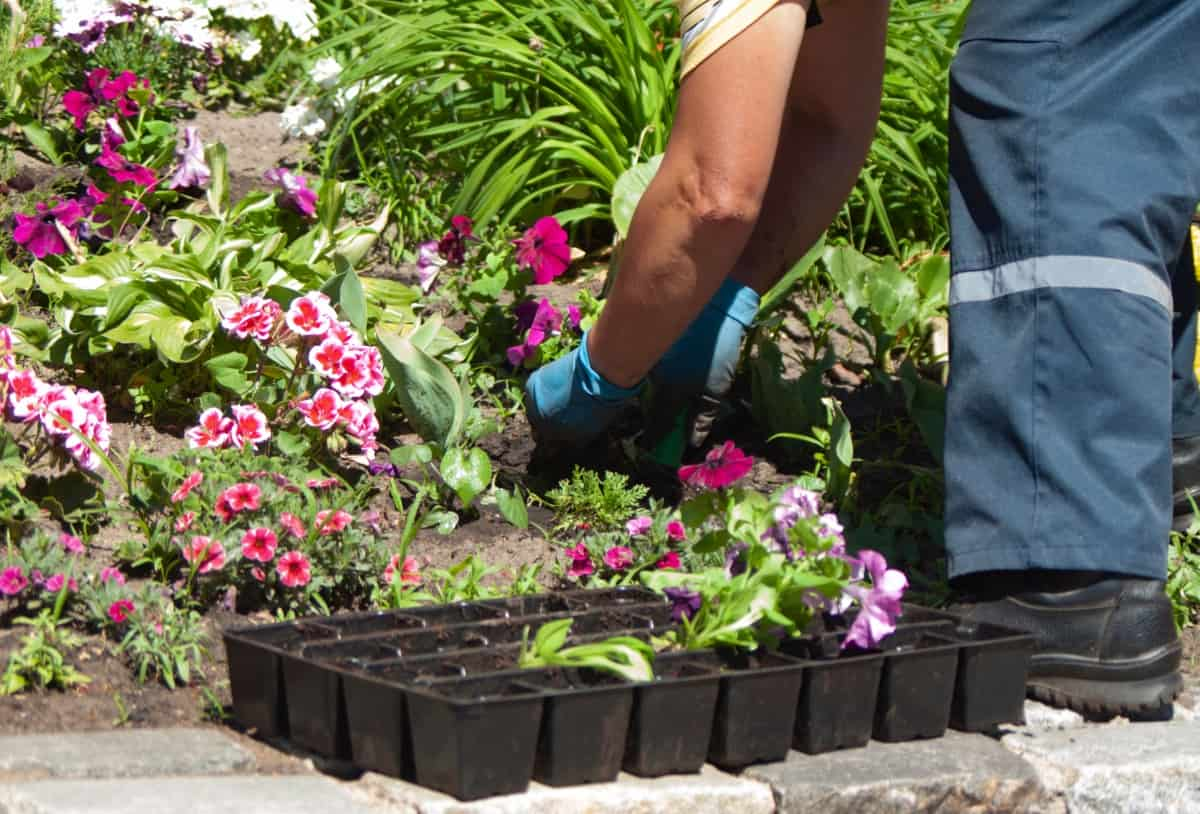
Getting your flower bed ready for drip irrigation is important. First, remove any weeds and junk to have a clean space for your system. If it’s a new bed, adding compost or natural stuff can help your plants grow well. This preparation ensures that once the drip irrigation system is installed, your plants will have the ideal growing conditions. Remember, the better the preparation, the more effective your drip irrigation system will be in delivering water directly to the plant roots.
In case you missed it: How to Install Drip Irrigation in Coconut Plantation: Layout, Design, and Cost Per Acre

Installing the Main Water Line
The main water line is the backbone of your drip irrigation system and is responsible for delivering water from the source to your flower beds. Begin by connecting the main line to your water source, which could be an outdoor faucet or an existing sprinkler system. Connecting the drip line to the main line is a critical step, and it’s essential to ensure a leak-proof connection.
Once connected, run the main line to your flower bed, keeping it as straight as possible to reduce pressure loss. This line acts as the feeder to the smaller drip lines and emitters that will water your plants, so ensure it is well laid out and secured.
Laying Out the Drip Tubing
After installing the main line, the next step is laying out the drip tubing. This tubing carries water from the main line to the plants. Start by rolling out the tubing along your planned layout, cutting it to length as needed. Secure the tubing with stakes to keep it in place and prevent movement.
While laying out the tubing, remember the unique needs of your garden. Suppose you’re wondering how to set up drip irrigation for raised beds or how to install a drip irrigation system for a vegetable garden. In that case, the process might require closer spacing of the tubing to ensure even water distribution. The correct layout of the drip tubing is crucial for the efficient watering of your plants.
Adding Emitters and Micro-Sprayers
Emitters are small devices that control the flow of water, releasing it slowly and directly to the plant’s root zone. Choose emitters based on the water needs of your plants; different plants may require different flow rates. To install, punch holes in the drip tubing and insert the emitters.
In case you missed it: Irrigation Management for Brussels Sprouts: Get More Yields with Drip Irrigation

If your garden requires more uniform watering, like in some flower beds or vegetable gardens, micro-sprayers can be an effective addition. These spray a fine mist, covering a broader area than emitters. After installing emitters and micro-sprayers, test your system to ensure proper operation and adjust as necessary for optimal watering.
Connecting the System to a Water Source
Connecting your drip irrigation system to a water source is a pivotal step in the installation process. Begin by identifying your water source, which could be an outdoor tap, a hose bib, or an existing irrigation system. If you’re integrating with a sprinkler system, understanding how to add a drip line to the system is essential.
Use a pressure regulator to ensure the water pressure is appropriate for your drip system, as too high pressure can damage the tubing and emitters. Attach a backflow preventer to prevent contaminated water from siphoning back into your water supply. Once these components are in place, connect the main water line of your drip system to the water source. Ensure all connections are secure and leak-free. This connection is crucial for the efficient and safe operation of your drip irrigation system.
Testing and Adjusting the System
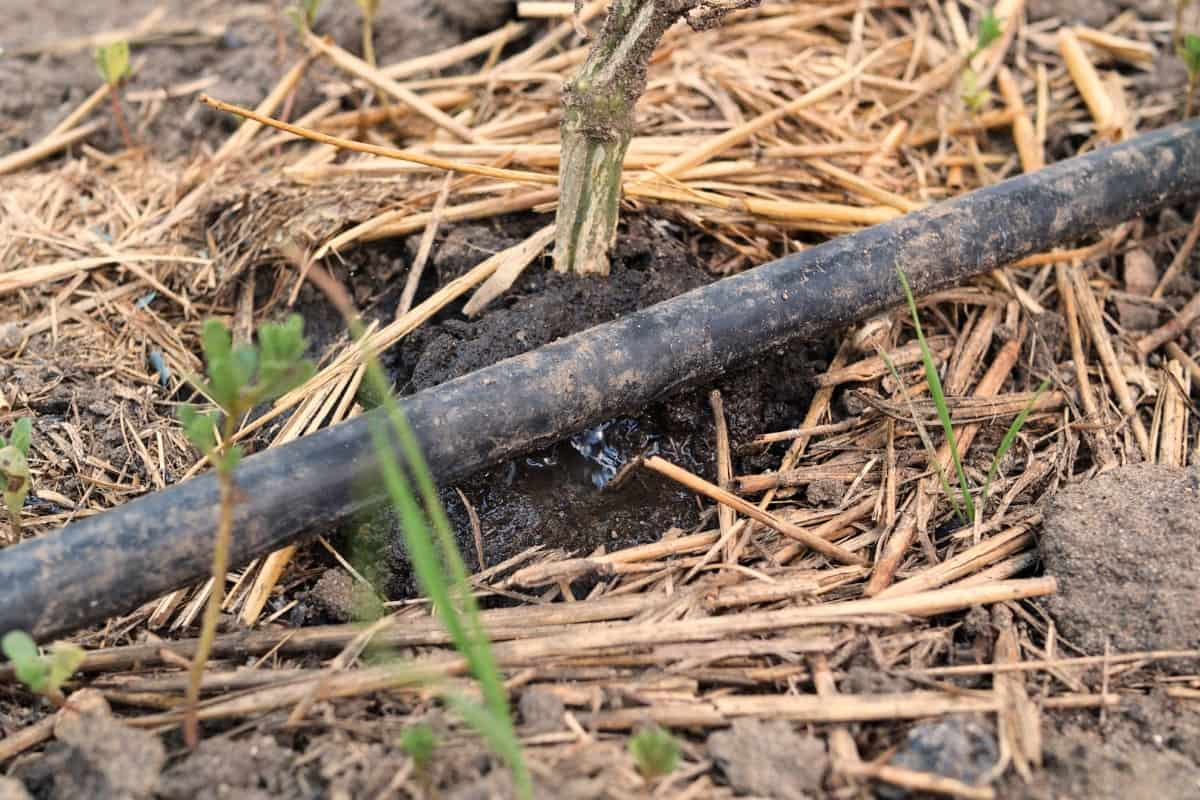
After installation, testing and adjusting your drip irrigation system is essential for optimal performance. Turn on the water and walk through your garden, observing the operation of each emitter and micro-sprayer. Look for leaks or blockages in the tubing and ensure that water is being evenly distributed to all plants.
Pay attention to the flow rate of the emitters, adjusting them if necessary to provide the appropriate amount of water for each plant. This step might require some trial and error, especially if you’re learning how to lay out the drip system for specific garden types like raised beds or vegetable gardens. Make sure all areas of your flower bed are receiving adequate water. If any part of the system is not functioning as expected, make the necessary adjustments.
Maintaining Your Drip Irrigation System
Periodically check the system for leaks, clogs, or damaged parts. Clean or replace clogged emitters to ensure consistent water flow. It’s also important to flush the system at the start and end of each watering season to remove debris. If you’ve learned how to connect a drip line to a mainline or how to add a drip line to a sprinkler system, check these connections regularly for leaks or wear.
In case you missed it: A Comparative Cost Analysis of Drip Irrigation Per Acre

During the growing season, adjust the placement of emitters as plants grow and their water needs change. By regularly maintaining your drip irrigation system, you’ll ensure efficient water use and a healthy, thriving garden.
Conclusion
By following these steps, you’ll not only conserve water but also provide your plants with the ideal conditions for growth, ensuring a lush and vibrant garden throughout the seasons.
- Ultimate Guide to Ossabaw Island Hog: Breeding, Raising, Diet, and Care
- Ultimate Guide to Juliana Pig: Raising Facts, Size, Diet, Care, and Lifespan
- Raising Lleyn Sheep: Disadvantages, Price, Uses, Characteristics, and Care
- Ultimate Guide to Meishan Pig: Breed Facts, Breeding, Raising, and Care
- Ultimate Guide to Teacup Pigs: Raising, Diet, Lifespan, Cost, and Care
- Guide to Raising Poll Dorset Sheep: Facts, Profile, Characteristics, Uses, and Care
- Ultimate Guide to Bighorn Sheep: Characteristics, Diet, Lifespan, Breeding, and Lifecycle
- Ultimate Guide to Raising Katahdin Sheep: Farming Facts, Breed Profile, Uses, and Care
- Ultimate Guide to Raising Oreo Cows: Belted Galloways Farming Facts, Profile, Uses, and Care