Hydroponic farming has revolutionized the agricultural sector, offering an efficient and sustainable solution to traditional soil-based farming. Amaranthus, a highly nutritious and versatile crop, has gained popularity recently due to its impressive nutrient profile and ease of cultivation. This article provides a comprehensive guide to hydroponic amaranthus farming in a greenhouse, exploring the key rules and techniques to start from scratch and successfully grow this superfood.

Hydroponic Amaranthus Farming in a Greenhouse
Understanding Amaranthus
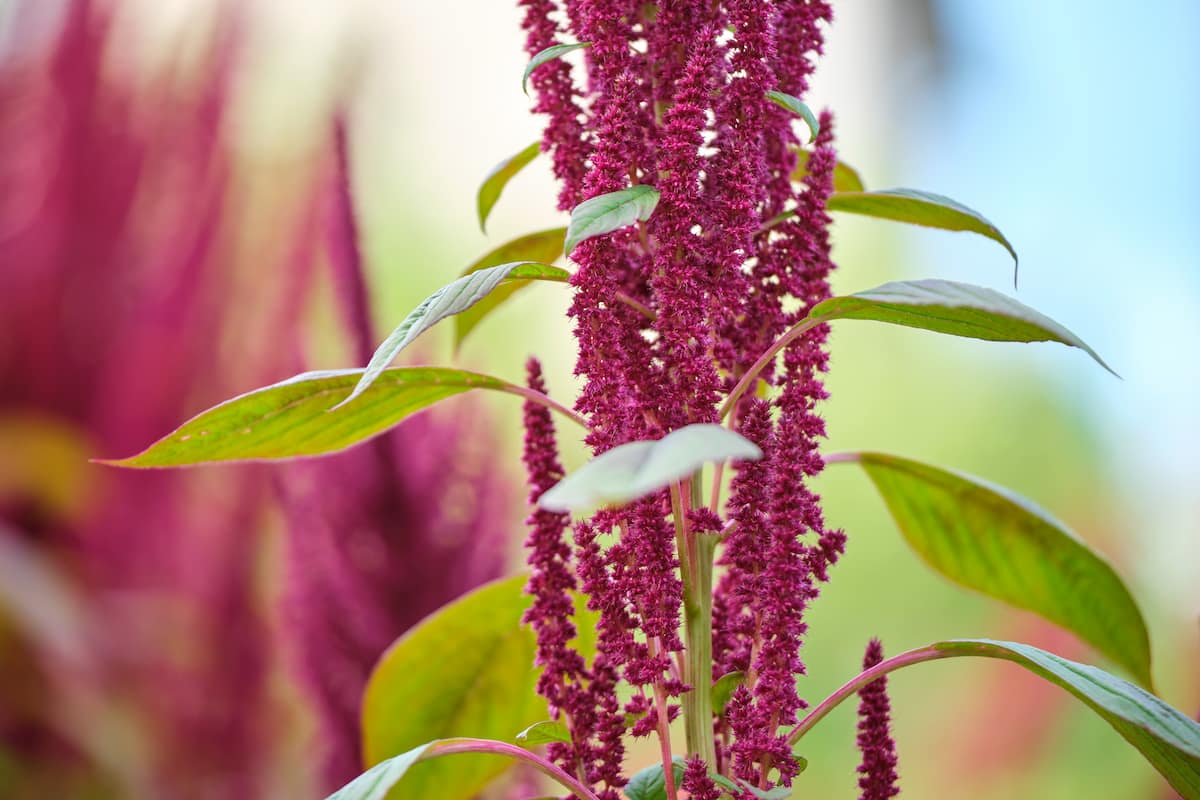
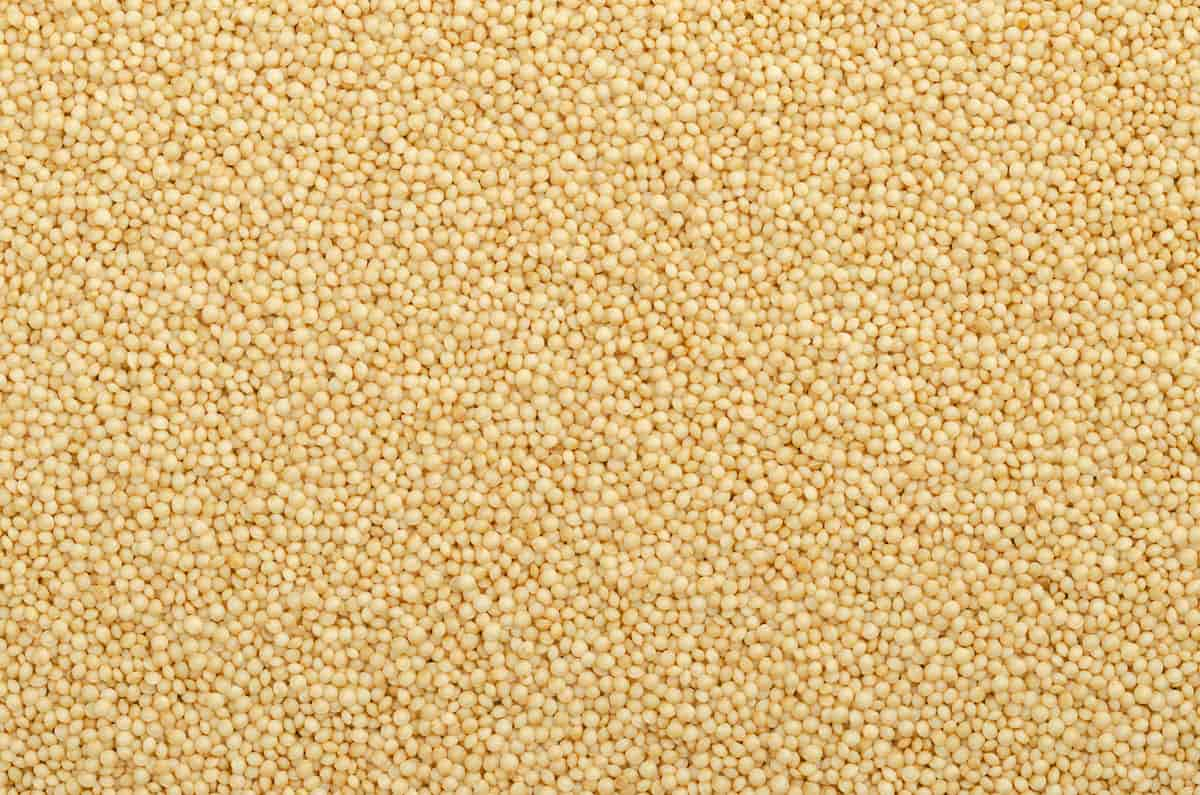
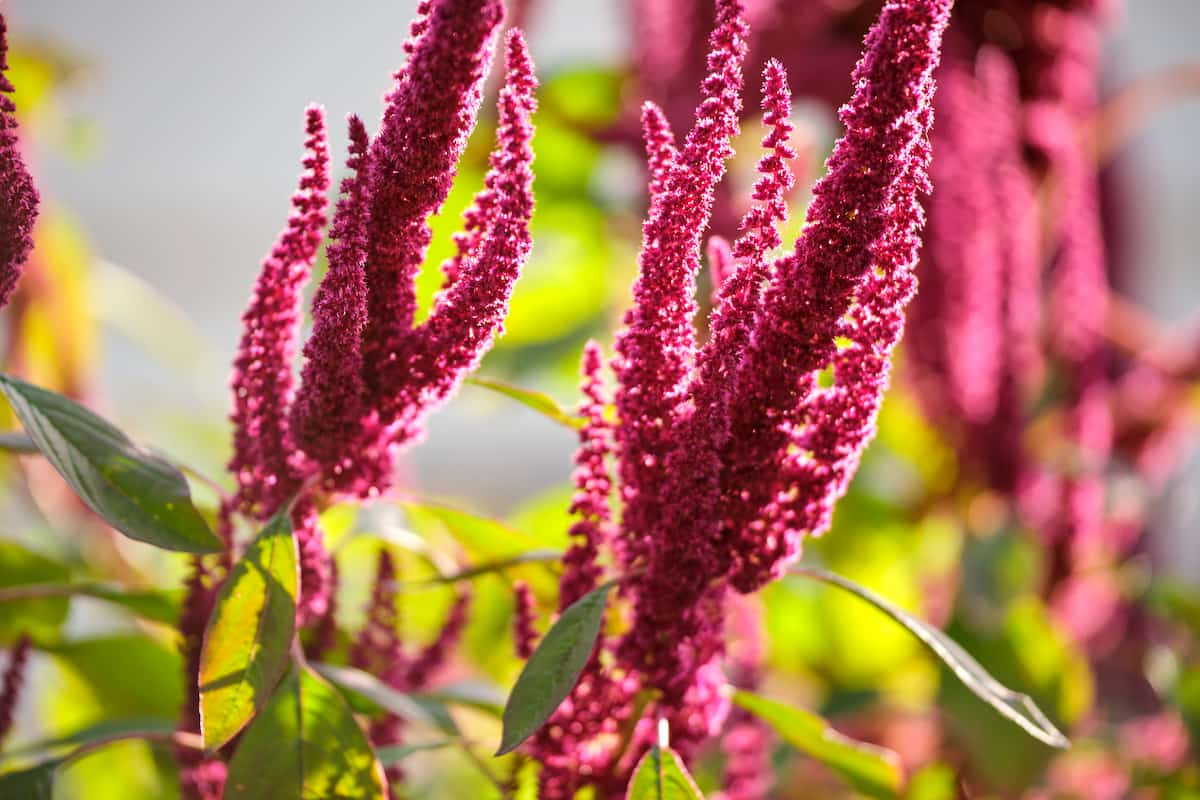
Amaranthus, commonly known as amaranth, is a plant genus comprising more than 60 species. These plants are valued for their edible leaves and seeds, which boast a remarkable nutrient content, including protein, iron, calcium, and vitamins. Amaranth is also gluten-free, making it an attractive option for those with gluten sensitivities.
Benefits of Hydroponics
- Reduced water usage: Hydroponics uses up to 90% less water than conventional farming, as water is recirculated in the system.
- Increased yield: Hydroponic systems allow for a higher planting density and greater productivity per square foot.
- Controlled environment: Greenhouses offer a controlled environment, ensuring optimal growing conditions throughout the year.
- Lower risk of pests and diseases: Soil-borne pests and diseases are eliminated in hydroponic systems, reducing the need for pesticides.
- Faster growth: Hydroponically grown plants tend to mature faster due to the constant supply of nutrients and favorable growing conditions.
Selecting the Right Greenhouse
- Size: Ensure the greenhouse provides sufficient space for your desired crop yield and equipment.
- Glazing: Choose a glazing material that allows for optimal light transmissions, such as polycarbonate or glass.
- Ventilation: Proper ventilation is essential for temperature and humidity control, preventing plant stress and diseases.
- Insulation: Good insulation will help maintain the desired temperature, reducing energy consumption.
Choosing a Hydroponic System
- Nutrient Film Technique (NFT): A thin film of nutrient solution flows continuously over the plant roots in this system. NFT is well-suited for leafy greens like amaranthus but requires careful monitoring of nutrient levels and pH.
- Aeroponics: Plants are suspended in the air, and nutrient solution is misted onto the roots. This system promotes rapid growth and high yields but can be more expensive and complex to set up.
- Deep Water Culture (DWC): Plants are suspended in a nutrient-rich water solution, with an air pump providing oxygen to the roots. DWC is relatively low-maintenance and cost-effective but may require more space.
Preparing Seedlings
- Soak the seeds in water for 6-8 hours to soften the seed coat.
- Spread the seeds evenly on moistened seed starting mix in a shallow tray.
- Cover the tray with a clear lid or plastic wrap to maintain humidity.
- Place the tray in a warm location (70-80°F) with indirect light.
- Keep the seed starting to mix moist but not waterlogged.
- Transplant seedlings to the hydroponic system once they have developed true leaves.
In case you missed it: Hydroponic Chilli Pepper Farming in a Greenhouse: Key Rules to Start from Scratch

Nutrient Management
Amaranthus plants require the appropriate balance of macro and micronutrients to thrive. Commonly used hydroponic nutrient solutions contain nitrogen, phosphorus, potassium, calcium, magnesium, sulfur, and trace elements like iron, manganese, zinc, copper, boron, and molybdenum.
- Nutrient solution: Use a high-quality, balanced hydroponic nutrient solution for leafy greens. Follow the manufacturer’s instructions for mixing ratios and application frequency.
- pH management: Amaranthus grows best on soil with a pH that falls between 5.5 and 6.5. Test the pH of your nutrition solution on a regular basis, and if necessary, modify it using items that either increase or decrease pH.
- Electrical Conductivity (EC): Monitor the EC of your nutrient solution to ensure appropriate nutrient concentrations. Aim for an EC value between 1.2 and 2.0 mS/cm.
Climate Control
- Temperature: Amaranthus thrives at temperatures between 65-80°F. Monitor the temperature in your greenhouse and use heaters or cooling systems to maintain the desired range.
- Humidity: Ideal relative humidity (RH) for amaranthus is 40-70%. Use dehumidifiers or humidifiers to regulate humidity levels.
- Lighting: Amaranthus requires at least 12 hours of light per day. Supplement natural light with grow lights, such as LED or high-pressure sodium lamps, during shorter days or low-light conditions.
Pest and Disease Management
Although hydroponic systems minimize the risk of pests and diseases, regular monitoring and prevention are still essential. Implement Integrated Pest Management (IPM) practices, such as:
- Inspecting plants regularly for signs of pests or disease.
- Using physical barriers, such as insect netting or sticky traps.
- Introducing beneficial insects to manage pest populations.
- Applying organic or chemical treatments when necessary, following label instructions and local regulations.
Harvesting
- Microgreens: Harvest 10-14 days after germination when the cotyledon leaves fully develop.
- Baby greens: Harvest 3-4 weeks after germination, when the leaves are 3-4 inches long.
- Mature leaves: Harvest 6-8 weeks after germination, when the leaves are fully grown but still tender.
To harvest, use clean, sharp scissors to cut leaves close to the stem, taking care not to damage the plant. Harvest in the morning or evening to ensure optimal freshness and flavor.
Post-Harvest Handling and Storage
- Cool the leaves quickly after harvesting, using ice water or a refrigeration unit.
- Dry the leaves gently using a salad spinner or clean towels.
- Package the leaves in perforated plastic bags or clamshells to maintain humidity while allowing airflow.
- Store the leaves at 32-36°F with a relative humidity of 90-95% to maximize shelf life, typically lasting 10-14 days.
Monitoring and Record Keeping
- Track nutrient solution usage and adjust the feeding schedule as needed.
- Document changes in pH and EC levels and records any adjustments made.
- Monitor temperature, humidity, and light levels, noting any fluctuations.
- Record pest and disease occurrences, along with the treatments applied.
- Track growth rates, harvest dates, and overall yield.
- Maintaining accurate records enables you to identify trends and make informed decisions, optimizing your hydroponic amaranthus farm’s productivity and efficiency.
Marketing Your Hydroponic Amaranthus Products
Effective marketing is crucial to the success of your hydroponic amaranthus farm, as it helps create brand awareness and drives demand for your products. Develop a marketing plan highlighting your amaranthus’s unique selling points, such as its nutritional benefits, hydroponic cultivation, and sustainable practices.
To reach a wide audience, leverage multiple marketing channels, including social media, websites, and email campaigns. Build relationships with local retailers, restaurants, and farmers’ markets to showcase and sell your products. Don’t forget to engage with your community by participating in local events and sharing your knowledge about hydroponic farming and the benefits of amaranthus consumption.
In case you missed it: Hydroponic Lettuce Farming in a Greenhouse: Key Rules to Start from Scratch

Conclusion
Hydroponic amaranthus farming in a greenhouse offers an efficient and sustainable method for growing this nutritious crop. By understanding the plant’s requirements, selecting the appropriate hydroponic system, and following the key rules outlined in this article, you can successfully establish your hydroponic amaranthus farm from scratch.
- Ultimate Guide to Ossabaw Island Hog: Breeding, Raising, Diet, and Care
- Ultimate Guide to Juliana Pig: Raising Facts, Size, Diet, Care, and Lifespan
- Raising Lleyn Sheep: Disadvantages, Price, Uses, Characteristics, and Care
- Ultimate Guide to Meishan Pig: Breed Facts, Breeding, Raising, and Care
- Ultimate Guide to Teacup Pigs: Raising, Diet, Lifespan, Cost, and Care
- Guide to Raising Poll Dorset Sheep: Facts, Profile, Characteristics, Uses, and Care
- Ultimate Guide to Bighorn Sheep: Characteristics, Diet, Lifespan, Breeding, and Lifecycle
- Ultimate Guide to Raising Katahdin Sheep: Farming Facts, Breed Profile, Uses, and Care
- Ultimate Guide to Raising Oreo Cows: Belted Galloways Farming Facts, Profile, Uses, and Care