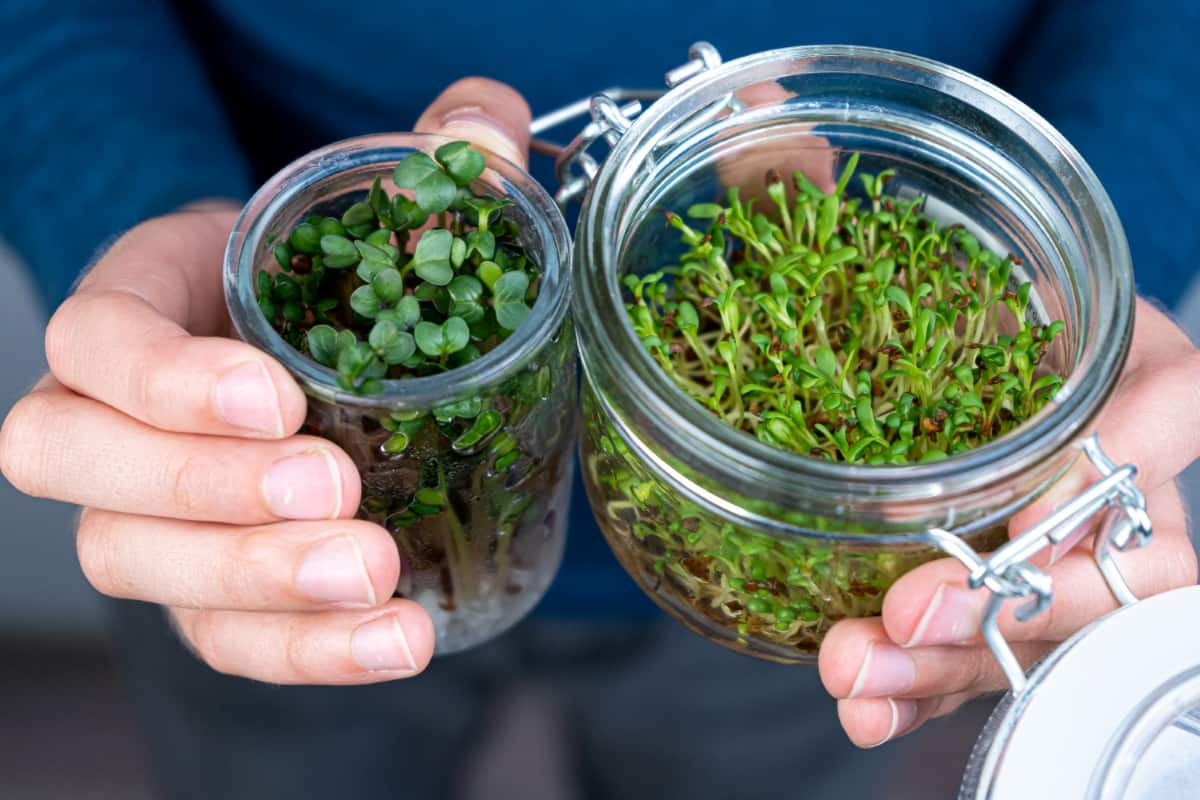
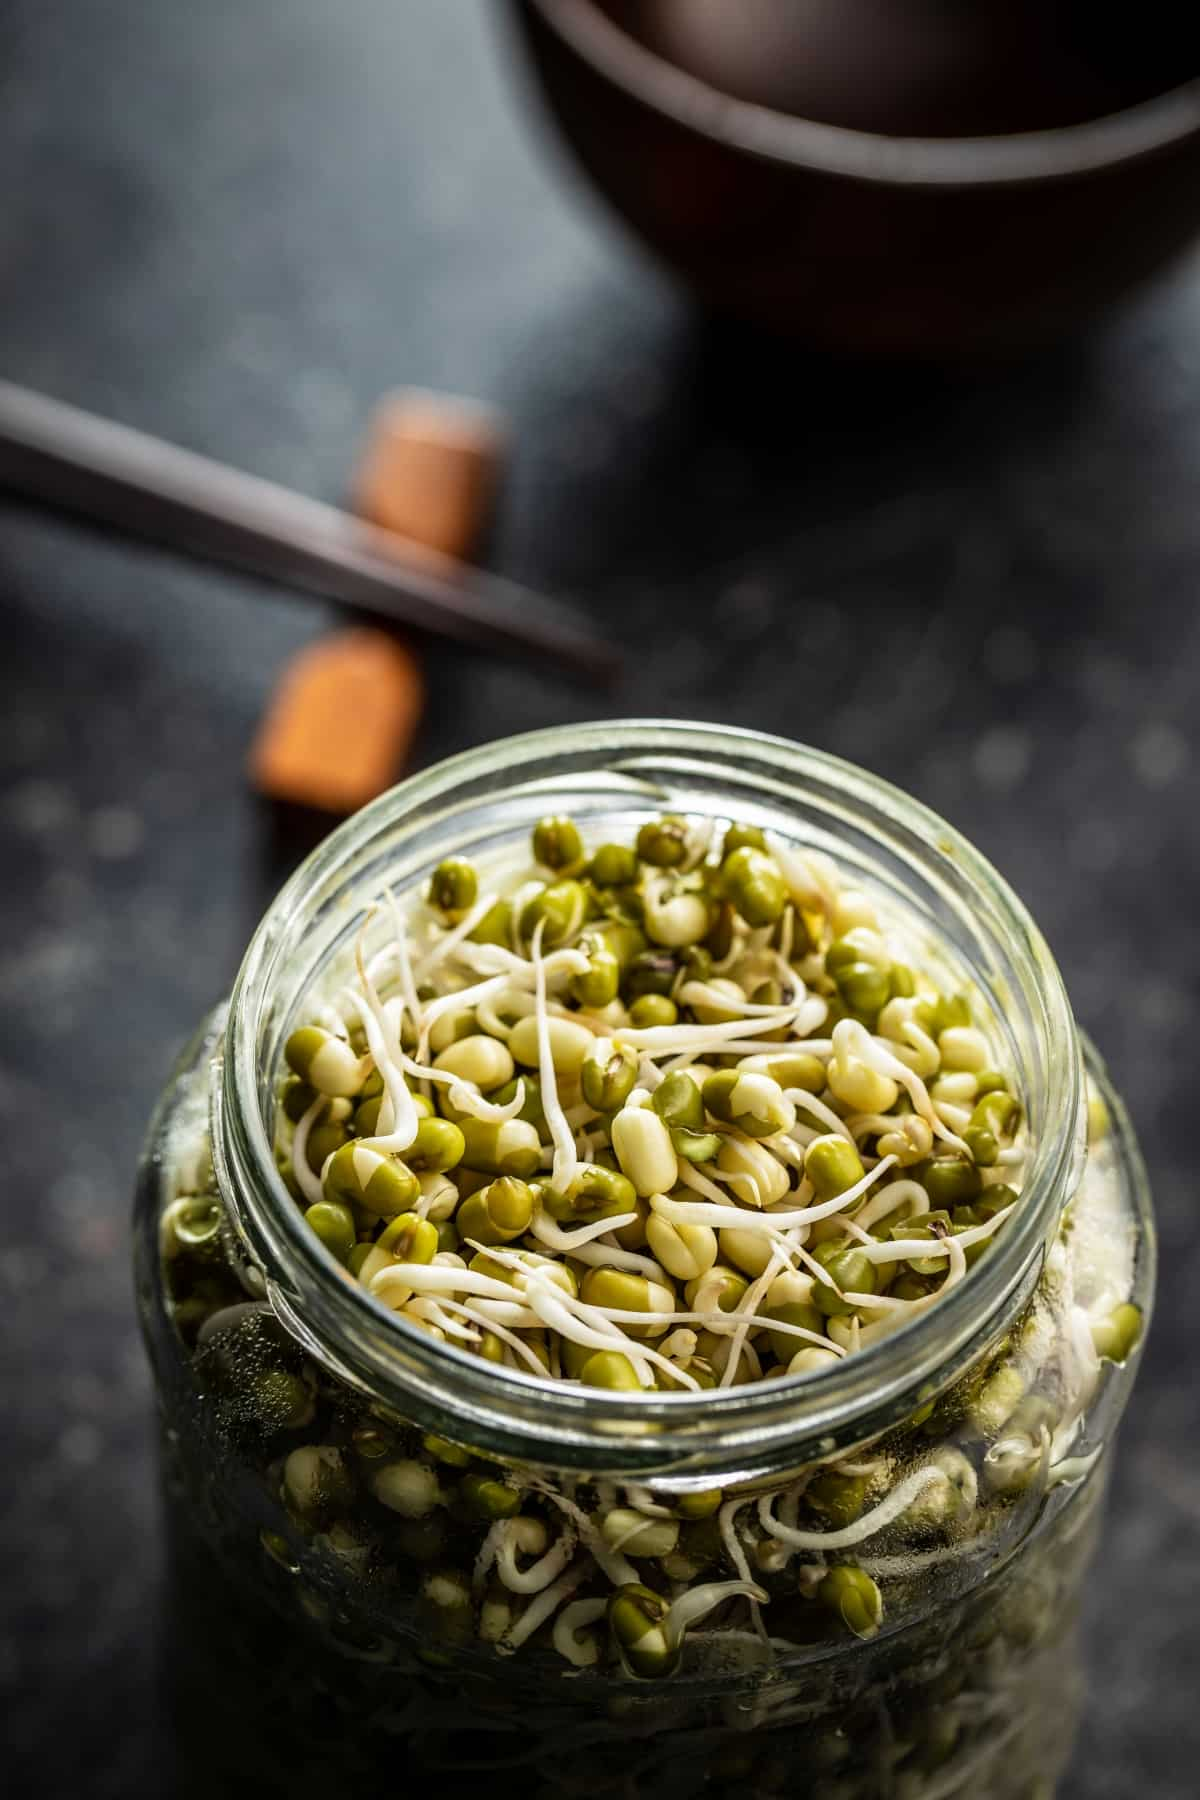
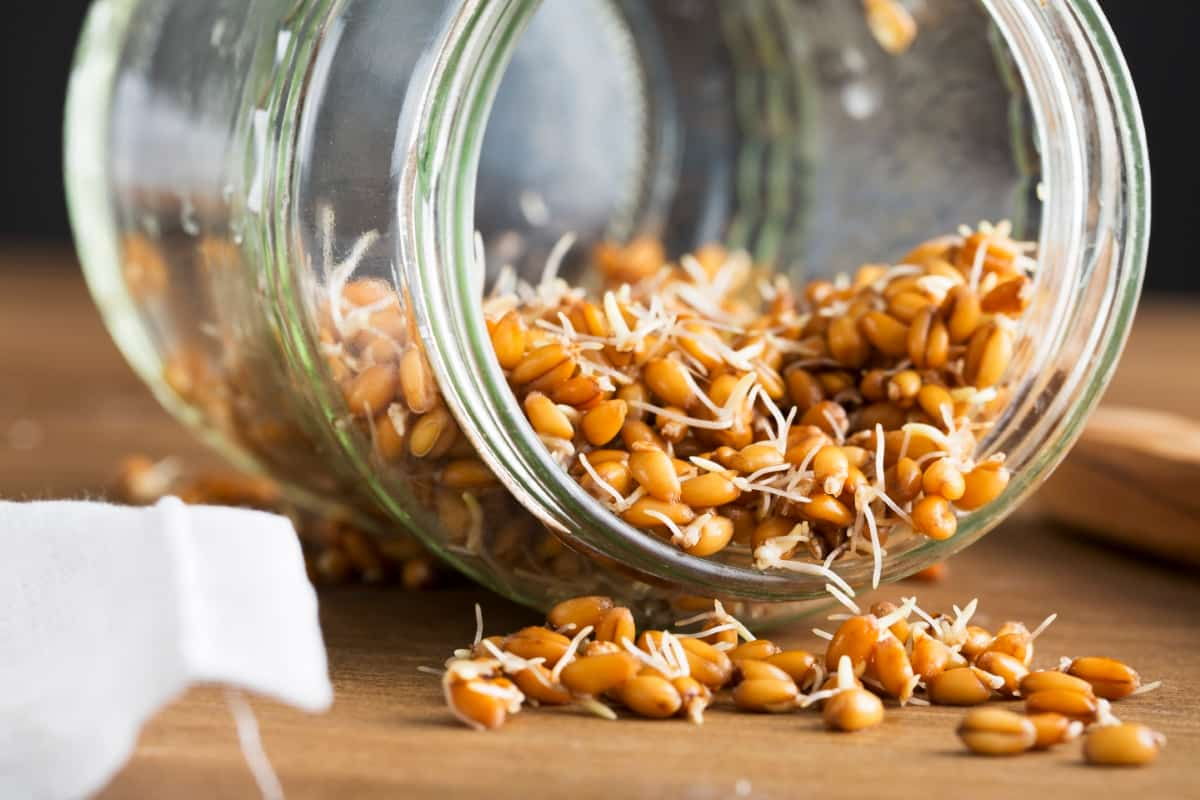
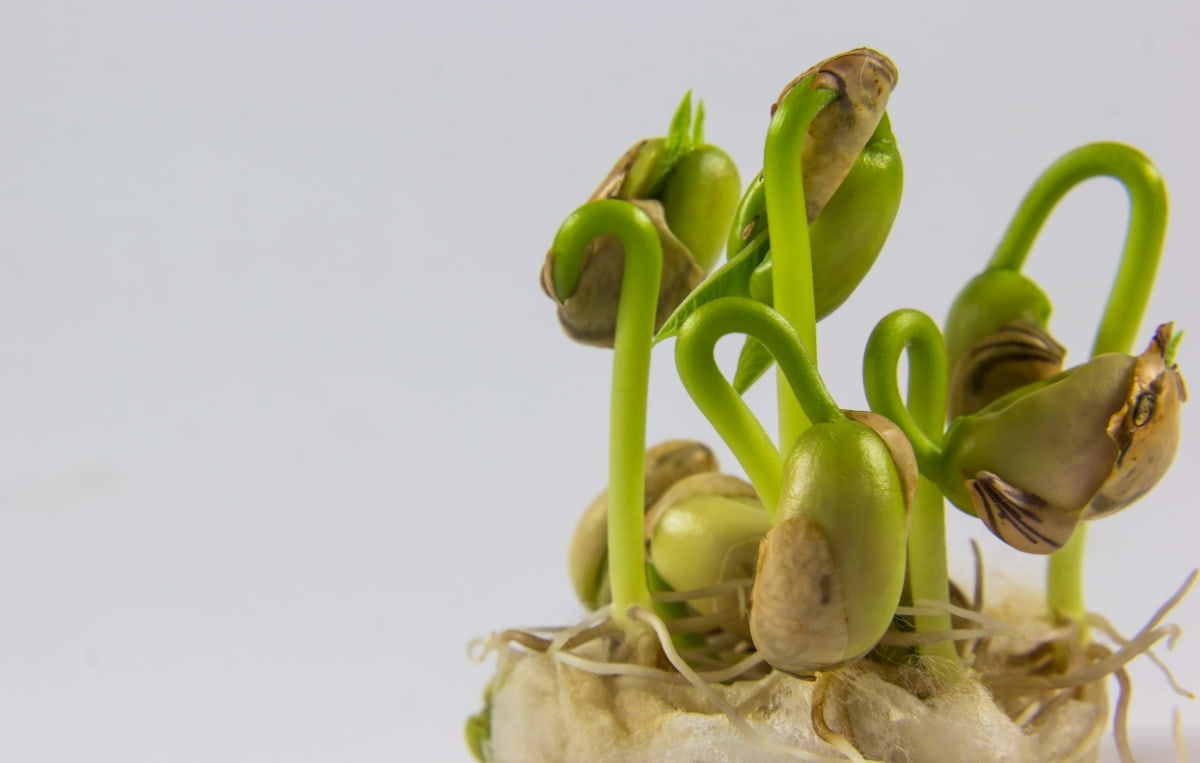
Cultivating bean sprouts in the comfort of your home is both straightforward and gratifying, with the jar method providing a convenient approach. Whether you’re looking to grow thick mung bean sprouts, sprouts in water, on a paper towel, in a tray, or soil, the process involves a few key steps: selecting the right beans, preparing the jar, soaking the beans, draining and rinsing them, ensuring adequate air circulation, maintaining optimal temperature and humidity, and monitoring their growth progress. This guide offers clear, step-by-step instructions for cultivating bean sprouts in a jar at home, ensuring your success in the process.

Steps to Grow Bean Sprouts in a Jar
Selecting the Right Beans
The first step in growing bean sprouts in a jar is to choose the appropriate type of beans. Mung beans are a popular choice due to their size and the ease with which they sprout. Look for beans that are whole and unbroken, as damaged beans may not sprout properly. Avoid using beans that have been treated with chemicals or pesticides, as these can inhibit sprouting. Organic beans are often a safer choice, ensuring that your sprouts are free from harmful substances.
Preparing the Jar
To prepare the jar for sprouting beans, start by selecting a clean, wide-mouthed jar. Sterilize the jar by boiling it in water or washing it in a dishwasher at a high temperature. Cover the opening of the jar with a breathable material like a cheesecloth or a fine mesh, securing it with a rubber band. This cover will allow water to drain out while providing adequate air circulation, which is crucial for preventing mold growth during the sprouting process.
Soaking the Beans
Soaking is a critical step in how to grow bean sprouts at home. Place the selected beans in the prepared jar and fill it with water, ensuring that the beans are fully submerged. The ideal soaking time varies depending on the type of beans but usually ranges from 8 to 12 hours. This soaking process initiates the sprouting by softening the beans and waking them from dormancy.
Draining and Rinsing
After the soaking period, it’s essential to drain the water thoroughly. Tilt the jar and allow all excess water to drain through the mesh or cheesecloth. Rinse the beans with fresh water at least twice a day. This step is crucial in how to grow bean sprouts in a jar, as it keeps the beans moist and clean, reducing the risk of bacterial growth.
In case you missed it: Best Fertilizer for Potted Beans: Organic, Natural, Homemade, NPK Ratio, When and How to Apply

Providing Adequate Air Circulation
Adequate air circulation is crucial for the well-being of germinating beans. After each rinsing, position the jar at an angle in a bowl or dish rack to ensure continuous drainage and airflow. This positioning helps in preventing mold and mildew, which are common problems when learning how to grow bean sprouts on a paper towel or in a jar.
Maintaining Optimal Temperature and Humidity
Appropriate temperature and humidity are crucial for cultivating robust mung bean sprouts, or any variety for that matter. Store the container in a location with a consistent temperature range of 18°C to 22°C (65°F to 72°F), while avoiding direct sunlight to prevent overheating of the beans. If the air is too dry, cover the jar with a damp cloth to maintain humidity, but ensure it doesn’t block air circulation.
Monitoring Growth Progress
Monitoring the growth of your bean sprouts is the final step. Sprouts are usually ready to eat in about 3 to 6 days, depending on the type of bean and the desired sprout size. Look for sprouts that are about 2 inches long with a pale yellow or green color. When they reach the desired size, remove them from the jar, rinse them thoroughly, and store them in the refrigerator. Enjoy your homegrown bean sprouts in salads, sandwiches, or as a healthy snack.
In case you missed it: How to Grow Yardlong Beans from Seed: A Comprehensive Guide for Beginners

Harvesting the Sprouts
When the bean sprouts have reached your desired size, usually between two to six days, it’s time to harvest them. The sprouts should be about two inches long with a pale yellow or green hue. To harvest, gently remove the sprouts from the jar, being careful not to damage them. Rinse the sprouts thoroughly under cold water to remove any seed hulls or unsprouted beans. It’s important to handle the sprouts gently during this process to ensure they remain intact and fresh. Once harvested, the sprouts are ready to be used in various dishes, offering a crunchy and nutritious addition to your meals.
Storing and Using the Sprouts
After harvesting, it’s essential to store the bean sprouts properly to maintain their freshness. Place the rinsed sprouts in a clean container and store them in the refrigerator. They typically last for about a week when stored correctly. Bean sprouts are incredibly versatile and can be used in a variety of dishes.
They add a delightful crunch and nutritional boost to salads, sandwiches, and stir-fries. You can also lightly cook them to include in soups or as a side dish. Their subtle taste and crisp texture make them a favored option for boosting both the nutritional content and flavor of numerous dishes.
Troubleshooting Common Issues
Growing bean sprouts at home can sometimes present challenges. If mold or an unpleasant odor is detected, it may be a result of insufficient air circulation or inadequate rinsing. Ensure the jar is well-ventilated, and rinse the beans thoroughly twice a day. If the sprouts aren’t growing properly, it could be due to the quality of the beans, incorrect temperature, or insufficient soaking time.
In case you missed it: 10 Common Problems With Green Beans Plants: Treatment and Solutions

Always start with high-quality, organic beans, maintain a consistent temperature, and soak the beans for the recommended duration. By addressing these common issues, you can improve your success rate in growing healthy and delicious bean sprouts at home.
Conclusion
Growing bean sprouts in a jar at home is a simple, cost-effective way to add fresh, nutritious greens to your diet. Whether used in salads, sandwiches, or cooked dishes, bean sprouts offer a delightful crunch and a boost of nutrients. With a little care and attention, you can successfully grow and enjoy your bean sprouts, reaping the rewards of your gardening efforts.
- Ultimate Guide to Ossabaw Island Hog: Breeding, Raising, Diet, and Care
- Ultimate Guide to Juliana Pig: Raising Facts, Size, Diet, Care, and Lifespan
- Raising Lleyn Sheep: Disadvantages, Price, Uses, Characteristics, and Care
- Ultimate Guide to Meishan Pig: Breed Facts, Breeding, Raising, and Care
- Ultimate Guide to Teacup Pigs: Raising, Diet, Lifespan, Cost, and Care
- Guide to Raising Poll Dorset Sheep: Facts, Profile, Characteristics, Uses, and Care
- Ultimate Guide to Bighorn Sheep: Characteristics, Diet, Lifespan, Breeding, and Lifecycle
- Ultimate Guide to Raising Katahdin Sheep: Farming Facts, Breed Profile, Uses, and Care
- Ultimate Guide to Raising Oreo Cows: Belted Galloways Farming Facts, Profile, Uses, and Care