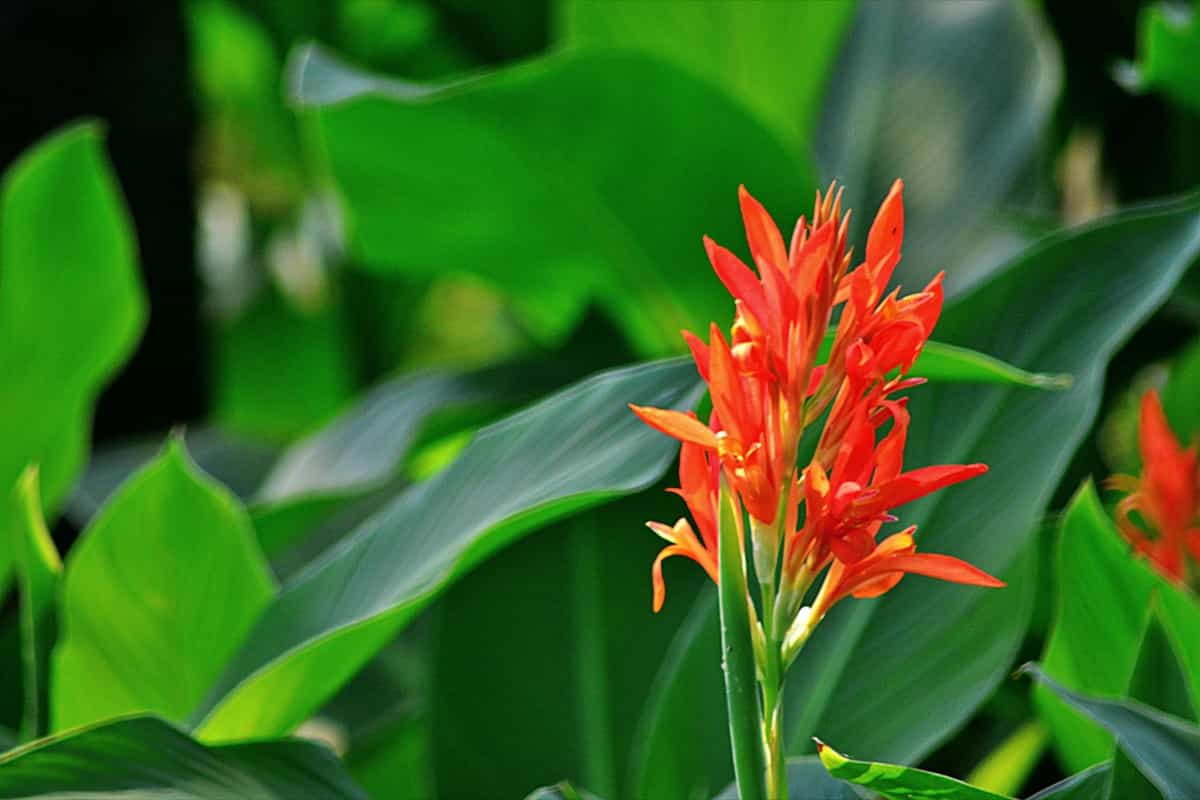
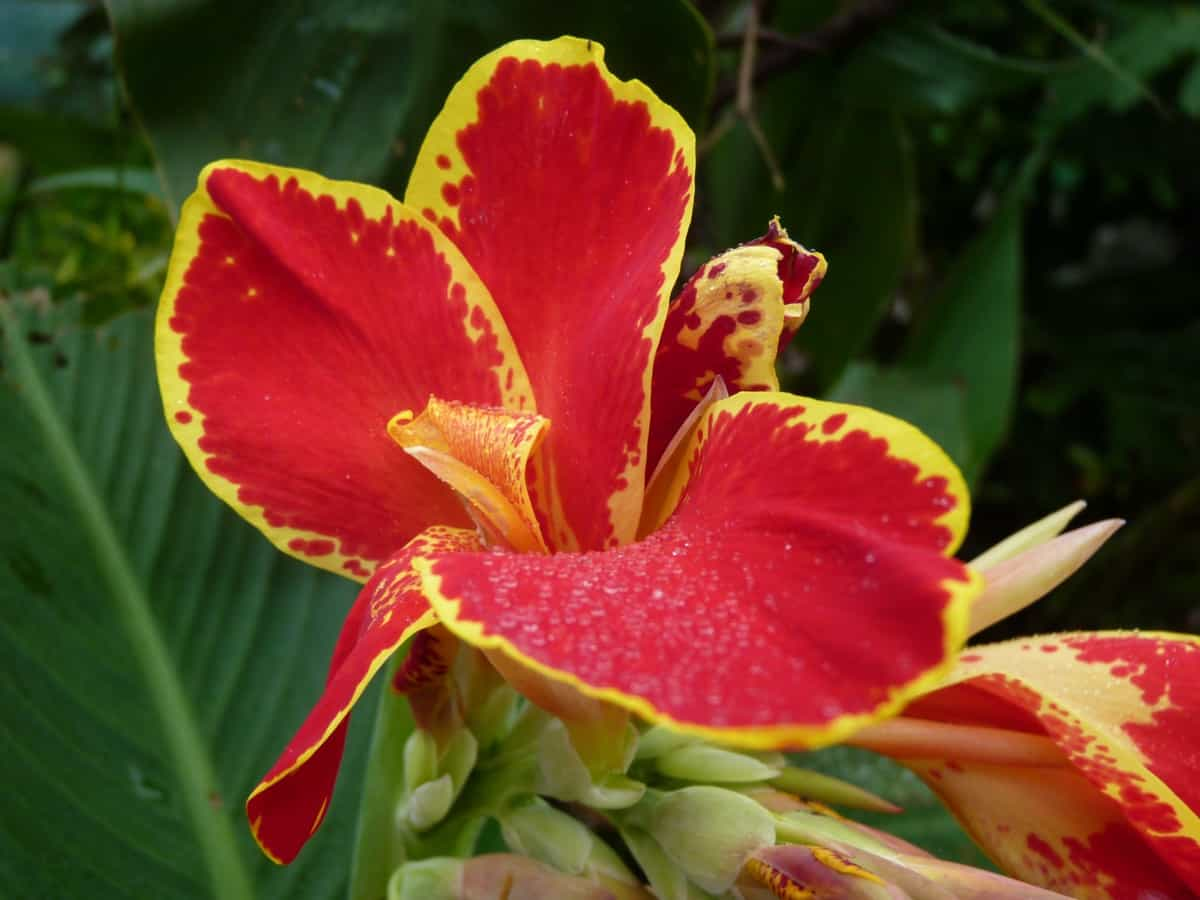
Embarking on the journey of planting Canna Lily seeds is a rewarding endeavor that unveils the enchanting beauty of these vibrant, tropical plants. This comprehensive guide outlines ten essential steps to successfully cultivate Canna Lilies from seed, taking you through the intricacies of seed germination to the nurturing care required for flourishing blooms. With patience and attention to detail, you can transform tiny seeds into magnificent, flamboyant blossoms that grace your garden with their exotic allure.

10 Steps for Planting Canna Lilly Seeds
Selecting the Right Seeds
Begin your Canna Lily cultivation adventure by carefully selecting high-quality seeds. Opt for reputable seed suppliers or nurseries to ensure the authenticity and viability of your seeds. Consider the specific variety you desire, as Canna Lilies come in various colors and sizes. Look for seeds with intact, unblemished coatings and avoid those with signs of damage or mold. Additionally, research the preferred growing conditions of the chosen Canna Lily variety to align with your local climate, ensuring a successful and vibrant garden display.
Preparing the Planting Site
Find a spot that receives adequate sunlight, as these tropical plants thrive in full to partial sun exposure. Canna Lilies require a minimum of six hours of direct sunlight for optimal growth and vibrant blooms. Clear the planting area of weeds and debris to minimize competition for nutrients and resources. Ensuring well-draining soil is paramount to prevent waterlogging, a condition that can be detrimental to the seeds and the eventual plants.
Incorporate organic matter, such as vermicompost or well-aged manure, to enhance fertility and improve its structure. Prior to planting, conduct a soil pH test to ascertain the acidity or alkalinity of the soil. Canna Lilies prefer a slightly acidic to neutral pH range (6.0-7.0). Adjust the pH if necessary by incorporating amendments like lime for acidic soil or sulfur for alkaline soil.
Timing for Planting
These tropical plants are sensitive to temperature variations, requiring warm conditions to thrive. Ideally, Canna Lily seeds should be planted after the last frost date in your region when the soil has warmed up. In most temperate climates, this translates to planting in late spring or early summer. Soil temperatures of at least 15°C are recommended for successful germination. Planting too early, when the soil is still cold, can result in poor seed germination or even seed rot.
Before planting, it’s essential to consider the desired blooming period. Canna Lilies typically take 10 to 20 days to germinate, and the plants reach maturity in 80 to 90 days. By aligning the planting time with your local climate and the anticipated blooming period, you can orchestrate a vibrant display of Canna Lily blossoms during the peak growing season.
Seed Germination Process
The seed germination process for Canna Lilies involves a series of steps to ensure successful sprouting. Start by soaking your Canna lily seeds in warm water for 24 hours before planting. This helps break dormancy and enhances germination rates. Use a well-draining seed-starting mix or a combination of peat and perlite to create a loose, aerated medium.
In case you missed it: The Best Fertilizer for Lillies: When and How to Apply

Plant the pre-soaked seeds about 1/4 to 1/2 inch deep in the soil, gently pressing them into the surface. Maintain a consistently warm environment, ideally around 21-24°C, to promote germination. Keep the soil moist consistently but not waterlogged during this phase, which typically takes 10 to 20 days. Once the seedlings emerge, provide ample light to encourage healthy growth.
Planting Depth and Spacing
When planting Canna Lily seeds, the depth and spacing are critical factors that influence seedling development and eventual plant vigor. Sow the Canna lily seeds at 1/4 to 1/2 inch depth, ensuring they are adequately covered with soil. This depth protects the seeds while allowing them access to sufficient light for germination.
Maintain 12 to 18 inches spacing between seeds to provide ample room for the mature plants to grow. Adequate spacing prevents overcrowding, ensuring proper air circulation and reducing the risk of diseases. Proper spacing also allows each plant to receive its share of sunlight, nutrients, and water, contributing to robust and healthy Canna Lily growth.
Watering and Moisture Management
Ensure a steady level of soil moisture by consistently watering, aiming for an even and moist condition without causing waterlogging. Use a gentle watering method to avoid dislodging seeds or seedlings. Once the seedlings emerge, adjust the watering frequency, and the soil should be allowed to dry out between two successive watering sessions. Pay attention to environmental conditions, adjusting your watering routine during hot or dry periods. Striking a balance in watering and moisture management contributes significantly to the successful establishment of healthy Canna Lily plants.
Fertilization Methods
- Begin by incorporating a balanced, slow-release fertilizer into the soil at the time of planting or when the first leaves appear.
- A fertilizer with equal or slightly higher phosphorus content promotes strong root development, which is crucial for young seedlings.
- As the plants mature, they transition to a fertilizer higher in nitrogen to support robust foliage and vibrant blooms.
- Apply fertilizer every 4 to 6 weeks during the active growing season, following package instructions for dosage.
- Over-fertilizing should be avoided, as this can result in excessive foliage growth instead of flowers.
- Organic options, such as well-rotted manure or compost, can supplement synthetic fertilizers, enhancing soil structure and nutrient content.
- Regular monitoring and adjustment of fertilization practices contribute to the health and vitality of your Canna Lilies.
Protection from Pests and Diseases
- Regularly inspect plants for common pests like aphids, spider mites, and caterpillars.
- Apply insecticidal soap or else neem oil to control infestations, opting for organic solutions to minimize environmental impact.
- Implement good garden hygiene by removing debris and weeds that can harbor pests and diseases.
- Provide adequate spacing between plant-to-plant to improve air circulation, reducing the risk of fungal infections.
- Applying a layer of mulch helps suppress weeds and retains soil moisture, contributing to a healthier growing environment.
- If diseases such as rust or fungal infections are identified, promptly remove and destroy affected plant parts.
- Consider using disease-resistant Canna Lily varieties to minimize susceptibility.
In case you missed it: Spirulina Production Process: Exploring From Cultivation to Harvesting and Drying

Transplanting Seedlings
- When transplanting Canna Lily seedlings, timing and care are essential for a successful transition.
- Wait until the seedlings have developed sturdy roots and are at least 6 inches tall before transplanting.
- Choose a well-prepared planting site with nutrient-rich, well-draining soil and ample sunlight.
- Make sure the top of the root ball is level with the soil surface by digging a hole larger than the seedling’s root ball.
- The seedling should be gently lifted from its original container without disturbing its roots too much.
- Plant your Canna lily seedling in the prepared hole and backfill it with soil. Firm the soil around the root system gently.
- Water thoroughly to settle the soil and reduce transplant shock. Maintain consistent moisture in the days following transplantation to support root establishment.
- Transplanting should ideally be done in the evening to reduce stress on the seedlings.
Caring for Mature Plants
Provide ample sunlight, as these plants thrive in full to partial sun. Regularly water, keeping the soil consistently moist but not soggy. Apply a balanced fertilizer during its active growing season, adjusting the formulation to support flowering and foliage development. Mulch around the base of mature plants to conserve moisture and prevent weeds.
Deadhead spent flowers to promote blooming and maintain aesthetic appeal. Inspect for pests and diseases, promptly addressing any issues to prevent widespread damage. Stake tall varieties to support heavy flower heads, preventing them from bending or breaking. In colder climates, consider lifting rhizomes in fall to protect them from frost.
In case you missed it: Terrace Garden Design and Layout for Indian Gardens: Aesthetic and Functional Considerations

Conclusion
In conclusion, cultivating Canna Lilies from seeds is a rewarding journey that involves meticulous steps, from selecting the right seeds to nurturing mature plants. By following the above-discussed steps, you can transform tiny seeds into spectacular blossoms. With patience, attention, and the insights provided in these ten steps, you’ll cultivate a thriving Canna Lily garden brimming with exotic beauty and vibrant colors. Happy gardening!
- Feed Your Flock for Less: Top 10 Tips to Save on Chicken Feed
- Ultimate Guide to Ossabaw Island Hog: Breeding, Raising, Diet, and Care
- Hatching Answers: The Top 10 Reasons Your Chickens Aren’t Laying Eggs
- Eggs and Economics: Breaking Down the Cost of Raising Backyard Chickens
- Defend Your Greens: Proven Methods to Keep Iguanas Out of Your Garden
- Ultimate Guide to Cinnamon Queen Chicken: A Comprehensive Guide for Beginners
- Ultimate Guide to California Tan Chicken: Breeding, Raising, Diet, Egg-Production and Care
- Ultimate Guide to Marsh Daisy Chicken: Breeding, Raising, Diet, and Care
- 10 Types of Chicken Farming Businesses You Can Start for Profits