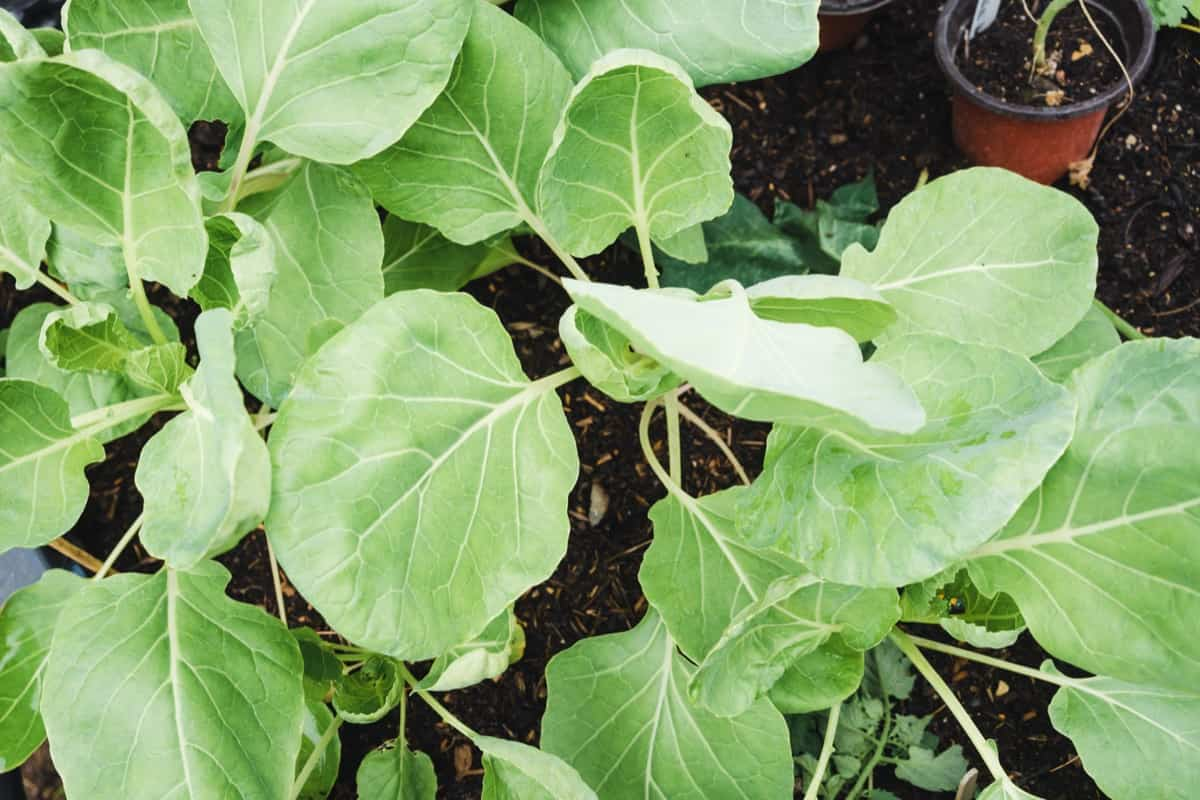
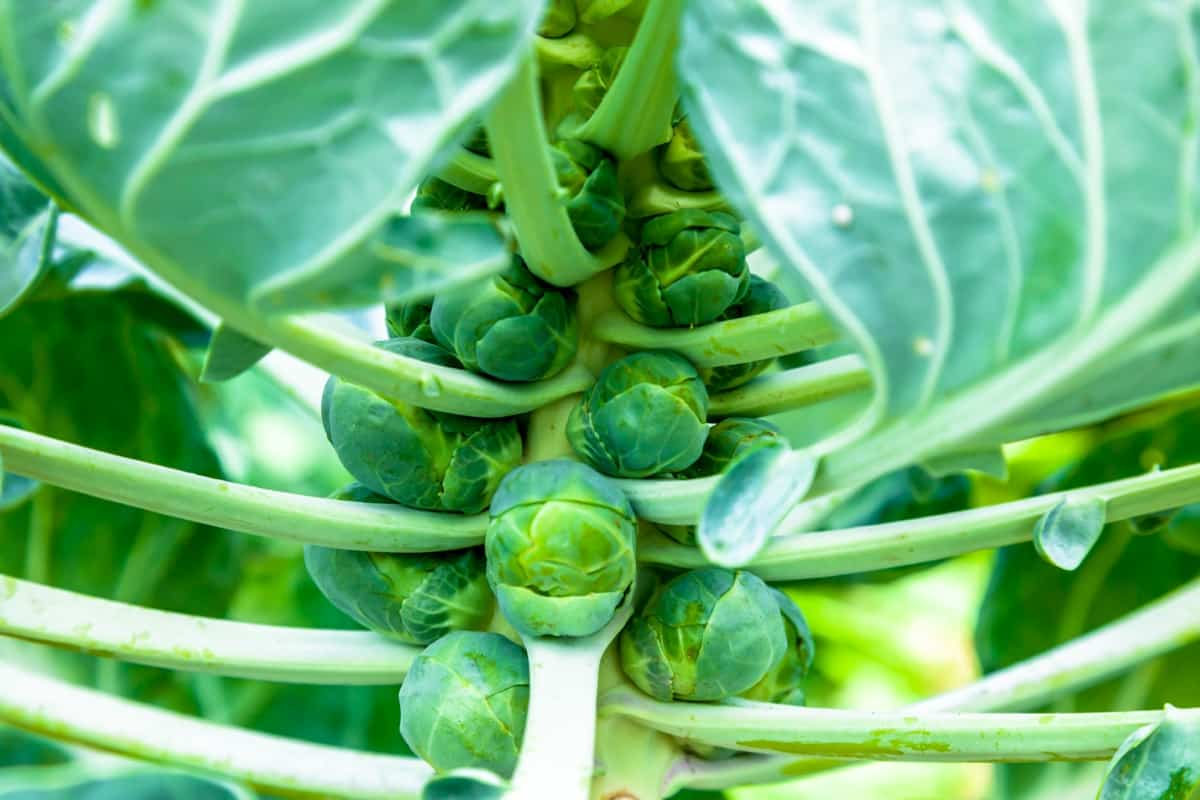
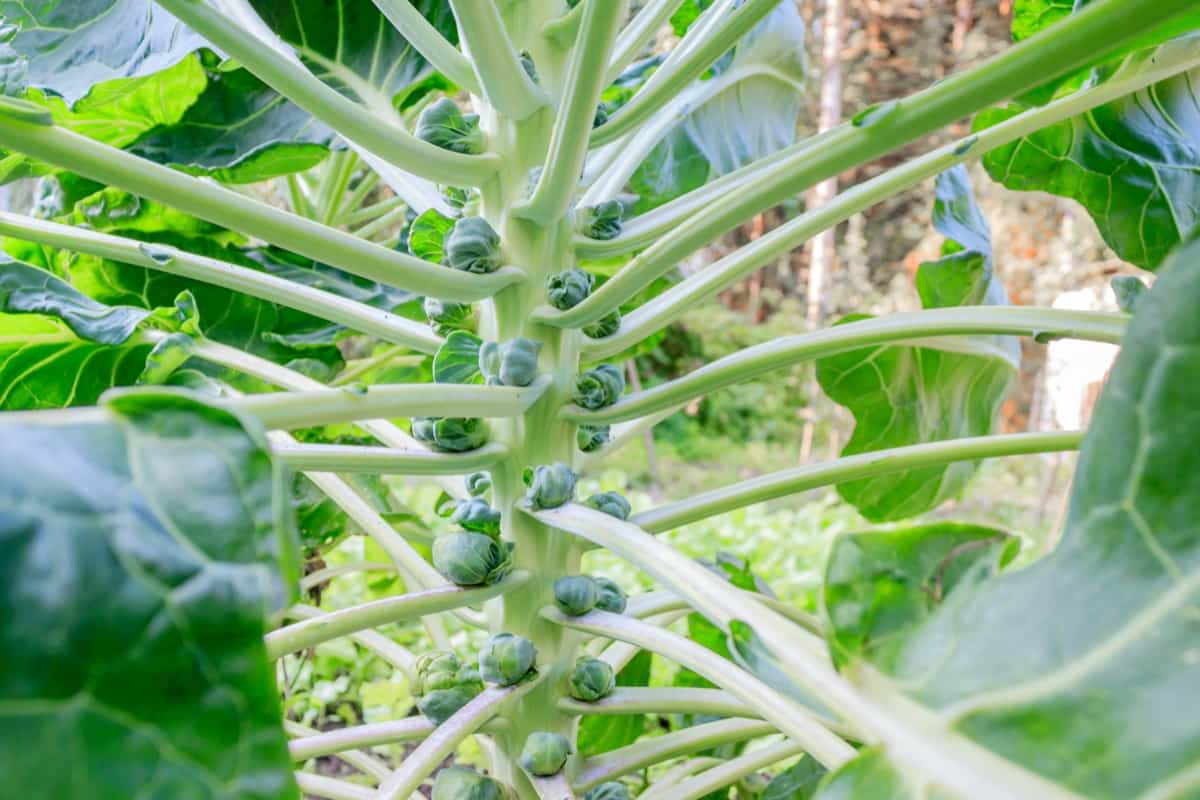
Brussels sprouts plants are a popular choice for home gardeners due to their delicious flavor and nutritional value. However, like plants, they can be susceptible to various problems hindering their growth and productivity. This article will discuss nine common problems with Brussels sprout plants and provide treatments and solutions for each.

9 Common Problems With Brussels Sprouts Plants
Preventing Aphid Infestations on Brussels Sprouts Plants: Natural Remedies
Aphids are small, soft-bodied insects that can wreak havoc on Brussels sprouts plants. These tiny pests suck the sap of the plants, causing deformities, stunted growth, and even transmitting plant diseases. To get rid of aphids from your Brussels sprouts plants,
- Spray with Homemade Insecticidal Soap: Insecticidal soap is an effective and natural solution for aphid control. Mix 1-2 tablespoons of mild liquid soap, such as Castile, with a quart of water to make your insecticidal soap.
- Introduce Beneficial Insects: Ladybugs and lacewings are natural predators of aphids. Introducing these beneficial insects into your garden allows you to establish a natural balance and keep aphid populations in check.
- Plant Companion Plants: Some plants, such as marigolds, mint, and garlic, have natural repellent properties that can deter aphids.
Dealing With Yellowing Leaves on Brussels Sprouts Plants: Causes and Solutions
As a Brussels sprout plant grows taller, the lower leaves will turn yellow anyway because the individual sprouts mature from the bottom up. Any yellowing leaves should be removed by hand. If new leaves turning to yellow on Brussels sprout plants, various factors, including nutrient deficiency, overwatering, underwatering, pest infestation, and disease, can cause it.
By providing adequate nutrients, adjusting watering practices, controlling pests, and practicing good plant hygiene, you can effectively address the issue and promote healthy growth in your Brussels sprouts plants. Remember to monitor your plants regularly and take prompt action to maintain their overall health and productivity.
Controlling Powdery Mildew on Brussels Sprouts Leaves
Powdery mildew is a common fungal-caused disease that affects Brussels sprouts plants, causing damage to the leaves and reducing the overall health and productivity of the plant. If you have noticed that your Brussels sprout leaves are curling and covered with powder-like white stuff, it could be a sign of a powdery mildew infection. To control powdery mildew on Brussels sprout leaves naturally,
- Prune infected leaves and branches to remove the source of powdery mildew spores.
- Certain organic fungicides, such as sulfur or neem oil, can effectively control powdery mildew on Brussels sprout leaves.
- Baking soda solution (1 tablespoon per liter water) can be sprayed on infected Brussels sprout leaves.
Powdery Mildew Chemical Control
One commonly used fungicide for powdery mildew control is sulfur. Sulfur-based fungicides work by inhibiting fungal growth and preventing spore germination. Synthetic fungicides such as azoxystrobin and myclobutanil.
Identifying and Treating Cabbage Worm Damage on Brussels Sprouts
If you see holes in the leaves of your cabbage, brussels sprouts, broccoli, cauliflower, or any other plant in the Brassicaceae family, it’s a sure bet that pesky caterpillars like cabbage worm are the culprit. They are green caterpillars with legs along their entire body and stay flat when they crawl. The adult butterfly is white with a few small black spots on their wings.
Getting Rid of Cabbage Worms
Inspect your Brussels sprouts regularly and manually remove any visible cabbage worms. Drop them into a bucket of soapy water to ensure they are eliminated. Use lightweight row covers to physically block adult cabbage butterflies from laying eggs. This method helps prevent cabbage worm infestations. Introduce natural predators in your garden, such as parasitic wasps and ladybugs.
In case you missed it: Frequently Asked Questions About Growing Brussels Sprouts From Seed to Harvest

Managing Nutrient Deficiencies in Brussels Sprouts Plants
- Nutrient deficiency symptoms in Brussels sprout plants include pale yellow leaves, stunted growth, and poor flower and fruit production.
- To manage nitrogen deficiency, apply compost or well-rotted manure.
- To address phosphorus deficiency, apply bone meal or rock phosphate.
- To manage potassium deficiency, apply potassium sulfate or potassium chloride.
- To address calcium deficiency, consider applying gypsum or calcium nitrate
Preventing Brussels Sprouts Plants From Bolting Prematurely
- Look for “late-maturing” or “bolt-resistant” varieties, specifically bred to withstand bolting and ensure a prolonged growing season.
- Excessive heat and direct sunlight can trigger premature bolting in Brussels sprouts plants. To prevent this, ensure that the plants are provided with adequate shade.
- Brussels sprouts thrive in well-draining soil that is rich in organic matter. Before planting, amend your soil with vermicompost or well-rotted manure.
- Proper spacing between Brussels sprout plants is essential to prevent overcrowding, which can accelerate bolting. Plant the seedlings or transplants at least 24-36 inches apart.
- Brussels sprouts plants require regular feeding to maintain their vigor and prevent stress-induced bolting. Apply a balanced fertilizer high in nitrogen during the growing season.
Identifying and Treating Black Rot in Brussels Sprouts Plants
One of the key symptoms of black rot in Brussels sprouts plants is the development of brown spots inside the sprouts. These spots may start small but can grow in size over time. The sprouts may become watery as the disease progresses and emit a foul odor. To treat black rot in Brussels sprouts plants:
- Fungicides containing active ingredients such as copper or mancozeb can be applied to help control the disease. Follow the label instructions carefully.
- Regularly scout the plants for signs of disease and remove any infected plants promptly to prevent the spread of black rot to healthy plants.
Managing Excessive Growth and Spacing Issues in Brussels Sprouts Plants
Excessive growth in Brussels sprouts plants can lead to a range of issues, including weak stems, reduced air circulation, and increased vulnerability to diseases and pests. The general rule of thumb is to plant Brussels sprouts approximately 24 to 36 inches apart, allowing enough room for each plant to grow and develop without competing for resources.
Spacing issues can arise when Brussels sprouts plants are overcrowded or planted too closely together. When plants are too close, they can shade each other, hindering proper air circulation and increasing the risk of fungal diseases. Regular pruning can also help manage excessive growth and spacing issues in Brussels sprouts plants.
Dealing With Brussels Sprouts Plants Not Forming Tight Heads
Brussels sprouts typically begin forming heads when the plants have reached a certain maturity level. This usually occurs around 90 to 100 days after transplanting the seedlings into the garden. If the plants are not given enough time to mature, they may not have the opportunity to develop tight heads.
In case you missed it: A Step-by-Step Guide for Growing Brussels Sprouts Microgreens: DIY in Simple Way from Seeds in Containers

Brussels sprouts require six hours of sunlight daily at least to grow properly. If the plants are located in a shady area or are overshadowed by taller plants, they may not receive enough sunlight to promote head formation. In such cases, it is advisable to transplant the Brussels sprouts to a sunnier location or prune nearby plants to get more sunlight to reach them.
Conclusion
By addressing these common problems with brussels sprouts plants and providing treatment and solutions, you can enjoy healthy and productive Brussels sprouts plants in your garden. Remember to regularly monitor your plants, take preventive measures, and provide proper care to ensure their success,
- Feed Your Flock for Less: Top 10 Tips to Save on Chicken Feed
- Ultimate Guide to Ossabaw Island Hog: Breeding, Raising, Diet, and Care
- Hatching Answers: The Top 10 Reasons Your Chickens Aren’t Laying Eggs
- Eggs and Economics: Breaking Down the Cost of Raising Backyard Chickens
- Defend Your Greens: Proven Methods to Keep Iguanas Out of Your Garden
- Ultimate Guide to Cinnamon Queen Chicken: A Comprehensive Guide for Beginners
- Ultimate Guide to California Tan Chicken: Breeding, Raising, Diet, Egg-Production and Care
- Ultimate Guide to Marsh Daisy Chicken: Breeding, Raising, Diet, and Care
- 10 Types of Chicken Farming Businesses You Can Start for Profits