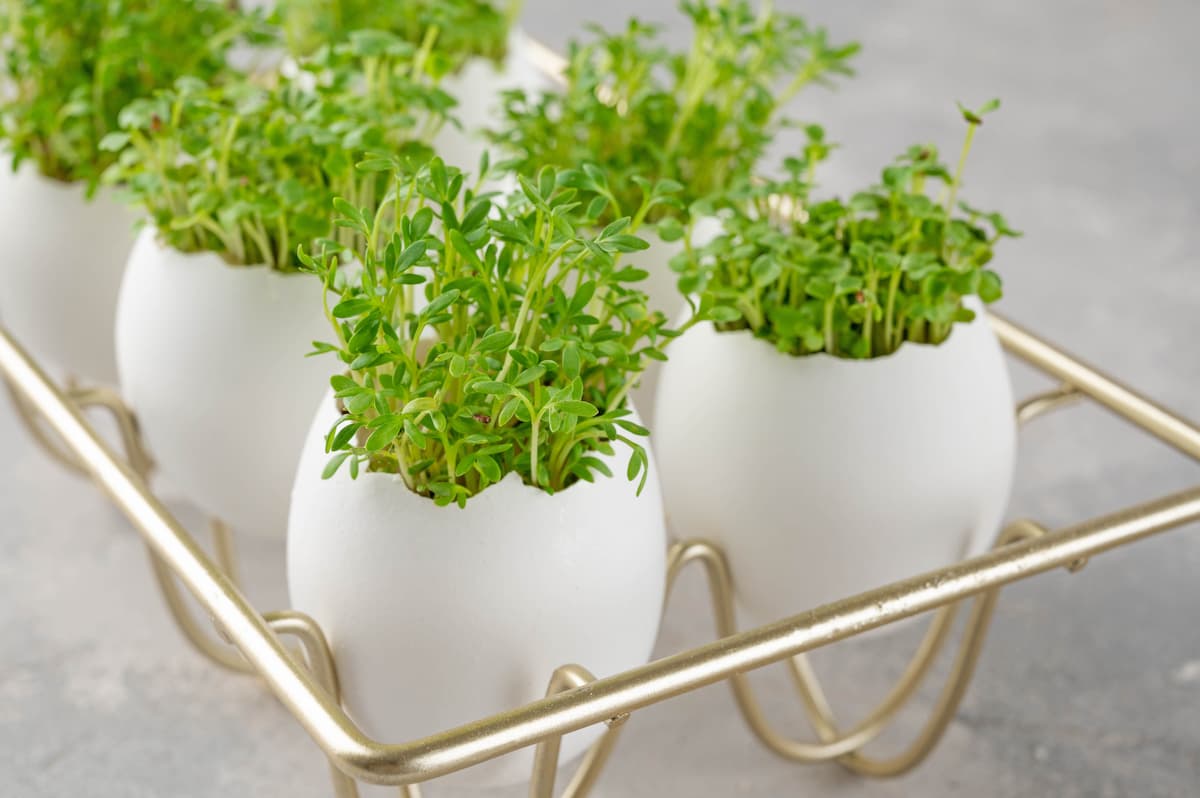
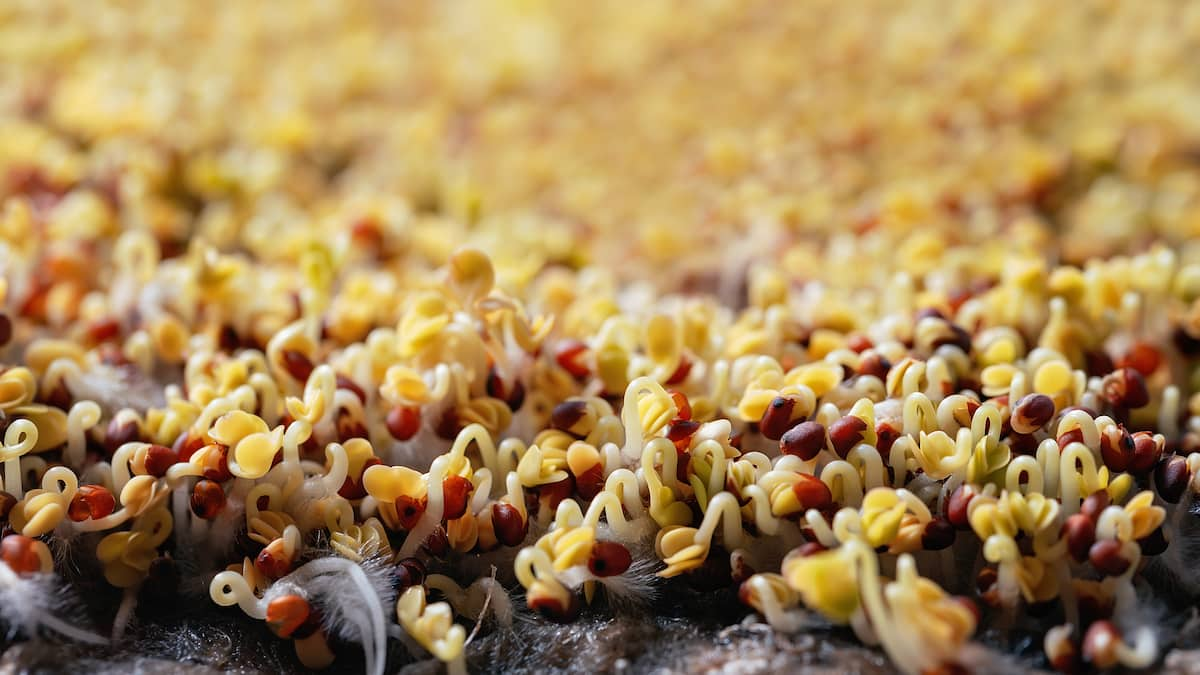
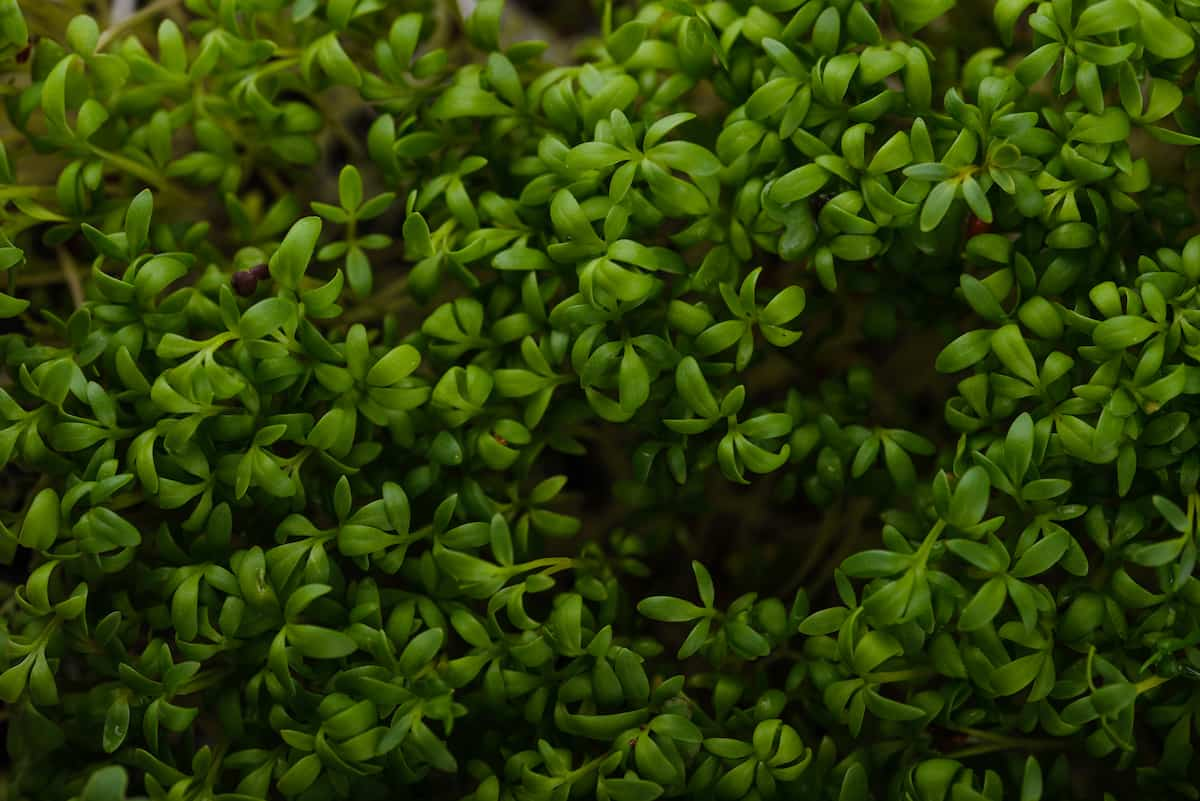
Watercress is an excellent microgreen choice to add a little spice. These easy-to-grow cress microgreens will wake your taste buds with their intense peppery flavor. Watercress is an easy-to-grow microgreen that is filled with nutrients.

A Step-By-Step Guide for Growing Watercress Microgreens
Do Watercress Microgreens Regrow After Harvesting?
No, Watercress microgreens will not regrow after harvesting. After harvest, compost the growing medium and plant roots. Then, plant a fresh batch of Watercress microgreens.
Growing Watercress Microgreens without Soil
- Watercress microgreens are simple to grow and can be harvested within a few weeks after planting. You will want to provide adequate light, water, and nutrients for them to grow. Hydroponics is a great way to grow Watercress microgreens. This method uses water and nutrients to sustain plant growth in a controlled environment.
- Watercress seeds germinate quickly and will be ready to transplant into pots within a week. Make sure to choose quality seeds that have been well-germinated and have good viability.
- Select a container that has drainage holes and is large enough to accommodate your Watercress plants when they are growing in size. The best containers are often simple earthenware or plastic pots with drainage holes at the bottom.
- Soak the seeds in fresh water for 24 hours before planting them in soil or nutrient-rich media such as vermiculite or perlite. This will help increase germination rates and improve your plants’ root growth.
- Plant the seeds 1/2 inch deep and spritz them with water every day until they germinate, which should take around 7-14 days. Once they germinate, keep watering them lightly every day until they reach the desired height.
Growing Medium for Watercress Microgreens
Watercress microgreens growing medium is a mix of compost, vermiculite, and lite that helps to regulate the temperature and light exposure for Watercress plants. The medium has been proven beneficial for growing Watercress plants, as it allows them to grow larger and more succulent leaves with less interference from pests. Additionally, the medium keeps the soil moist, helping to promote healthy roots while avoiding over-watering.
In case you missed it: A Step-by-Step Guide for Growing Broccoli Microgreens: DIY in Simple Way from Seeds in Containers

Simple Way to Grow Watercress Microgreens Indoors
- Choose the right container: Watercress grows best in small, square, or rectangular containers with a diameter of at least 16 inches. The soil must be damp but not wet.
- Prepare the seeds: Soak them overnight in warm water to germinate Watercress seeds. Then, rinse them and place them in a pot containing fresh potting soil. Make sure the seeds are well-covered with soil. If you’re growing Watercress from seedlings, transfer the young plants into their pots once they’ve grown about an inch tall.
- Plant the seeds: Place the container in a spot that receives at least six hours of direct sunlight daily. Water the plants thoroughly before planting, then water them again every day until they germinate. Once they do, stop watering them for two days and then continue watering only when the soil is completely dry.
Steps to Grow Watercress Microgreens from Seeds
- This easy-to-grow microgreen can be grown in containers, and with a little care, you can produce plenty of crops in a limited space.
- Store fresh Watercress seeds in a cool, dark place for two to three months. Start with fresh, fertile soil that has been well-amended with organic matter. Watercress loves well-draining soil, so make sure the potting mix has plenty of organic matter.
- Sow the Watercress seeds on the soil’s surface and cover them lightly with the soil. Watercress grows quickly, so don’t be alarmed if they start popping up within a few hours after sowing. If desired, you can mist the container twice a day while the plants are growing to help keep them moist and happy.
- Once the plants have germinated, remove any floaters or weeds from around them before planting the Watercress seedlings into their final containers. Be sure to place the container near a sunny window for the best results. Watercress does best in warm climates but can handle cooler temperatures if necessary.
- Germinate the seeds by soaking them overnight in warm water. Place the soaked seeds on moist soil and cover them for 12 hours. Plant the seedlings into pots or larger containers filled with soil and lightly water them. Keep the plants well-watered and fertilized as needed; allow them to grow until they are about 2 inches tall.
- Once the plants have reached their desired height, begin harvesting Watercress pods by snapping off the leaves one by one as they grow back; do not let the plants flower or produce seed pods. Enjoy your bounty of fresh Watercress micro greens.
How Much Water to Give Your Watercress Microgreens?
A typical container-grown cress needs 1 inch of water per week. However, because cress is a fast-growing plant, you may need to water more frequently in the beginning, especially if your soil is dry. The key is to be patient and allow the growing soil to dry out between waterings before watering again.
Tips For Growing Watercress Microgreens
- Watercress microgreens are a great way to add fresh flavor and nutrients to your summer salads and cooked foods. Start with hardy, disease-free seeds. Choose varieties that are adapted to your climate and soil conditions.
- Plant in pots or containers filled with firm, well-drained soil. Water regularly but not excessively.
- Keep the plants moist but not wet, and fertilize monthly with a high-nitrogen fertilizer.
- Harvest young sprigs when they are about 2 inches tall, and space them about one inch apart in containers or salads.
In case you missed it: How to Grow Microgreens at Home Without Soil: DIY, Ideas, Tips, and Techniques

Harvesting Your Watercress Microgreens
Watercress microgreens are one of the world’s most popular types of vegetables. They are tiny, fresh, and delicious. You can grow microgreens from any type of vegetable seed, including Watercress. This guide will show you how to harvest your microgreens simply from seeds in containers.
It is important to start growing microgreens as soon as possible so that they can reach their full potential. Microgreens are ready to be harvested when they have stretched evenly and produce small leaves that are dark green and slightly overlapped. To harvest your microgreens, use a clean pair of scissors to cut them off at the base of the stem.
Conclusion
Watercress is a delicious and nutritious leafy green that is becoming increasingly popular as a health food. This delicious Watercress microgreen is among the most popular microgreens on the market.
- Feed Your Flock for Less: Top 10 Tips to Save on Chicken Feed
- Ultimate Guide to Ossabaw Island Hog: Breeding, Raising, Diet, and Care
- Hatching Answers: The Top 10 Reasons Your Chickens Aren’t Laying Eggs
- Eggs and Economics: Breaking Down the Cost of Raising Backyard Chickens
- Defend Your Greens: Proven Methods to Keep Iguanas Out of Your Garden
- Ultimate Guide to Cinnamon Queen Chicken: A Comprehensive Guide for Beginners
- Ultimate Guide to California Tan Chicken: Breeding, Raising, Diet, Egg-Production and Care
- Ultimate Guide to Marsh Daisy Chicken: Breeding, Raising, Diet, and Care
- 10 Types of Chicken Farming Businesses You Can Start for Profits