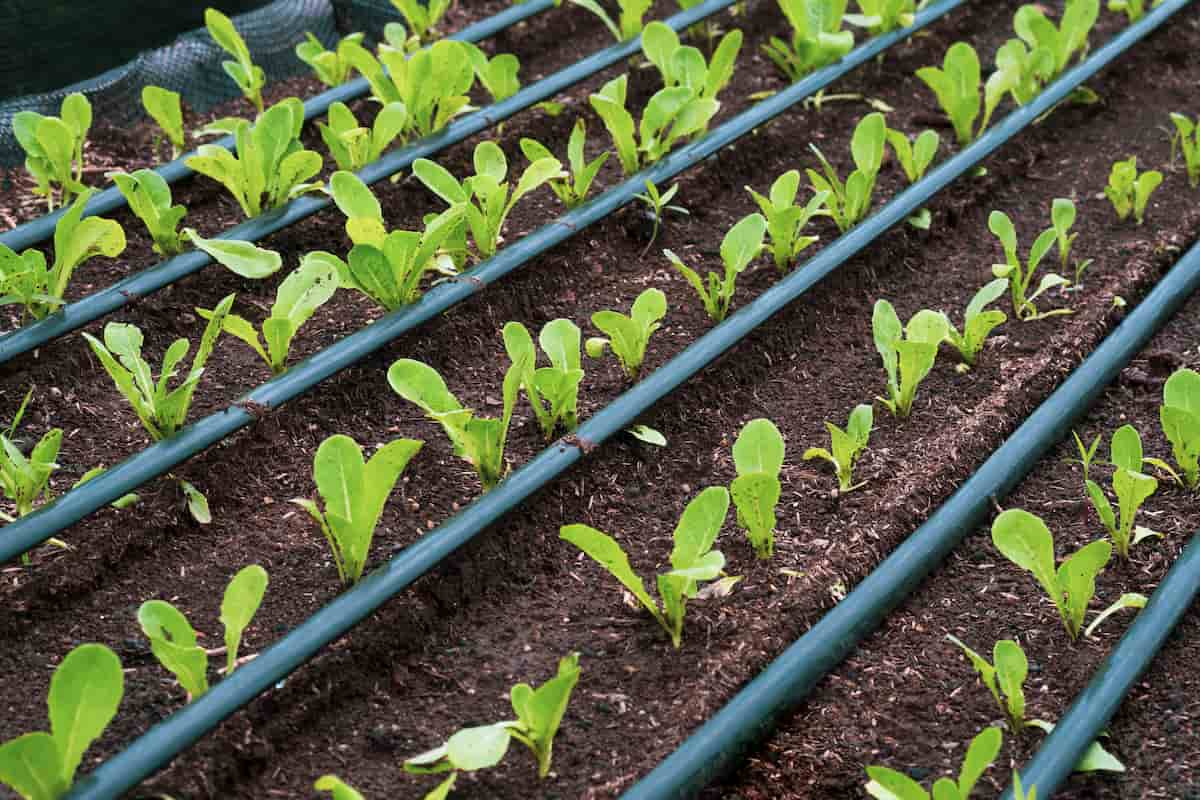
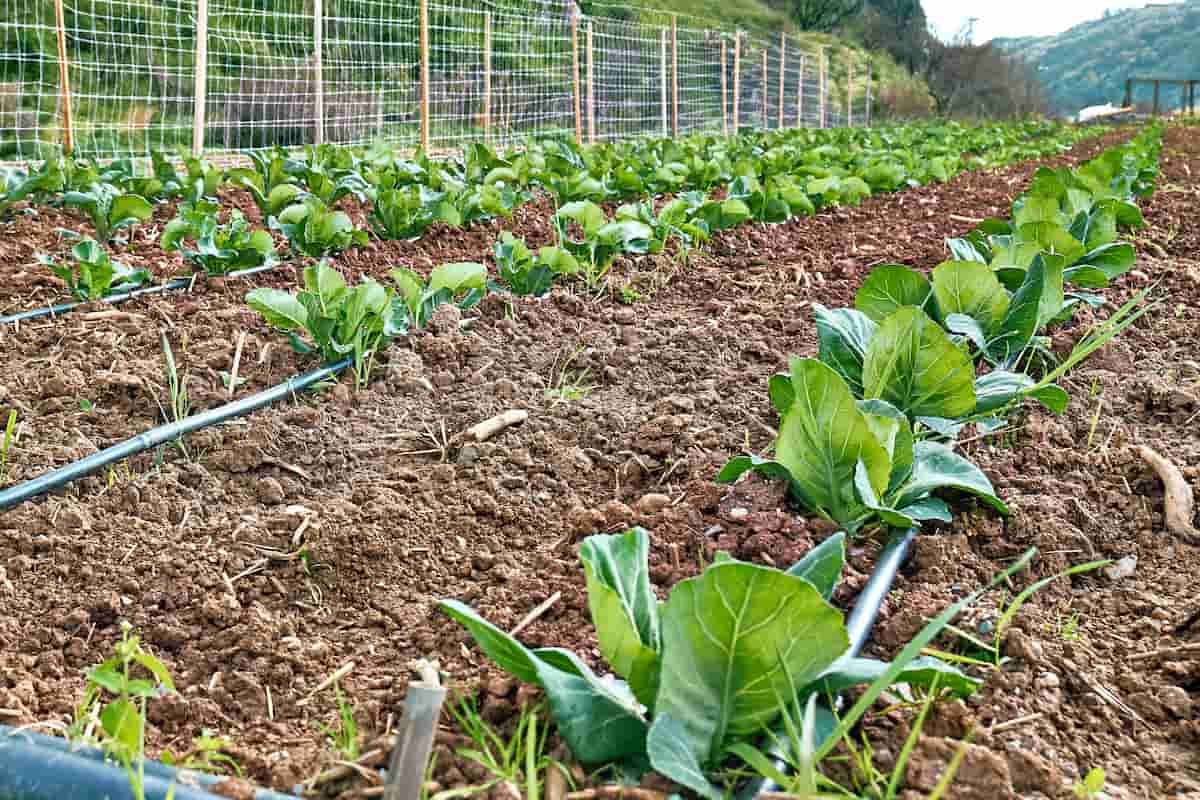
Drip irrigation is a modern and effective way to water your vegetable garden. It is a method of delivering water directly to the roots of your plants through a series of small tubes or pipes. This allows for more efficient water usage, as the water is delivered only where it is needed, and reduces the amount of water lost to evaporation or runoff.

Drip irrigation also promotes healthier plants, as it can help to prevent over-watering and reduce the risk of disease. It is an easy system to install and maintain and can be customized to fit the specific needs of your garden. By using drip irrigation, you can save time, water, and energy, while also increasing the yield and quality of your vegetable crops.
Drip Irrigation Installation for Vegetable Garden
What is Drip Irrigation?
Drip irrigation is an irrigation channel that supplies water directly to plants’ roots, drop by drop. This is done through a network of pipes, tubes, and emitters that distribute water evenly throughout the garden. The main components of a drip system include:
- Water source: A faucet, bore well, hose, or rain barrel.
- Mainline tubing: This large-diameter tubing carries water from the water source to the drip lines.
- Drip lines: These smaller diameter tubes deliver water to the plants. Emitters are small devices regulating water flow and are attached to the drip lines.
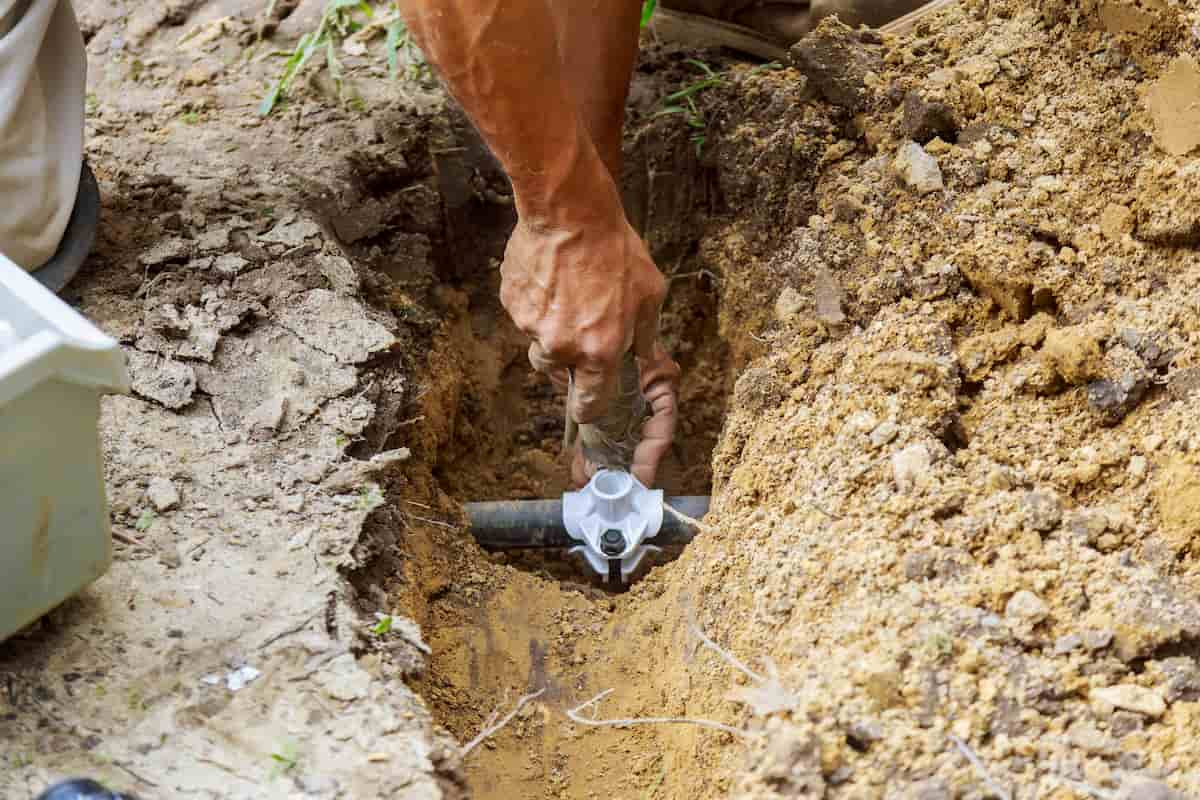
- Fittings and connectors: These are used to connect the various components of the system, such as the mainline tubing, to the drip lines.
- Timer and filter: A timer can be added to automate the watering process, while a filter can help to prevent clogs in the emitters.
Why Drip Irrigation is Useful for Vegetable Gardening
- Water conservation: Drip irrigation can use up to 50% less water than traditional sprinkler systems, as it supplies water directly to the root zone, reducing evaporation and runoff.
- Energy efficiency: Drip irrigation operates at lower pressures than sprinklers, reducing energy costs for pumping water.
- Precision watering: Drip irrigation provides precise amounts of water to plants, resulting in higher water-use efficiency and healthier plants.
- Disease prevention: Drip irrigation keeps foliage dry, reducing the risk of plant diseases caused by wet leaves.
- Cost savings: Drip irrigation requires less labor and maintenance than other watering methods and can be automated for greater efficiency.
- Weed control: Drip irrigation delivers water only to plant root zones, reducing water usage between rows and minimizing weed growth.
- Fertilizer efficiency: Drip irrigation can apply fertilizers directly to plant root zones.
- Versatility: Drip irrigation can be used in various fields, including uneven terrain and variable soil types.
- Environmental benefits: Drip irrigation can reduce soil erosion and nutrient leaching compared to traditional sprinkler systems.
In case you missed it: Top 15 Benefits of Drip Irrigation in Horticulture

A Step-By-Step Guide to Installing Drip System
Step 1: Planning and Designing
- Create a plant list and divide them into groups with similar watering needs.
- Determine the soil type in the area to select the appropriate drippers or micro-sprinklers.
Step 2: Choosing A Method To Start
- Choose one of the following methods: faucet connection, connect to an irrigation valve, or retrofit a sprinkler system riser.
Step 3: Distributing The Water
- Roll out the hose or drip line and position it in your garden or flowerbed.
- Cut the hose to length using Poly Pipe Cutters.
Installing Your Drip Irrigation System for Vegetable Garden
- Sketch your garden: Start by sketching out your garden on a piece of paper. Draw a rough perimeter of your vegetable garden, including the water spigot, walkways, fences, and other important features.
- Draw drip emitter line: Sketch clear imaginary drip lines where you want your lines to go. Draw a drip emitter line or a line with holes in it, especially where plants need water. Draw a solid hose line that connects the drip emitter line to the water tap, but ensure no drip line with holes coming out of the fixture immediately.
- Measure your garden area: Measure the length of the drip and solid line required for the entire garden irrigation system design. Plan to purchase between 5 to 10 percent more lines than you require of each type to avoid any shortage.
- Calculate configuration: Calculate the number and type of collars and connectors required for your desired configuration. If you need more clarification, refer to your drawing and envision what every connection will look like.
- Buy your supplies: Purchase your supplies and keep your receipts if you need to return unused items.
- Install the system: Uncoil all the tubing lines along a dry, smooth surface to let the spiral line relax and settle into a straight line. Set up the watering timers, attach them to the water outlet, and lay out a solid line for your vegetable garden. Then, lay out the emitter line beside or around the vegetable garden, and cut the tubing to desired lengths.
- Install connectors: Place metal connector collars around all the tubing ends and push the tubing connectors until they are completely into the hoses’ cut ends. Push the metal collars until they slide up the tubing on the connector, and tighten them into a functional water outlet using the drill. Install all the remaining connectors and then install the hose connector appropriately at the end of the solid line going into the water outlet.
- Pressure test the system: Turn on the drip irrigation system and walk the entire line length, checking for leaking connections. If you find any, replace them.
- Put the line in place: After confirming that the garden irrigation system is working properly, put the line in a permanent location in your garden.
Maintaining Your Drip Irrigation System
- Helpful tips to keep your system running smoothly throughout the growing season and post-harvest.
- Perform a visual and manual assessment of your drip irrigation system. Check for cracks, leaks, and kinks in the tubing. Make sure the water pressure is within the correct range. Look for wet spots in the planting area that may indicate a faulty tube or emitter.
- Closely inspect emitters for clogging. Emitter clogging is a common issue that can negatively affect the performance of your system. Sand, snails, or water with high mineral concentrations can cause obstructions. This can lead to uneven nutrient distribution and poor plant growth.
- Flush your drip lines for an hour post-harvest to clear out unwanted materials. Chemical solutions used to control bacteria can cause minerals to precipitate out of the water and clog emitters. Flushing with acid can dissolve these deposits, but wear protective clothing and add the acid to the water, not the other way around.
- Use a non-toxic, biodegradable drip cleaner like HYCLEAN™ to maintain optimal conditions in your system. This natural chelating agent removes salt, mineral, and fertilizer buildup without harming the environment.
In case you missed it: Top 10 Benefits of Sprinkler Irrigation in Horticulture

Conclusion
Drip irrigation is a cost-effective and efficient way to water your vegetable garden. Following the step-by-step guide, you can install your drip irrigation system and ensure that your plants receive the required water at the right time. With proper maintenance and regular inspection, your system can provide years of trouble-free operation.
- Ultimate Guide to Ossabaw Island Hog: Breeding, Raising, Diet, and Care
- Ultimate Guide to Juliana Pig: Raising Facts, Size, Diet, Care, and Lifespan
- Raising Lleyn Sheep: Disadvantages, Price, Uses, Characteristics, and Care
- Ultimate Guide to Meishan Pig: Breed Facts, Breeding, Raising, and Care
- Ultimate Guide to Teacup Pigs: Raising, Diet, Lifespan, Cost, and Care
- Guide to Raising Poll Dorset Sheep: Facts, Profile, Characteristics, Uses, and Care
- Ultimate Guide to Bighorn Sheep: Characteristics, Diet, Lifespan, Breeding, and Lifecycle
- Ultimate Guide to Raising Katahdin Sheep: Farming Facts, Breed Profile, Uses, and Care
- Ultimate Guide to Raising Oreo Cows: Belted Galloways Farming Facts, Profile, Uses, and Care