Building a poultry house/shed/coop is an exciting project for anyone looking to raise chickens. With the right materials and tools, anyone can build a sturdy and secure structure that provides a safe and comfortable home for their chickens. This guide outlines the six steps to building a poultry house/shed/coop suitable for beginners, detailing the key aspects to consider and the necessary steps. Below we learn how to build a chicken coop step by step in 6 steps and how to build a cheap DIY chicken coop.

How to Build Poultry House/Shed/Coop in 6 Steps
Plan and Design
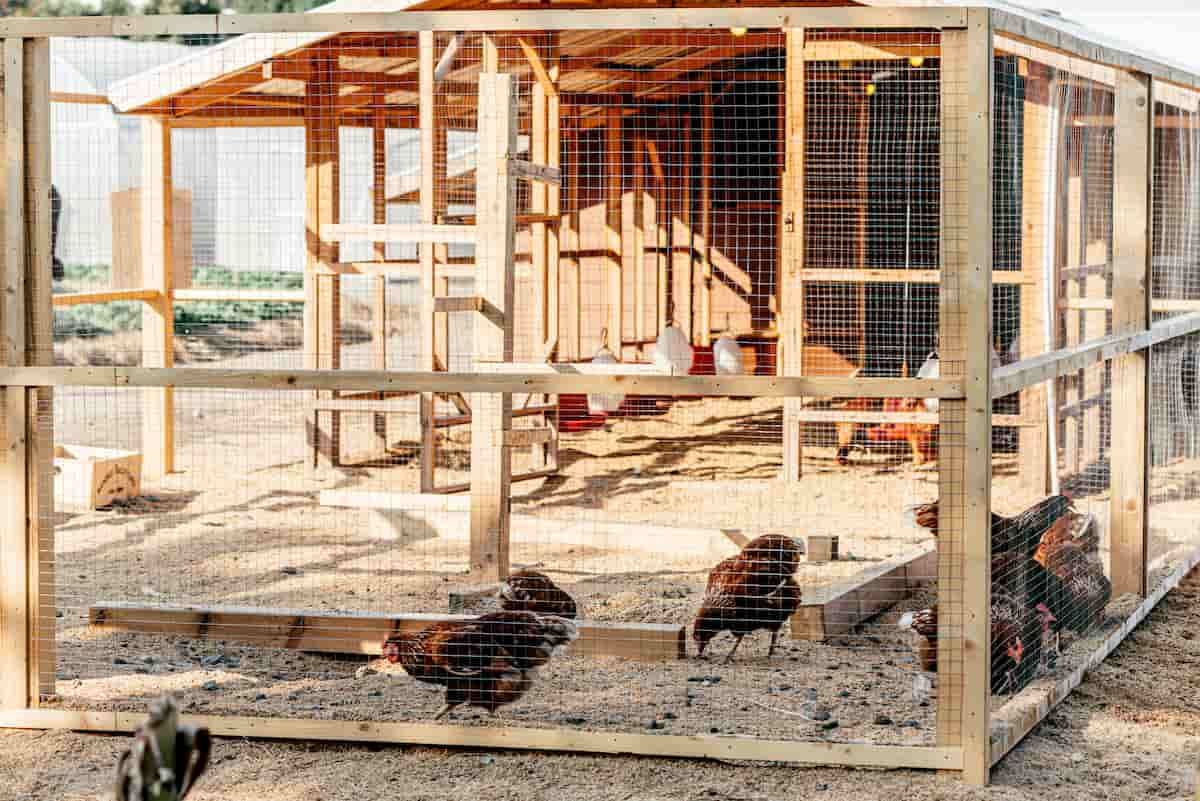
The first step in building a poultry house/shed/coop is to plan and design the structure. This involves deciding on the size of the structure, the number of chickens it will house, and the type of materials you will use. You must also consider ventilation, lighting, insulation, and predator protection factors.
Prepare the Site
Once you have a plan and design, the next step is to prepare the site where the structure will be built. This involves selecting a location that is level and has good drainage. You should also clear any vegetation or debris from the site and ensure the ground is compacted and stable.
Build the Foundation
The next step is to build the foundation for the structure. The type of foundation you choose will depend on the size of the structure and the type of soil you have. Options include concrete slabs, concrete footings, or wooden posts. The foundation should be level and well-anchored to prevent the structure from shifting or settling over time.
Frame the Walls and Roof
After the foundation is complete, the next step is to frame the walls and roof of the structure. This involves measuring and cutting the lumber or metal framing material to size, then assembling the framing using nails, screws, or bolts. You must also install braces and supports to ensure the structure is stable and secure.
Install Doors and Windows
Once the framing is complete, the next step is to install the doors and windows. This involves measuring and cutting holes for the doors and windows, then installing them using hinges and locks. You should also consider adding screens to the windows to provide ventilation while keeping out insects and other pests.
In case you missed it: How to Build Dairy House/Shed/Barn in 6 Steps: DIY Guide for Beginners

Finish the Interior
Finishing the interior is the final step in building a poultry house/shed/coop. This involves adding insulation to the walls and roof to regulate temperature and reduce moisture, installing ventilation fans to improve air circulation, and adding roosts, nesting boxes, and feeders for the chickens. You should also consider adding a run or fenced area outside the structure to allow the chickens to exercise and forage.
In case you missed it: How to Build Goat House/Shed/Barn in 6 Steps: DIY Guide for Beginners

Metal walls are durable, easy to clean, and protect against predators, but they can be expensive and get hot in the summer months. Plastic walls are lightweight, easy to clean, and provide good ventilation, but they can be costly and are not as durable as wood or metal. Ultimately, the best wall material for a chicken coop will depend on your specific needs and budget, and a combination of materials may be the most effective option.
Conclusion
Building a poultry house/shed/coop is a rewarding project that can provide a safe and comfortable home for your chickens. Whether you are a seasoned builder or a beginner, this guide will provide the necessary steps to create a high-quality poultry house/shed/coop that will last for years.
- Feed Your Flock for Less: Top 10 Tips to Save on Chicken Feed
- Ultimate Guide to Ossabaw Island Hog: Breeding, Raising, Diet, and Care
- Hatching Answers: The Top 10 Reasons Your Chickens Aren’t Laying Eggs
- Eggs and Economics: Breaking Down the Cost of Raising Backyard Chickens
- Defend Your Greens: Proven Methods to Keep Iguanas Out of Your Garden
- Ultimate Guide to Cinnamon Queen Chicken: A Comprehensive Guide for Beginners
- Ultimate Guide to California Tan Chicken: Breeding, Raising, Diet, Egg-Production and Care
- Ultimate Guide to Marsh Daisy Chicken: Breeding, Raising, Diet, and Care
- 10 Types of Chicken Farming Businesses You Can Start for Profits