Cabbage seeds come in a variety of shapes, sizes, and colors. From classic green Cabbages to vibrant purple or red varieties, there’s something for every gardener’s taste. When selecting Cabbage seeds, it’s important to consider the quality and viability of the seeds. Look for reputable seed companies that offer fresh and reliable seeds. Quality is crucial when it comes to Cabbage seeds. High-quality seeds have a greater chance of successful growth. Look for well-formed and plump seeds with no signs of damage or disease.

In addition to considering quality, think about the specific type of Cabbage you want to grow. Green Cabbages are versatile and can be used in various culinary dishes. Red or purple Cabbages add vibrant color to salads. Savoy Cabbages have crinkled leaves that are perfect for stir-frying or sauteing. Once you’ve selected your desired Cabbage variety, it’s time to prepare the seed starting medium. Use a high-quality potting soil mix specifically designed for starting vegetable seeds indoors.
Cabbage Seed Starting
Preparing the Seed Starting Medium: Soil, Containers, and Moisture Levels
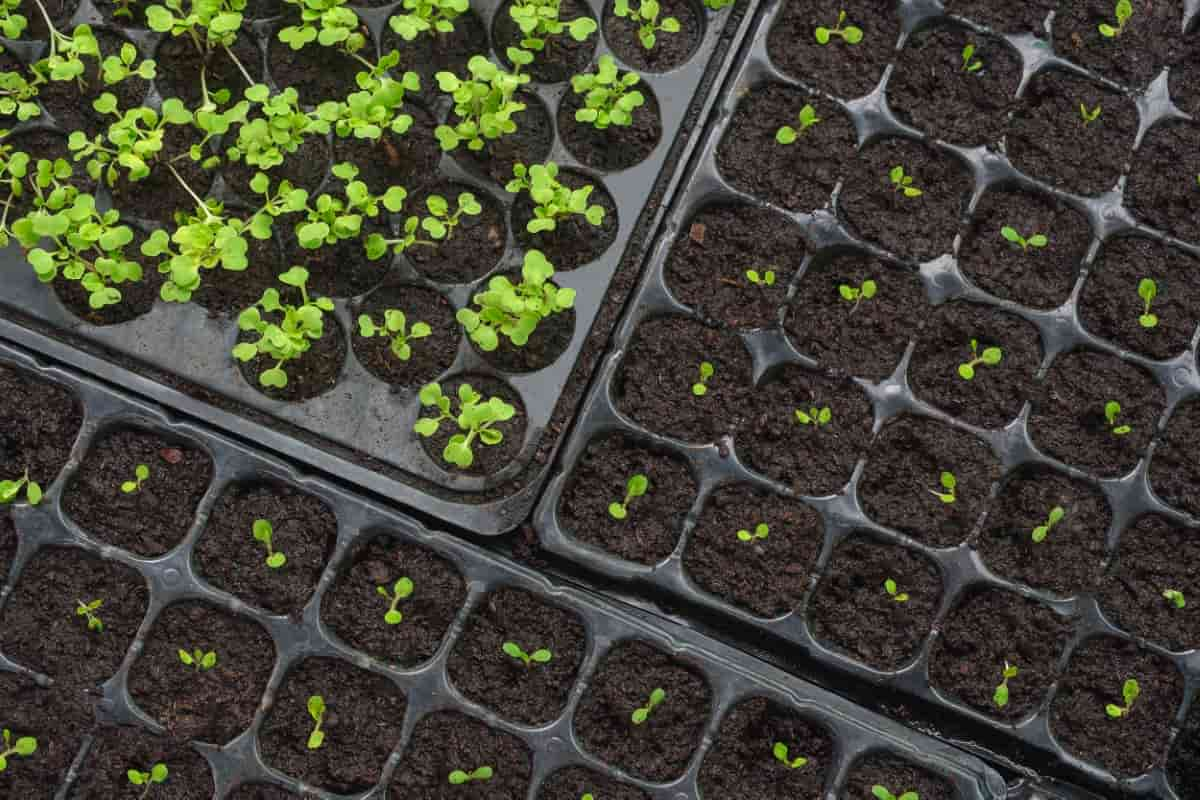
When it comes to starting Cabbage seeds, preparing the right seed starting medium is crucial for successful germination and healthy growth. The first element to consider is the soil. Cabbage prefers a well-draining soil that is rich in organic matter. You can create your seed starting mix by combining peat moss, vermiculite, and compost. Next, choose containers that are suitable for Cabbage seedlings.
It’s important to use clean and sterilized pots or trays to prevent any diseases from affecting your plants. Consider using biodegradable pots made from materials like coconut coir or peat pellets, which can be directly planted into the ground when transplanting time comes. Moisture levels play a significant role in seed germination. Keep the soil moist but not waterlogged. To maintain moisture levels effectively, cover your containers with plastic wrap until seeds have sprouted. This will help create a mini greenhouse effect and retain humidity around the seeds.
Sowing Cabbage Seeds: Depth, Spacing, and Ideal Conditions
Sowing Cabbage seeds is a crucial step in the journey towards growing healthy and thriving Cabbage plants. To ensure successful germination, it’s important to pay attention to seed depth, spacing, and ideal conditions. When sowing Cabbage seeds, it’s recommended to plant them at a depth of about 1/4 inch. This allows for optimal contact with the soil while still providing enough space for the emerging seedlings to push through.
Be sure to gently cover the seeds with soil after planting, ensuring they are not buried too deep or left exposed on the surface. Spacing is another key consideration when sowing Cabbage seeds. Providing adequate room between each seedling promotes good airflow and prevents overcrowding as they grow. Aim for spacing of around 12-18 inches between plants, allowing ample space for their leaves to develop fully without being cramped.
Creating ideal conditions for your Cabbage seeds involves maintaining consistent moisture levels and temperature. Keep the soil evenly moist during germination by watering regularly, but avoid overwatering, which can lead to rotting or damping off diseases. Additionally, maintaining a temperature range of 15-21°C will help promote faster germination.
Germination Techniques: Temperature, Light, and Humidity Control
It’s important to provide optimal conditions for seedlings to sprout and thrive. Generally, Cabbage seeds prefer temperatures between 15-21°C for successful germination. However, it’s essential to be mindful of maintaining consistent temperatures throughout the day and night. Light is another critical factor that affects the germination of Cabbage seeds. While some crops require darkness to sprout, Cabbage benefits from exposure to light during this stage.
In case you missed it: How to Get Rid of Cabbage Worms with Baking Soda, Neem Oil, Homemade Spray, Vinegar, and Dish Soap

Placing your containers near a south-facing window or using grow lights can help provide sufficient lighting for healthy seedling development. Maintaining proper humidity levels is also key when it comes to successful germination. Cabbage seeds typically require high humidity levels for optimal growth. You can achieve this by covering your containers with plastic wrap or utilizing a humidity dome until the seedlings emerge.
Caring for Seedlings: Watering, Fertilizing, and Disease Prevention
Watering seedlings should be done with care. It’s important to find the right balance by keeping the soil moist but not waterlogged. Using a spray bottle or a gentle sprinkler attachment on your watering can provide a light mist that won’t disturb or drown delicate seedlings. Fertilizing is another aspect of caring for seedlings that shouldn’t be overlooked.
Start by using a balanced fertilizer specifically formulated for young plants, as excessive nutrients can harm delicate roots. Disease prevention is crucial in maintaining healthy Cabbage seedlings. Keep an eye out for common diseases such as damping-off, which causes wilting and rotting of stems at ground level. To minimize risks, ensure good air circulation around your seedlings by spacing them adequately and avoiding overcrowding.
Hardening Off Seedlings: Transitioning to Outdoor Conditions
Hardening off seedlings is a key step in the Cabbage-growing process. It involves gradually acclimating your young plants to outdoor conditions, ensuring they can withstand the elements before being permanently transplanted into your garden. To begin hardening off, start by exposing your seedlings to outdoor conditions for short periods. Choose a sheltered location with filtered sunlight and protect them from strong winds. Gradually increase their exposure each day throughout one to two weeks.
During this period, it’s important to monitor the weather forecast closely. Avoid exposing your seedlings to extreme temperatures or frosty nights that could damage or kill them. If necessary, bring them indoors overnight or cover them with a breathable fabric like row covers. While transitioning your seedlings outdoors, make sure to water them regularly and provide adequate spacing between plants. Keep an eye out for any signs of stress or damage during the hardening-off process. Look for wilting leaves, discoloration, or pest infestations.
Selecting the Right Transplanting Time: Weather Considerations and Growth Stage
When it comes to transplanting Cabbage seedlings, timing is crucial for their success in the garden. The right transplanting time depends on two main factors: weather considerations and the growth stage of your seedlings. Cabbage plants thrive in cool weather, so you’ll want to avoid transplanting them too early or too late in the season.
In case you missed it: How to Grow Chinese Cabbage: A Step-By-Step Planting Guide

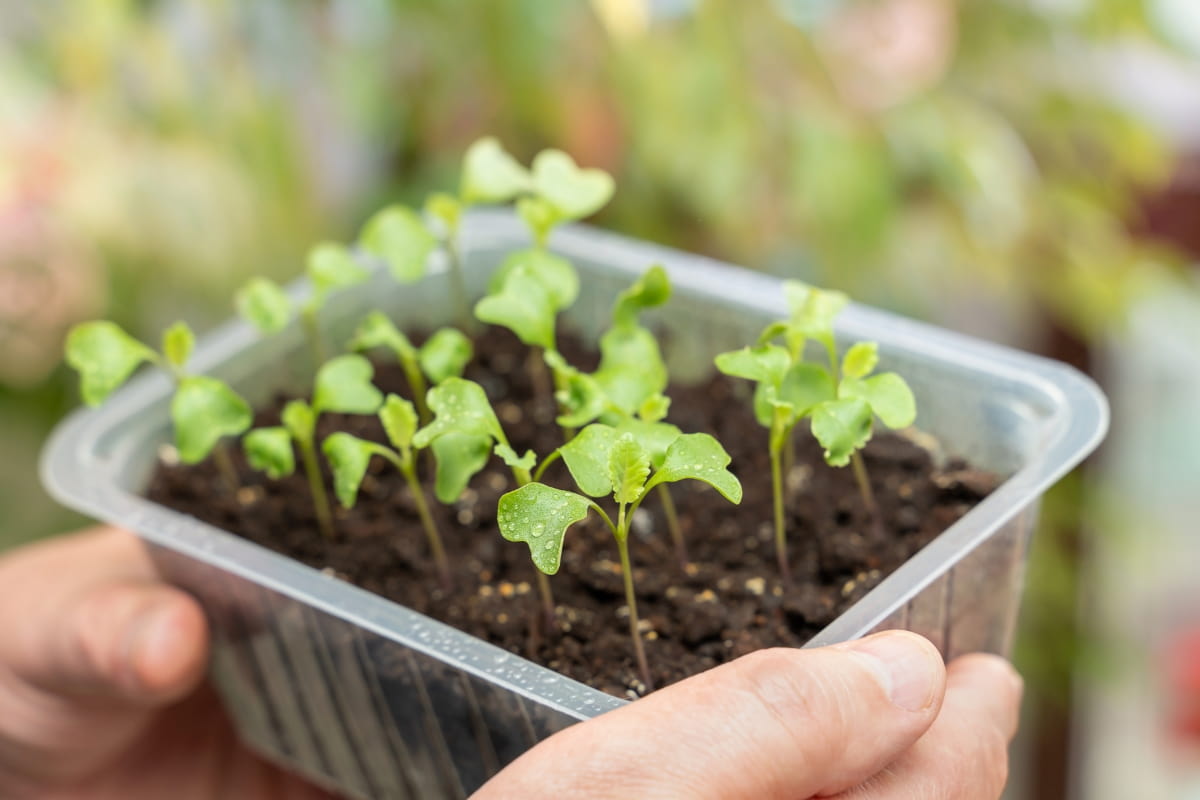
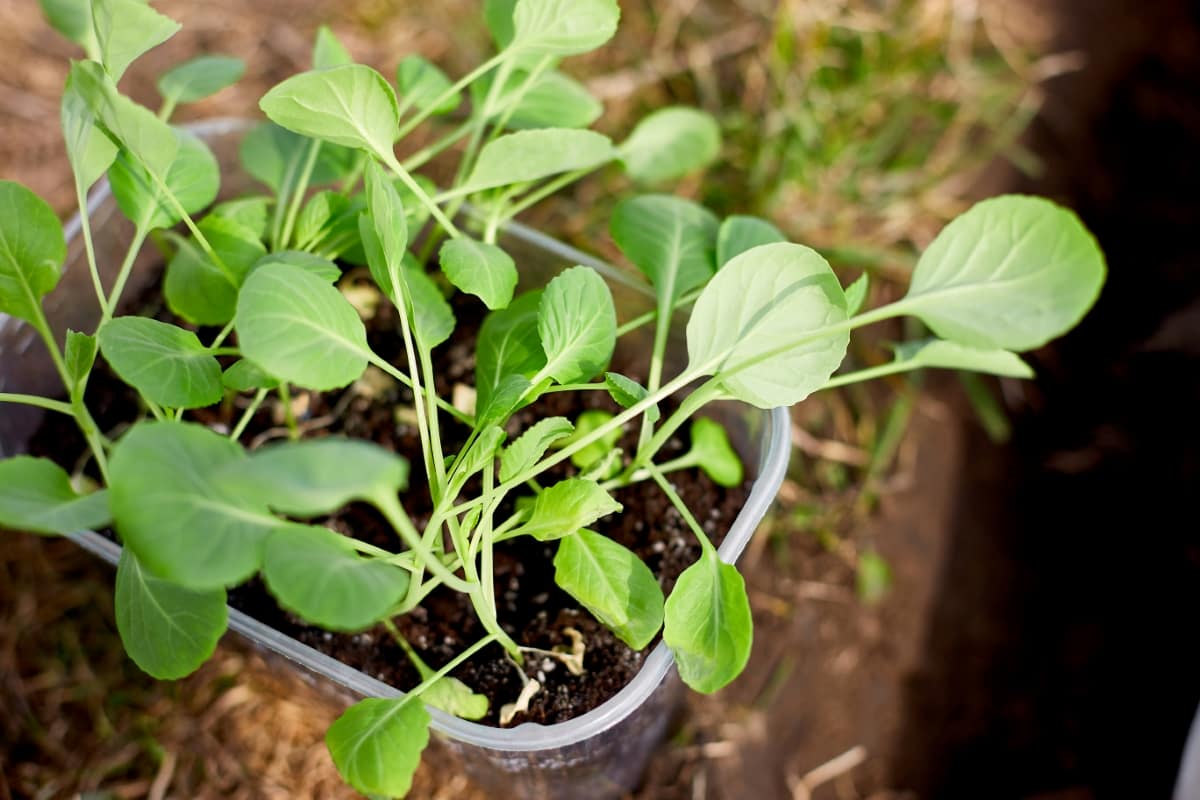
Consider the growth stage of your Cabbage seedlings before transplanting them into the garden. Seedlings should be at least 4-6 weeks old and have developed a sturdy stem and several true leaves. This indicates that they are strong enough to withstand outdoor conditions
Transplanting Techniques: Digging Holes, Planting Depth, and Root Care
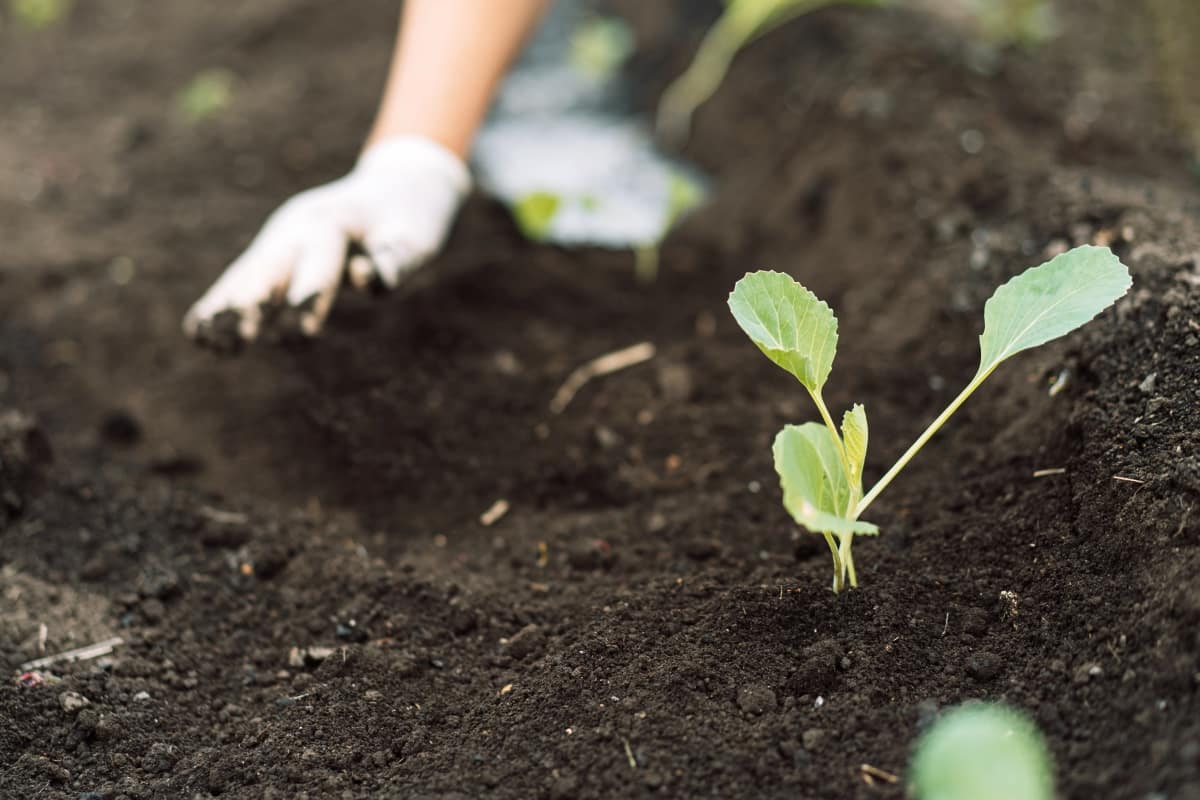
Transplanting is a crucial step in the Cabbage seed starting process, as it involves carefully moving your young seedlings from their initial containers to their permanent outdoor location. To ensure successful transplanting, there are a few key techniques to keep in mind. When digging holes for your Cabbage plants, make sure they are deep enough to accommodate the entire root system without crowding or bending the roots.
A hole that is twice the size of the root ball should suffice. Gently loosen the soil at each hole to help encourage root growth. Next, determine the appropriate planting depth based on your specific Cabbage variety. You want to plant Cabbages so that their lowest leaves rest just above ground level. This will help prevent moisture-related diseases and allow for proper air circulation around each plant.
When it comes to caring for delicate Cabbage roots during transplantation, handle them with care and avoid damaging or tearing them. If any roots appear tangled or matted together, gently separate them before placing them into their respective holes. Once you have positioned each Cabbage plant in its designated hole at the correct depth, backfill it with soil and lightly firm it down around the base of each plant using your hands or a gardening tool. Avoid compacting too heavily, as this can hinder root development.
Post-Transplant Care: Watering Schedule, Mulching, and Pest Management
One crucial aspect of post-transplant care is establishing a consistent watering schedule. Cabbage plants require regular moisture to thrive, especially during dry periods or hot weather. It’s best to water deeply, ensuring that the water reaches the plant’s root system. In addition to watering, mulching around your Cabbage plants can be highly beneficial. Mulch retains soil moisture, suppresses weed growth, and regulates soil temperature. Organic materials like straw or shredded leaves make excellent mulch options for Cabbage plants.
Pest management is another essential element of post-transplant care for Cabbages. These leafy greens are susceptible to pests like aphids, caterpillars, and slugs. Regularly inspect your plants for pest infestation and take appropriate measures if necessary. This may include hand-picking pests or using organic insecticides as a last resort.
Monitoring Growth and Development: Pruning, Thinning, and Harvest Timing
Pruning is an important technique that can help improve the quality and yield of your Cabbage crop. Thinning is another practice that involves removing excess seedlings or small heads to give room for larger ones to develop properly. Harvest timing is key when enjoying fresh, crisp Cabbages at their peak flavor. To determine if a Cabbage head is ready for harvest, gently squeeze it with your hand. If it feels firm and dense, then it’s likely ripe for picking. Avoid leaving them in the ground too long as they may become overripe and lose their ideal taste.
In case you missed it: 10 Common Problems With Garden-Grown Cabbage Plants: Treatment and Solutions

Conclusion
Starting Cabbage seeds is an exciting and rewarding process for any home gardener. Whether you have a large backyard or just a small space on your balcony, growing Cabbage from seeds can be easily done with the right techniques. With patience and dedication, you will soon be rewarded with delicious homegrown Cabbages that are not only flavorful but also packed with nutrients.
- Feed Your Flock for Less: Top 10 Tips to Save on Chicken Feed
- Ultimate Guide to Ossabaw Island Hog: Breeding, Raising, Diet, and Care
- Hatching Answers: The Top 10 Reasons Your Chickens Aren’t Laying Eggs
- Eggs and Economics: Breaking Down the Cost of Raising Backyard Chickens
- Defend Your Greens: Proven Methods to Keep Iguanas Out of Your Garden
- Ultimate Guide to Cinnamon Queen Chicken: A Comprehensive Guide for Beginners
- Ultimate Guide to California Tan Chicken: Breeding, Raising, Diet, Egg-Production and Care
- Ultimate Guide to Marsh Daisy Chicken: Breeding, Raising, Diet, and Care
- 10 Types of Chicken Farming Businesses You Can Start for Profits