Hatching chicken eggs at home can be an immensely rewarding experience that provides a sense of connection to the natural world. However, it also comes with its unique set of challenges. This comprehensive guide serves as a step-by-step tutorial on how to set up and manage an incubator for hatching chicken eggs, even for beginners.

How to Set Up Incubator for Hatching Chicken Eggs
Essential Equipment for a Chicken Incubator Setup
The first step to hatching chicken eggs at home is to gather the necessary equipment. This begins with choosing the right incubator. The market offers various incubators, varying from simple to advanced models. For beginners, it’s advisable to opt for automatic incubators as they control temperature and humidity and turn eggs automatically, reducing the chances of errors.
A hygrometer and thermometer are essential tools to measure humidity and temperature levels, with some incubators built-in. Lastly, a candling light is required to examine the eggs’ development during incubation.
Choosing the Right Temperature and Humidity Levels for Chicken Incubation
Next, setting the correct temperature and humidity is key for successful hatching. The incubator’s temperature should be steady at 99.5°F (37.5°C) for forced air incubators or 102°F (38.9°C) for still-air models. The humidity should be around 45-50% for the first 18 days, after which it should be increased to about 65% in the last 3 days (the ‘lockdown period’) to prevent the membranes from drying out and sticking to the chicks. These last 3 days are critical, so a constant check on the incubator temperature is necessary.
How to Calibrate and Monitor Your Chicken Incubator
It’s crucial to calibrate your incubator before adding the eggs. Run it empty for a few hours or even a day to ensure it maintains the correct temperature and humidity levels. To monitor, check the temperature and humidity readings at least twice daily, adjusting them as needed. Remember, temperature fluctuations and incorrect humidity levels can lead to an unsuccessful hatch or birth defects in chicks.
Tips for Selecting Fertile Eggs for Incubation
Sourcing fertile eggs is another crucial part of hatching chicken eggs at home. Choose eggs from hens that are well-fed, healthy, and have been with a rooster. Avoid unusually large or small, cracked, or dirty eggs. Also, avoid washing the eggs as this can remove the protective ‘bloom’ and expose the egg to harmful bacteria.
Understanding the Incubation Period and Hatching Process for Chickens
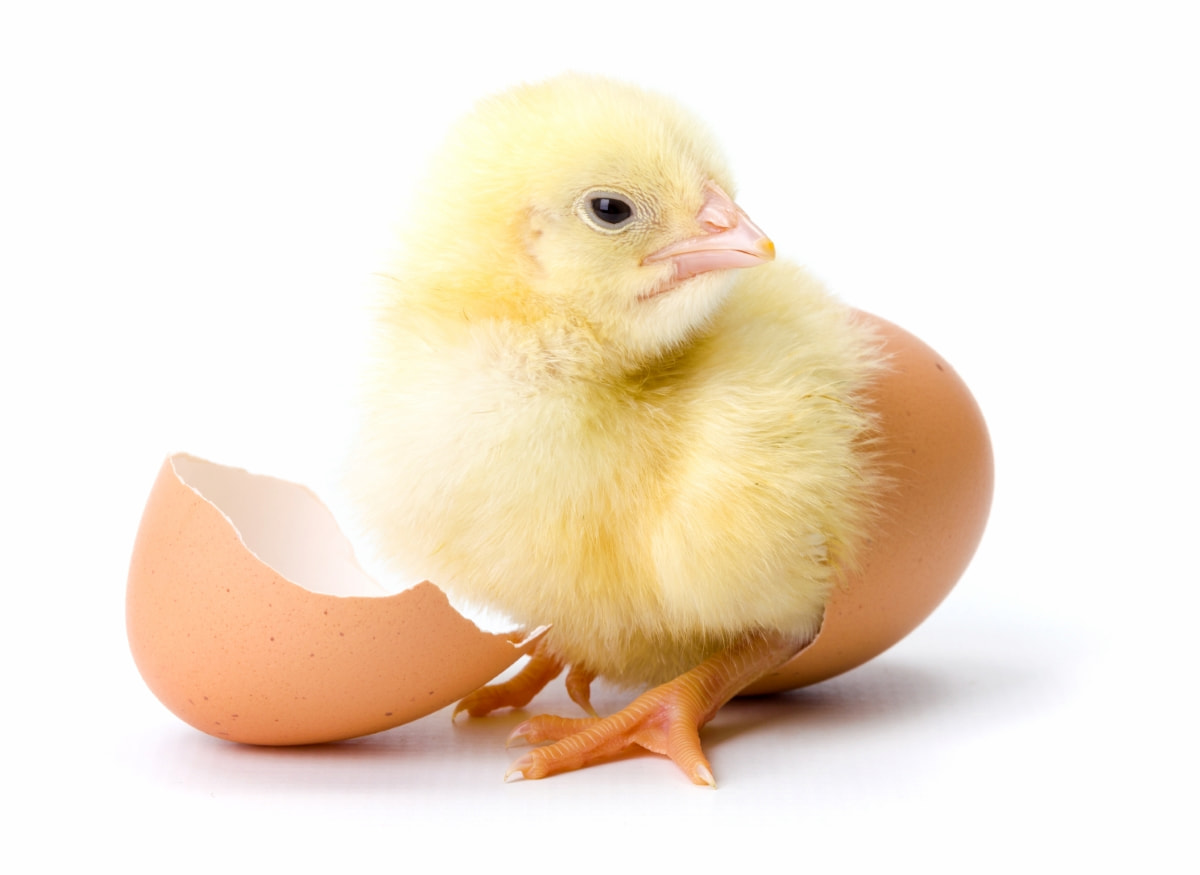
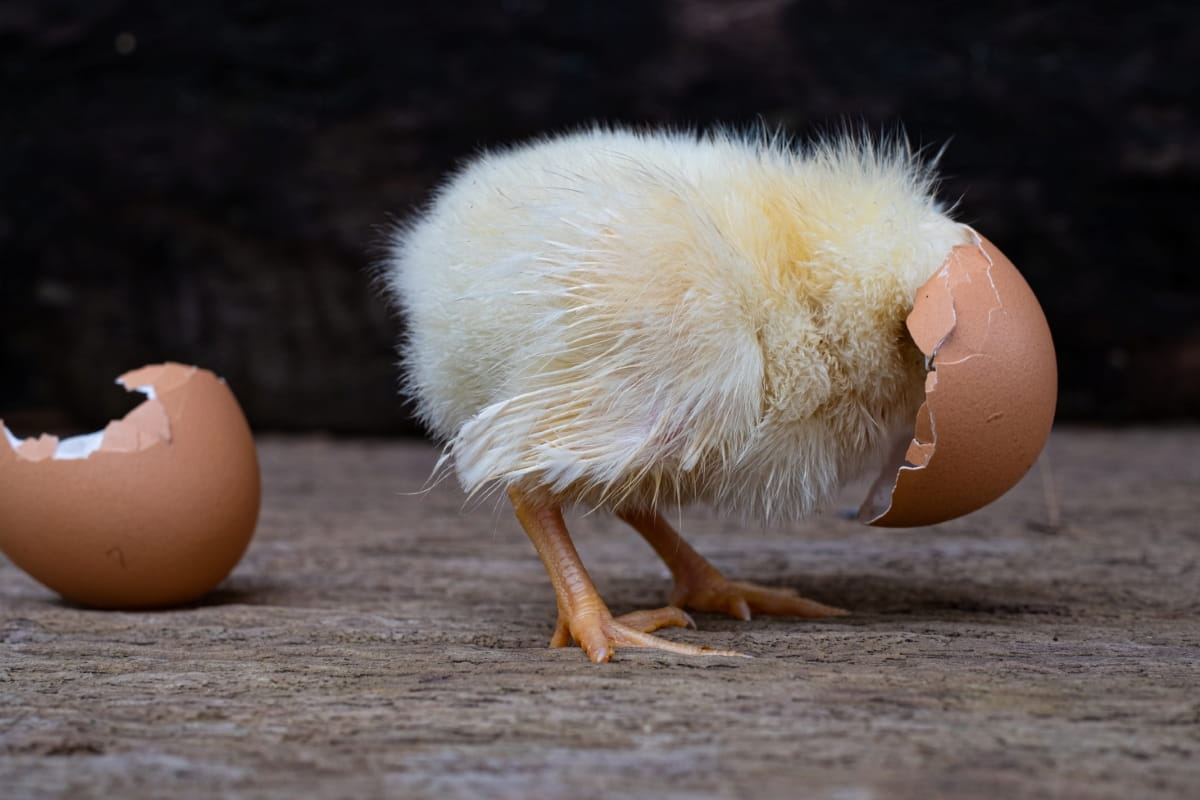
A commonly asked question is, how long does hatching a chicken egg without an incubator take? When a hen naturally incubates her eggs, the process takes approximately 21 days, the same as in an incubator. The first sign of hatching is called ‘pipping,’ where the chick starts to crack the shell, which usually happens on day 20 or 21. From this point, it can take up to 24 hours for the chick to fully emerge from the shell.
In case you missed it: Ultimate Guide to Indian Giant Chicken Breed: Characteristics, Feed, and Care

Managing Ventilation and Airflow in a Chicken Incubator
Ventilation is important for the developing embryos, which need fresh air to grow. Ventilation controls the amount of oxygen and carbon dioxide in the incubator and aids in regulating temperature and humidity. While most modern incubators come with pre-set ventilation systems, ensuring the ventilation holes are open and unblocked is essential.
Troubleshooting Common Issues with Chicken Incubators
Common incubation issues are fluctuating temperature and humidity, dirty or infected eggs leading to bacteria growth inside the incubator, and power outages disrupting the incubation process. Regularly monitoring the temperature and humidity, cleaning the incubator properly before use, and having a backup power source can help mitigate these issues.
Caring for Eggs During Incubation: Turning and Candling
During the incubation period, the eggs must be turned regularly to prevent the embryo from sticking to the shell, a task a broody hen would naturally do. This can be done manually, 3-5 times daily, or automatically in some incubators. However, turning should be stopped from day 18 onwards, when the chicks position themselves for hatching.
Candling is holding a bright light to the egg to check its development. This should be done around days 7 and 14. A progressing egg will show signs of a dark embryo and veining, and by day 14, the egg should appear mostly dark due to the growing chick.
Preparing for The Arrival of Newly Hatched Chicks from The Incubator
Finally, as the hatching day approaches, it’s important to be prepared. On day 18, increase the humidity in the incubator and stop turning the eggs. This is known as ‘lockdown.’ Keep the incubator closed to maintain high humidity unless it’s necessary to open it.
Once the chicks start to crack the shell, or ‘pip,’ it can take up to 24 hours for them to hatch fully. During this time, it’s crucial not to help them out of the shell as they must undergo this process independently to gain strength and ensure they have fully absorbed the yolk sac. After hatching, leave the chicks in the incubator until they are dry and fluffy, then move them to a brooder with a heat source, freshwater, and chick starter feed.
Maintenance and Cleaning of the Incubator After Hatching
After all the chicks have been transferred to the brooder, the final step involves maintaining and cleaning the incubator. This step is as crucial as the preceding ones because neglecting to clean your incubator can lead to harmful bacteria and mold growth, jeopardizing future hatching endeavors. Firstly, unplug the incubator and remove any leftover eggshells or debris. Clean the hard-to-reach spots and corners with a gentle brush.
Next, prepare a mild disinfectant solution (follow the manufacturer’s instructions or use a mild bleach solution) and clean the entire incubator thoroughly. Remember to rinse well to remove all traces of disinfectant, which could harm future embryos. Once cleaned, the incubator should be dried completely to prevent mold growth.
In case you missed it: Benefits of Apple Cider Vinegar for Chickens: Preparation, Dilution Rate, and Giving Procedure

This could be achieved by either air-drying or using a soft, clean cloth. Store the incubator in a dry, dust-free environment until you’re ready to start another exciting hatching process. Ensuring your equipment is clean and well-maintained sets the stage for successful incubation and healthy, lively chicks in the future.
Conclusion
Hatching chicken eggs at home using an incubator is a beautiful and rewarding process that can also be a fantastic educational experience for children. By understanding the process and carefully controlling the incubation environment, even beginners can enjoy the miracle of hatching their chicks at home. It is indeed a journey filled with anticipation and delight, marking the start of the beautiful life cycle of a chicken.
- Feed Your Flock for Less: Top 10 Tips to Save on Chicken Feed
- Ultimate Guide to Ossabaw Island Hog: Breeding, Raising, Diet, and Care
- Hatching Answers: The Top 10 Reasons Your Chickens Aren’t Laying Eggs
- Eggs and Economics: Breaking Down the Cost of Raising Backyard Chickens
- Defend Your Greens: Proven Methods to Keep Iguanas Out of Your Garden
- Ultimate Guide to Cinnamon Queen Chicken: A Comprehensive Guide for Beginners
- Ultimate Guide to California Tan Chicken: Breeding, Raising, Diet, Egg-Production and Care
- Ultimate Guide to Marsh Daisy Chicken: Breeding, Raising, Diet, and Care
- 10 Types of Chicken Farming Businesses You Can Start for Profits