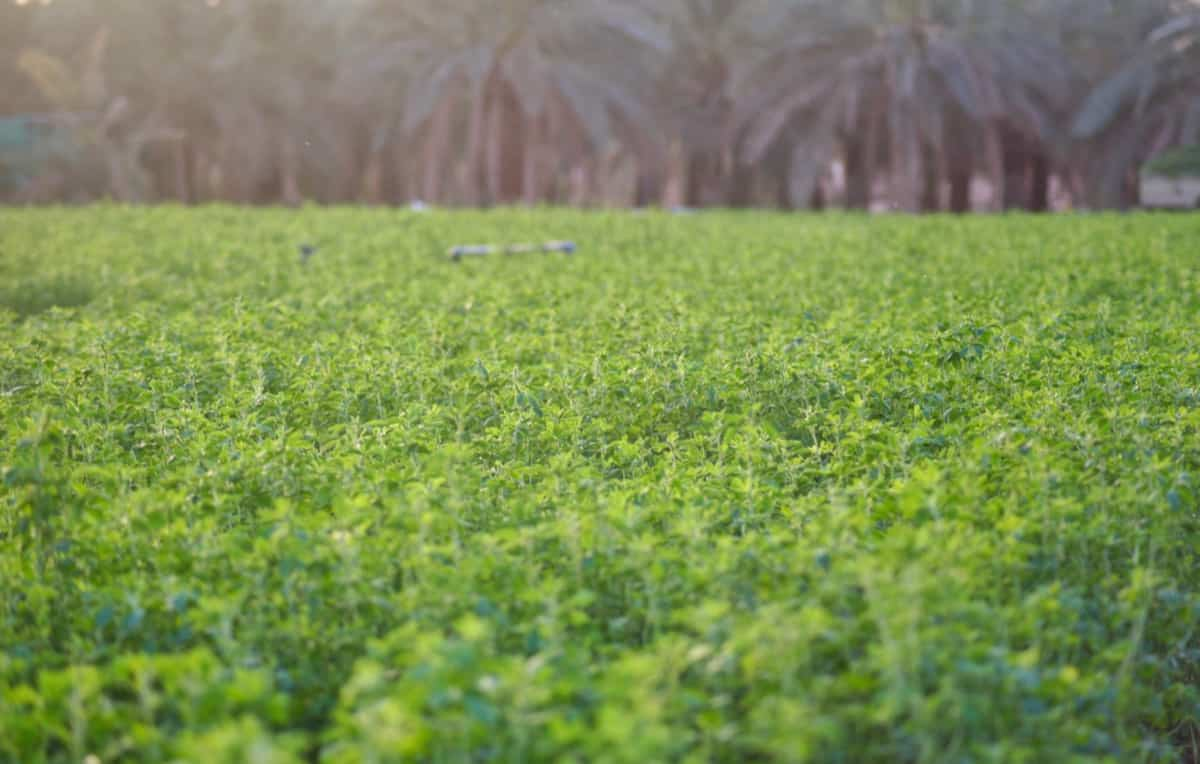
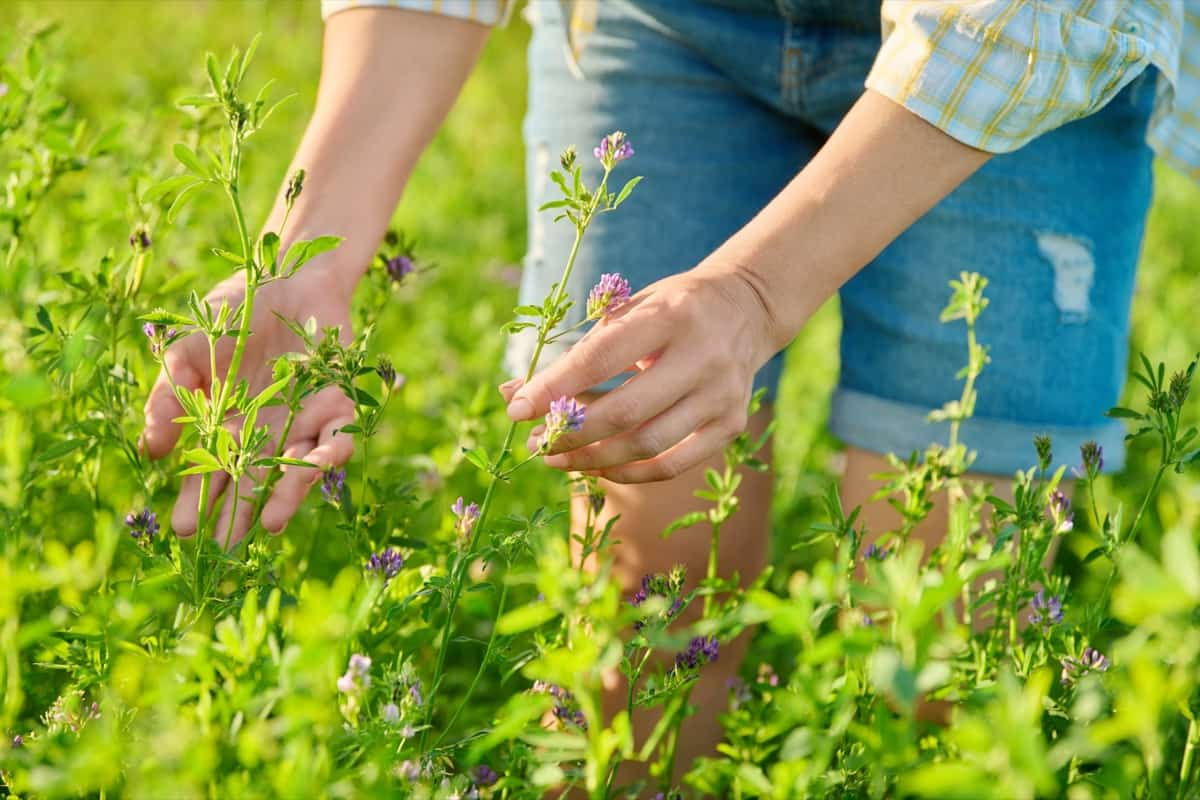
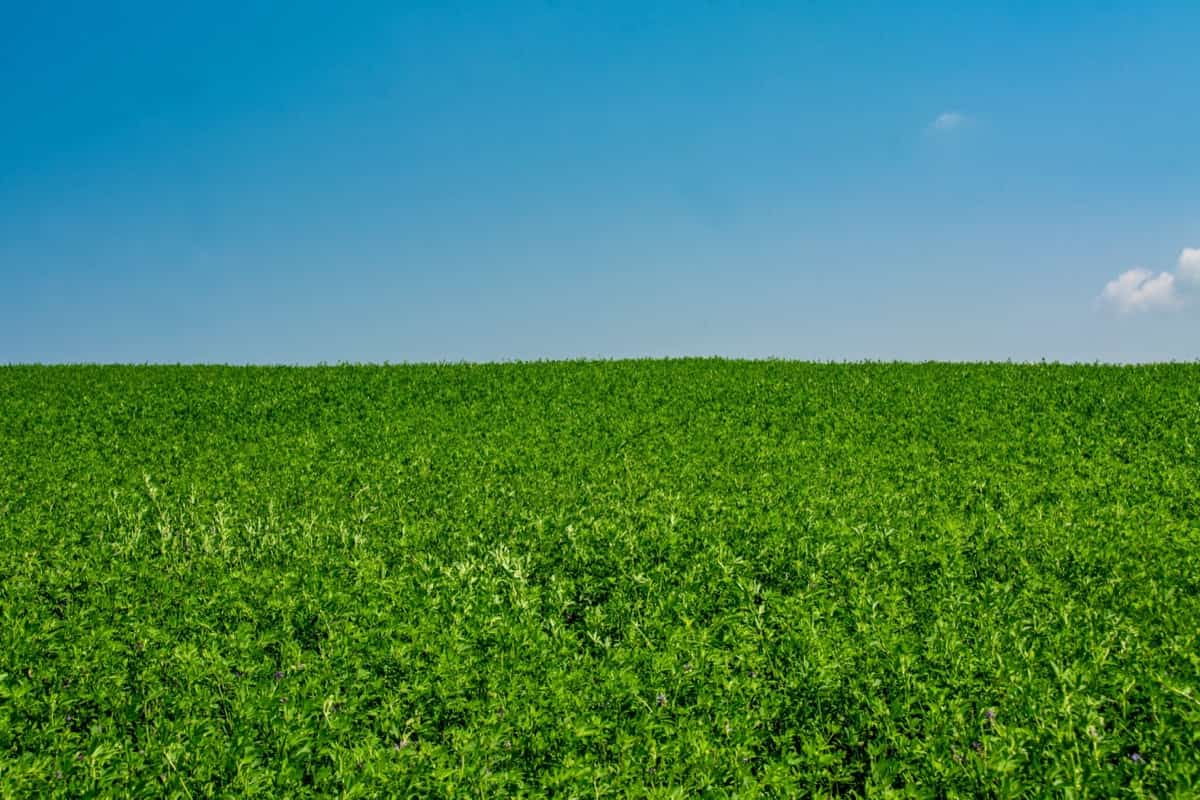
As a cool-season perennial, Alfalfa is commonly grown to feed livestock or as a soil conditioner and cover crop. In addition to being highly nutritious, Alfalfa is a natural source of nitrogen. It’s ideal for improving soil and preventing erosion. The extensive root system of Alfalfa nourishes both plants and soil. You can grow Alfalfa on your land easily since it has been cultivated for generations.

Growing Alfalfa from Scratch
Ideal Sun and Temperature for Growing Alfalfa
For Alfalfa to grow optimally, it needs at least 6 to 8 hours of direct sunlight each day. From cooler to high temperatures, it can withstand various environments. When the weather turns hot, mature plants will grow better, so it is best to plant them during the cooler months. It can withstand a light freeze when planted early in the spring or late in the fall. Despite Alfalfa’s good cold tolerance, frost can damage the leaves and buds. Once the temperatures drop below 7°C, Alfalfa can go dormant in the winter after harvesting without special protection.
Ideal Soil Conditions for Growing Alfalfa
Well-drained soil is more conducive to Alfalfa growth than wet, heavy clay soil, requiring a pH range between 6.5 and 7.0. A soil pH higher than 6.5 could cause symbiotic nitrogen fixation to fail. Therefore, liming is required to raise low soil pH levels to their optimum levels and improve nutrient uptake.
Alfalfa Planting Season and Seed Rate
Plant Alfalfa in spring if you live in a cooler climate and in fall if you live in a milder climate. The plant roots quickly, so it doesn’t need to be planted deep. It only needs to be planted about a half inch (1 cm.) deep. The seeds should be sprinkled evenly on the soil and lightly covered with dirt. The recommended planting rate for pure Alfalfa stands is 9 to 10 kg per acre. 7.5 to 8 kg per acre is recommended for mixed stands with grass. A 10 to 20 percent increase in seeding rates is necessary for broadcast seeding.
Preparing Alfalfa Seedbeds
Forage establishment requires a firm, moist seedbed. A firm surface will prevent moisture loss, but a crust is detrimental to seedling emergence. The tilth and humus content of the soil will prevent crusting. The use of fall plowing, spring disking, and harrowing works well in most areas; however, fall plowing is not recommended in steep slopes and high rainfall areas. The corrugated roller or packer provides firmness because shallow seed placement is necessary for good emergence.
Growing Alfalfa from Seeds
- Seeds should be sown two at a time, about two to three inches apart, half an inch deep.
- Gently tamp down the soil to come in contact with the seeds needed for germination.
- Plant the seeds four to six inches apart and thin the seedlings to six inches apart if you plan to harvest and dry the legumes as hay or mulch.
- Plants with adequate spacing will produce more trifoliate leaves, which animals love to eat.
- The optimal spacing between plants is two or three inches when growing green manure. By planting close together, weeds are less likely to establish themselves.
Weed Control in Alfalfa Crop
Pre-plant herbicides can prevent many Alfalfa weed problems. Grass growth can be controlled by applying glyphosate up to 10 days before planting. As a herbicide, glyphosate can help control perennial creepers, such as Canada thistle or field bindweed. Within the growing Alfalfa stand, some weeds may germinate and produce seedlings during the time it takes for the seed to germinate and develop. An herbicide applied post-emergence may control these weeds.
Irrigation for Alfalfa Crop
A healthy Alfalfa crop can consume a large amount of water, which irrigators may not appreciate. Water consumption may be as low as 0.5 to 1.0 inches per week in late April and early May. In early June, water consumption can reach 1.5 inches per week, while during the hottest part of the irrigation season, it may reach 2.0 inches per week. The best approach when irrigation begins is to fill the profile as each irrigation occurs. As salts are leached downward, less water will be lost to evaporation on the surface.
In case you missed it: Ultimate Guide to Start an Organic Hydroponic Vegetable Garden: Creating from Scratch for Planting to Harvest

Fertilizer management of established Alfalfa
Nitrogen fertilizer application to healthy Alfalfa stands neither necessary nor recommended. The yield of Alfalfa tends to decline as the stand ages. It may be beneficial to apply N fertilizer to older stands, but it should be considered that the stand should be terminated if it provides short-term benefits.
It is necessary to apply phosphate annually. Alfalfa’s feeder roots can take up broadcast P fairly efficiently when the soil surface is moist. Broadcasting granular phosphate fertilizer or dribbling liquid phosphate fertilizer can be used to fertilize. Lime should be applied when soil pH falls below 5.6, and a lime requirement soil test should be conducted.
Crop rotation
The yield of Alfalfa decreases significantly (it may drop 15% a year after the fourth year), and most farmers stop cultivating the stands after the fourth year. Plants that grow in the same field of Alfalfa produce toxins that inhibit new growth. For their next four years of cultivation, they sow Alfalfa seeds again after harvesting the wheat, corn, or barley crop. Alfalfa and wheat/barley/corn both benefit from this crop rotation.
Pests and Disease Management in Alfalfa Crop
Pests in Alfalfa
- The Alfalfa weevil: The best time to apply an organic pesticide like pyrethrin is late afternoon or early evening after pollinators have retreated. Utilize natural predators of the weevil, such as parasitic wasps, to minimize damage from harvesting early.
- Blister beetles: Blister beetles are easily recognizable due to their large size, elongated black bodies, broad heads, and long antennae. Grasshoppers and flowering Alfalfa attract the beetles. Because their toxin remains in the beetles’ bodies after death, chemical control will not work. Fodder may be better avoided if found.
Diseases in Alfalfa
- There are circular brown spots on the leaves that begin at the bottom of the plant and work their way up to the older leaves that show signs of leaf spots. As they shrivel, they fall from the plant. Copper fungicide may slow the spread of the disease.
- You should plant Alfalfa in well-drained soil, prevent soil compaction and over-watering, and prevent nematodes and other pests from injuring your crop. Some varieties are resistant to this fungal infection, however.
Harvesting Alfalfa
You need to pick or till these legumes before they go to seed if you are planting them as a cover crop, mulch, or compost. When about half the plot has bloomed, cut it to about two inches tall with a scythe, clippers, or electric mower before seed pods form. Plants and mowed stalks should be tilled back into the soil until they are four to ten inches below the surface, and then they should be allowed to decompose.
It is a balancing act determining when Alfalfa should be cut to dry for animal feed. Blooms continue to bloom until the yield reaches its peak. As the plants mature, however, the nutritional value of the feed deteriorates. If you want high-quality feed without sacrificing too much volume, try harvesting just before the first buds bloom.
In case you missed it: Ultimate Guide to Start an Organic Polyhouse Vegetable Garden: Creating from Scratch for Planting to Harvest

Conclusion
Alfalfa’s genetic potential has improved more during the last decade than it has improved in terms of actual on-farm yield performance. It is well-known that Alfalfa has great profit potential when managed properly, and these tips will help you maximize that potential.
- Feed Your Flock for Less: Top 10 Tips to Save on Chicken Feed
- Ultimate Guide to Ossabaw Island Hog: Breeding, Raising, Diet, and Care
- Hatching Answers: The Top 10 Reasons Your Chickens Aren’t Laying Eggs
- Eggs and Economics: Breaking Down the Cost of Raising Backyard Chickens
- Defend Your Greens: Proven Methods to Keep Iguanas Out of Your Garden
- Ultimate Guide to Cinnamon Queen Chicken: A Comprehensive Guide for Beginners
- Ultimate Guide to California Tan Chicken: Breeding, Raising, Diet, Egg-Production and Care
- Ultimate Guide to Marsh Daisy Chicken: Breeding, Raising, Diet, and Care
- 10 Types of Chicken Farming Businesses You Can Start for Profits