Beekeeping requires a basic understanding of hive components and assembly. A beehive consists of several essential parts, each serving a specific role in maintaining a healthy bee colony. This guide will walk beginners through the hive’s structure, covering boxes, frames, bottom boards, supers, frames, foundation, and inner covers. Proper assembly and maintenance of these components are crucial for successful beekeeping, ensuring the well-being of your bees and facilitating honey production.

Hive Components and Assembly
Understanding the Hive Structure: Boxes and Frames
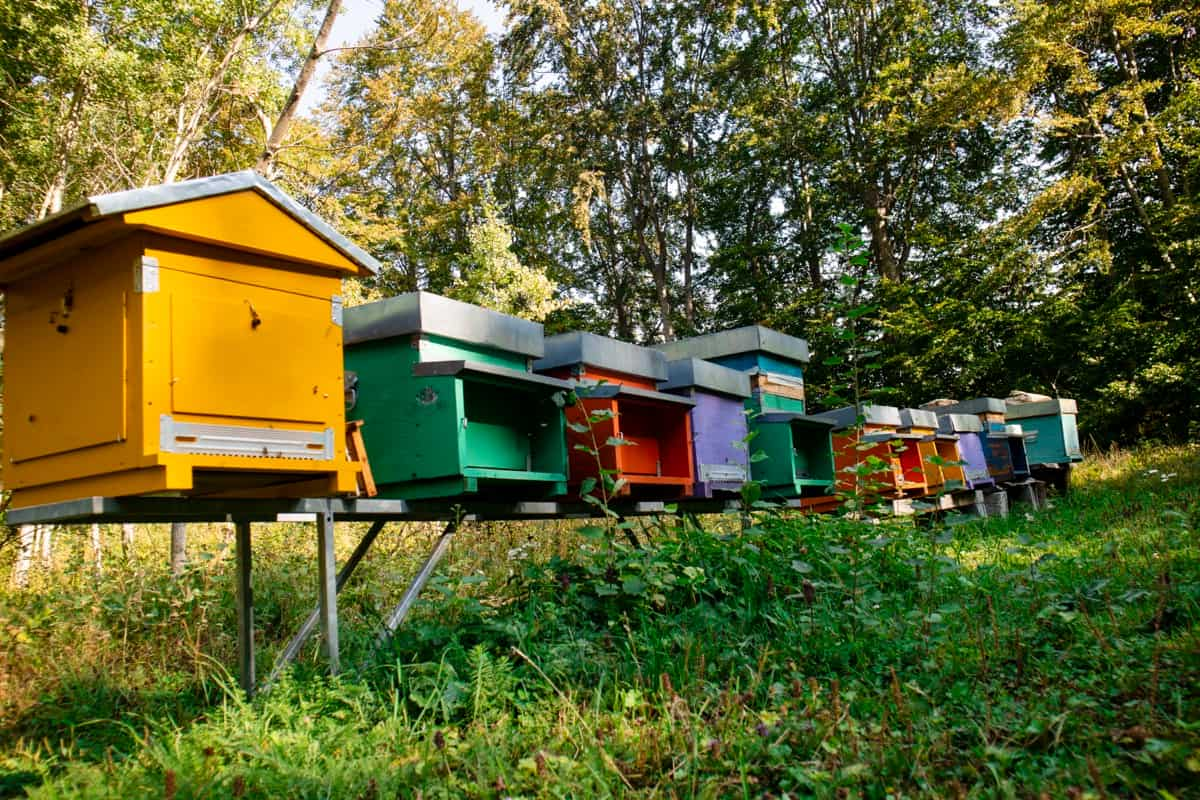
A beehive consists of several crucial components that provide shelter, storage, and organization for a bee colony. The primary structural elements are boxes and frames.
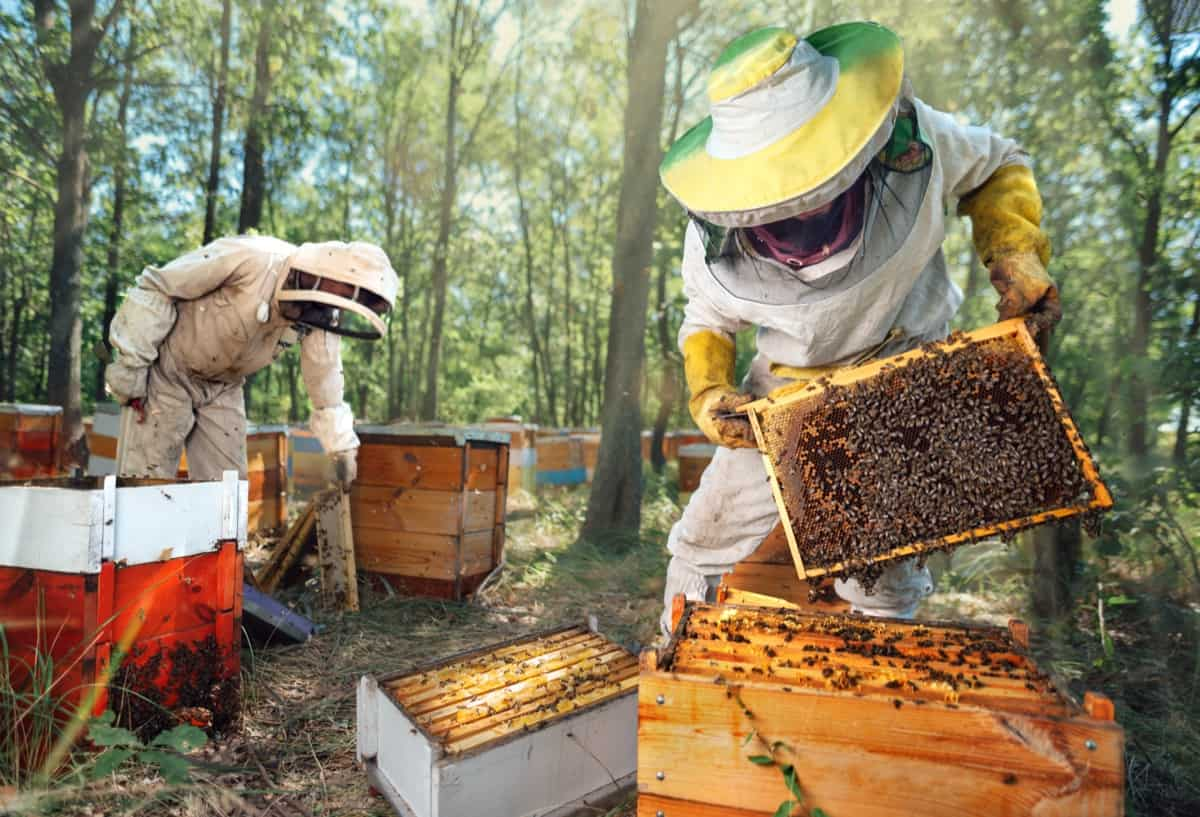
Boxes: Beehive boxes, or hive bodies or brood boxes, are stackable wooden or plastic containers. They come in different sizes to accommodate the colony’s needs. The lower boxes typically house the brood chamber, where the queen bee lays eggs, and worker bees care for developing larvae. Upper boxes serve as honey storage.
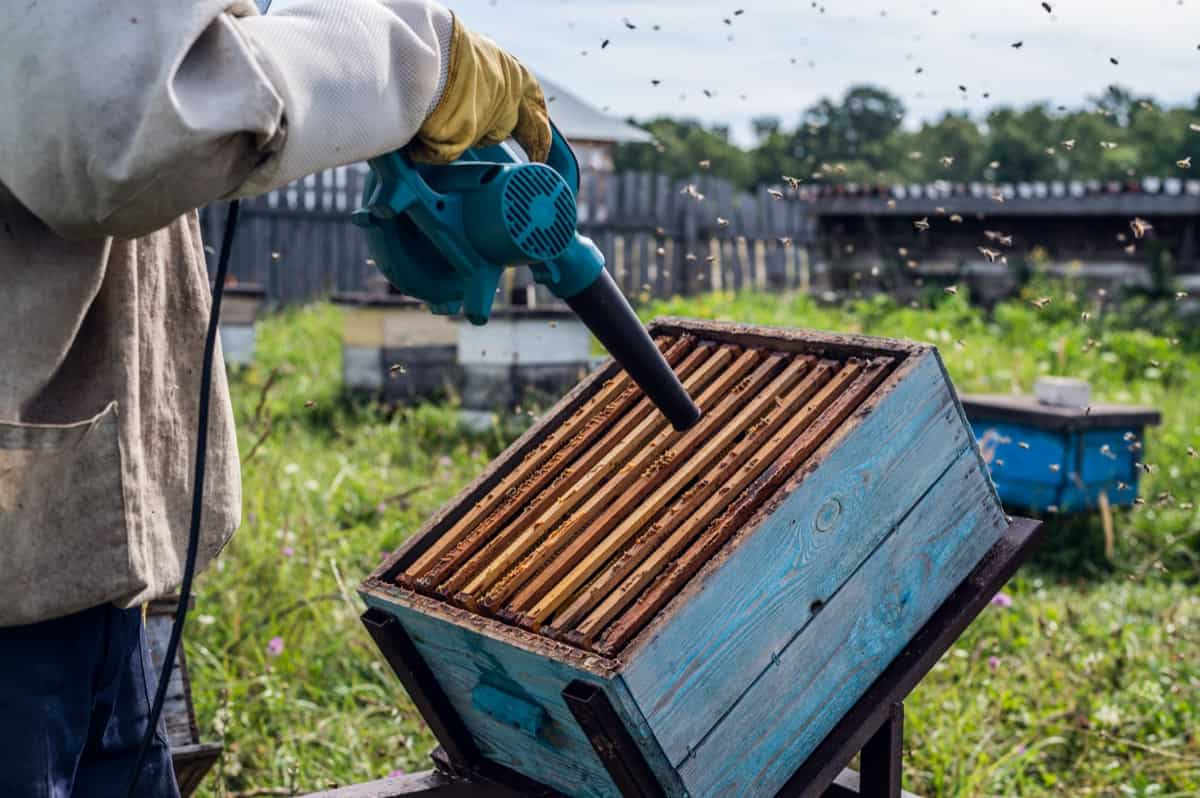
Frames: Frames are rectangular, removable structures that fit inside hive boxes. They hold beeswax foundation sheets on which bees build their comb. Frames allow for easy inspection and management of the hive. Beekeepers can remove frames to check for diseases, harvest honey, or provide space for the expanding colony.
The Importance of Hive Bottom Boards
- Ventilation: Bottom boards have small openings facilitating air circulation within the hive. Adequate ventilation helps regulate temperature and humidity, ensuring a comfortable bee environment.
- Pest Control: Screened bottom boards with removable trays are valuable for managing varroa mites and other hive pests. The tray can be used to monitor mite levels and, when necessary, treat the colony for infestations.
- Hive Entrance: The bottom board features an entrance for the bees to come and go. Beekeepers can control this entrance’s size to help the colony defend against intruders or provide easier access during nectar flows.
- Hygiene: Bottom boards aid in hive cleanliness by allowing debris, dead bees, and other waste to fall out of the hive, preventing the buildup of contaminants.
- Hive Stability: Hive bottom boards provide a solid base, ensuring the hive’s stability and preventing it from sinking into the ground.
In case you missed it: Bee Breeding and Genetics: Improving Honey Bee Stock

Exploring the Different Types of Hive Supers
- Honey Supers: These supers are for honey storage, placed above the brood chamber during nectar flows. They contain frames with honeycomb foundations for bees to fill with honey.
- Queen Excluders: Equipped with a grid to keep the queen out, these supers ensure honey remains brood-free. Worker bees should pass through, but the queen cannot, preserving harvested honey quality.
- Comb Honey Supers: Designed for comb honey production, they use shallow frames, resulting in attractive, ready-to-eat honeycomb sections some consumers favor.
- Pollen Traps: These supers have devices to collect pollen pellets as bees enter the hive. Beekeepers harvest pollen for various purposes, including bee nutrition and health product sales.
All About Hive Frames and Foundation
Hive frames and foundations are fundamental components in modern beekeeping. Frames are rectangular, removable structures that fit inside hive boxes, offering support for beeswax foundation sheets. These sheets serve as the base upon which bees construct their comb. Frames and foundations play several crucial roles.
- Comb Support: Frames provide stability and support for the bees’ delicate comb, preventing it from collapsing and facilitating easy inspection.
- Management: Beekeepers can remove frames for hive inspections, disease checks, or honey harvesting without disturbing the entire colony.
- Foundation: Beeswax or plastic foundation sheets guide bees in building straight, uniform comb, making it easier for beekeepers to work with and extract honey.
- Consistency: Uniform comb allows for efficient bee movement and better use of hive space, promoting colony health and productivity.
- Reusability: Frames and foundations are reusable, reducing the need for constant replacement and saving beekeepers time and resources.
The Role of Inner Covers in Beekeeping
- Ventilation and Insulation: Inner covers provide ventilation, preventing condensation buildup and maintaining optimal hive temperature and humidity. They also insulate the hive from extreme weather conditions.
- Moisture Control: Inner covers help control excess moisture inside the hive, preventing mold and disease issues arising from a damp environment.
- Feeding and Emergency Access: Beekeepers can use inner covers to provide supplemental food or emergency access to the hive without disturbing the main colony area.
- Reduced Propolis: By separating the outer cover from the hive’s main body, inner covers reduce the amount of propolis, sticky resin bees use for sealing, on the outer cover, making it easier to remove during hive inspections.
Essential Tools for Hive Assembly
- Hive Tool: This versatile, flat-tipped implement is used for prying apart hive components, scraping off excess propolis and wax, and inspecting frames.
- Smoker: A beekeeper’s best friend, the smoker produces cool, calming smoke that encourages bees to consume honey and become less defensive. This facilitates hive inspection.
- Bee Brush: Made of soft bristles, the bee brush gently removes bees from frames during inspections, allowing beekeepers to work more comfortably.
- Frame Gripper or Lifter: This tool aids in removing frames from the hive without damaging the comb or disturbing the bees. It provides a secure grip on the frame’s top bar.
- Protective Gear: Essential for safety, this includes a beekeeping suit or jacket, gloves, and a veil to shield against bee stings during hive assembly and maintenance.
- Nails and Hammer: These are used to fasten hive components together securely. Rust-resistant nails are recommended for longevity.
- Level: Ensures hive components are properly aligned, promoting stability and straight comb construction.
- Paint or Sealant: Helps protect the hive from the elements, extending its lifespan.
In case you missed it: Beekeeping Suits and Protective Gear: Choosing the Right Fit

Step-by-step Guide to Assembling a Hive Box
- Lay out all the components: Bottom board, hive box (deep or medium), and an inner cover.
- Ensure the bottom board is level and stable.
- Place the hive box on top of the bottom board.
- Insert frames into the hive box. For deep boxes, typically use 8-10 frames, while medium boxes usually accommodate ten frames. Leave space between frames for bee movement.
- Secure frames in place using frame spacers or nails.
- Add an inner cover on top of the hive box.
- Your hive box is now assembled and ready for use.
Installing Frames and Foundation in the Hive
- Select frames with beeswax or plastic foundation sheets. Ensure they match the size of your hive box (deep or medium).
- Slide the frames into the hive box, maintaining proper spacing to prevent comb interference.
- Ensure the foundation sheets are correctly oriented. If using a wax foundation, the textured side should face the bees. If using plastic, the side with the protruding cells should be facing downwards.
- Insert each frame evenly and gently to avoid damaging the foundation.
- Check that frames are level and parallel to the sides of the hive box, promoting straight comb construction.
- Replace any removed frames from the hive with new ones, maintaining the correct number of frames for the box size.
- With frames and foundation, your hive is ready to introduce bees.
Finalizing the Hive Assembly: Adding Covers and Feeders
- Place an inner cover on top of the hive box, ensuring it’s centered and that any notches or holes are aligned for ventilation.
- Add a feeder above the inner and outer cover if needed.
- Fill the feeder with sugar syrup to provide bees with supplemental food, especially for new colonies or during periods of nectar scarcity.
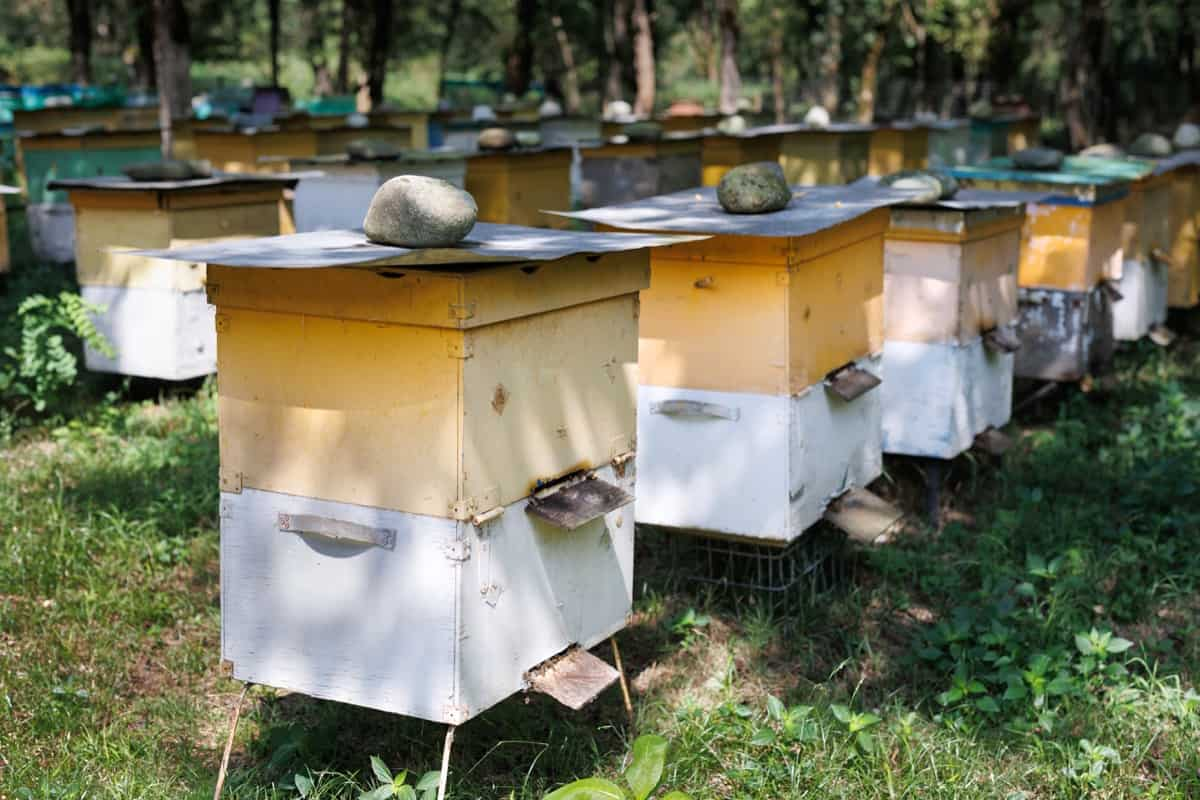
- Place the outer cover on top of the inner cover, ensuring it fits securely.
- Secure the outer cover with weights, straps, or hive clips to prevent it from blowing away or being dislodged by wind or animals.
- Finally, light your smoker to calm the bees, then gently remove the hive’s roof and inner cover to inspect the colony or perform any necessary maintenance.
- Properly assembling and finalizing your hive is essential for successful beekeeping and the well-being of your bee colony.
In case you missed it: How Much Money Do Beekeepers Make: A Comprehensive Analysis of Beekeeping Profits

Conclusion
Understanding hive components is foundational for successful beekeeping. With these insights, beginners can embark on their beekeeping journey with knowledge and proficiency, fostering thriving bee colonies and reaping the rewards of this fascinating and vital endeavor. Happy beekeeping!
- Feed Your Flock for Less: Top 10 Tips to Save on Chicken Feed
- Ultimate Guide to Ossabaw Island Hog: Breeding, Raising, Diet, and Care
- Hatching Answers: The Top 10 Reasons Your Chickens Aren’t Laying Eggs
- Eggs and Economics: Breaking Down the Cost of Raising Backyard Chickens
- Defend Your Greens: Proven Methods to Keep Iguanas Out of Your Garden
- Ultimate Guide to Cinnamon Queen Chicken: A Comprehensive Guide for Beginners
- Ultimate Guide to California Tan Chicken: Breeding, Raising, Diet, Egg-Production and Care
- Ultimate Guide to Marsh Daisy Chicken: Breeding, Raising, Diet, and Care
- 10 Types of Chicken Farming Businesses You Can Start for Profits