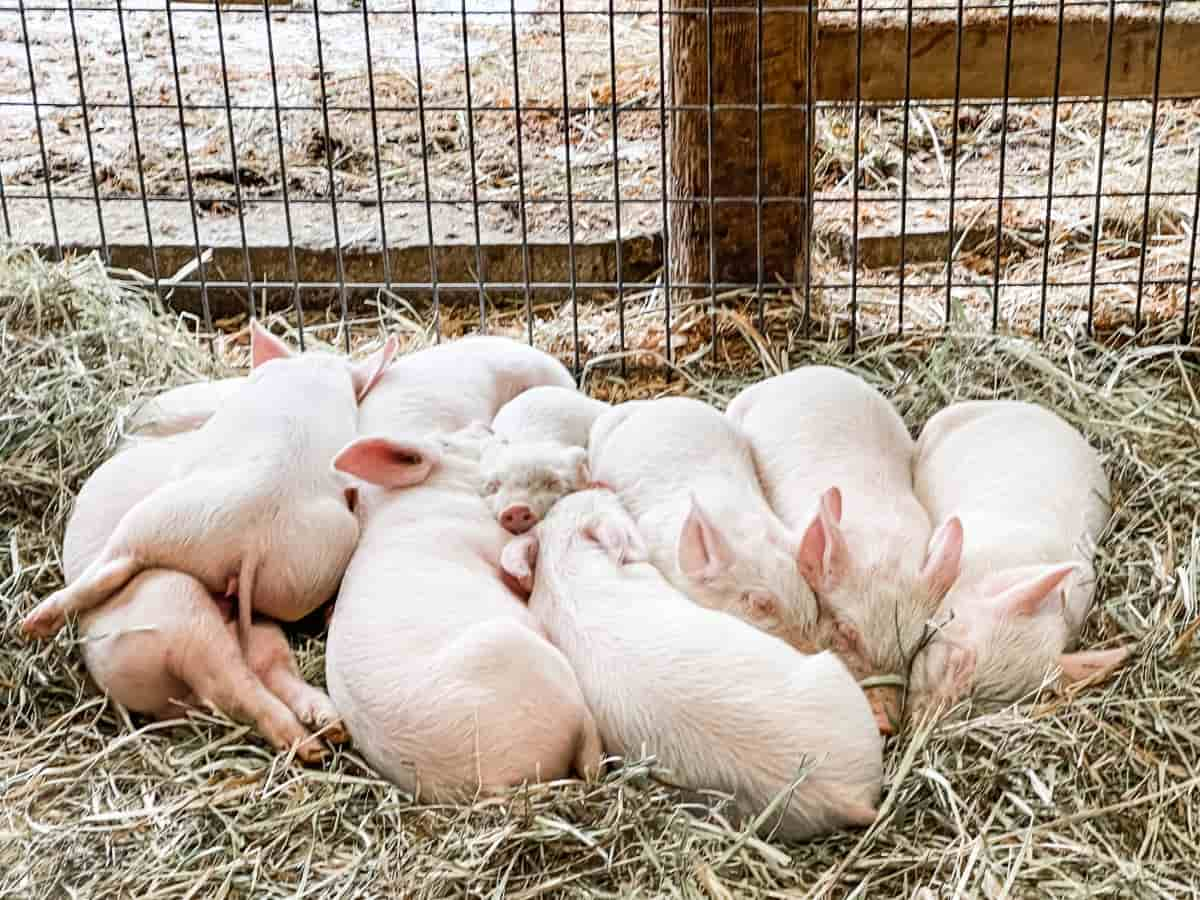
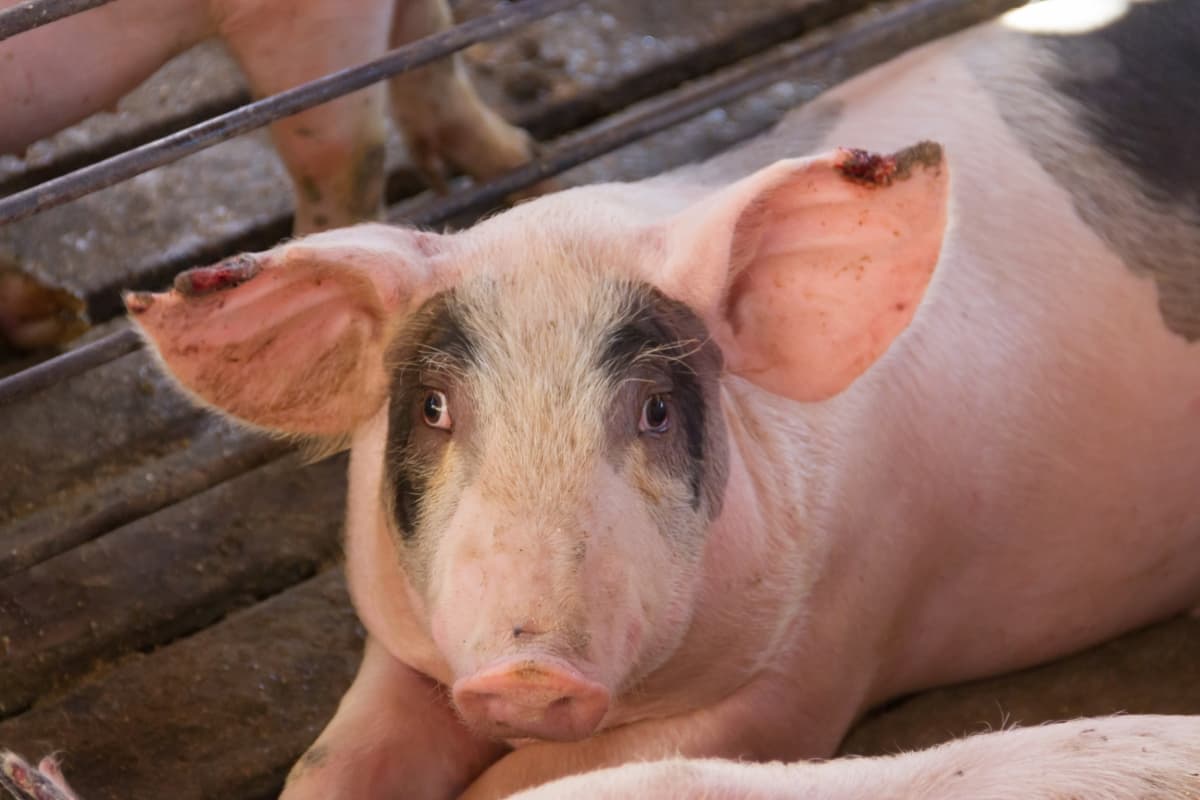
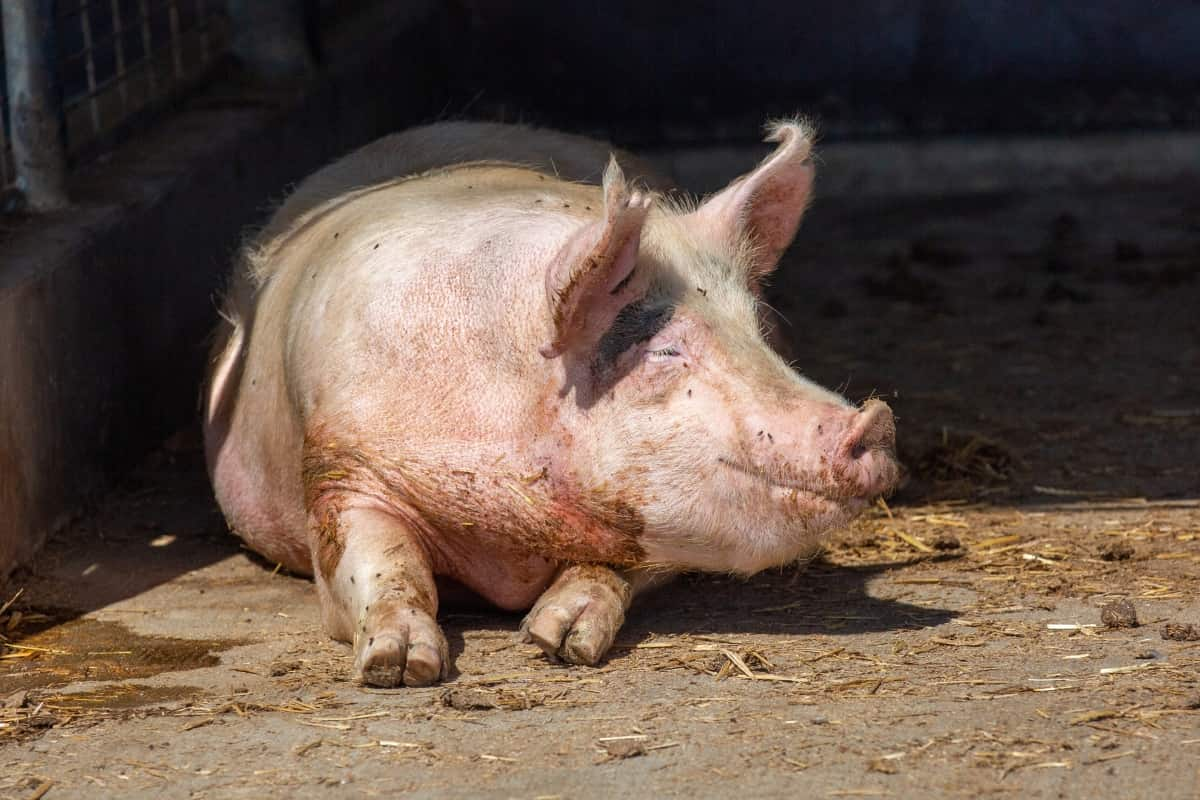
Raising pigs is a growing trend among farmers and small-scale homesteaders alike, largely because of the plethora of benefits these animals provide. Whether for meat, breeding or just as pets, housing is a primary concern when embarking on this venture. Many often wonder, “How do you make a hog pen?” or “How do you design a pig house?”. Others search for the parts of a pig pen or seek the cheapest way to build a pig pen. If you’re among them, this guide will take you through a step-by-step process to build a secure and functional pig pen using hog panels.

How to Build a Pig Pen with Hog Panels
Choose the Right Location for Pig Pen
Finding the right spot for your pig pen is paramount for the health and well-being of your pigs. Look for a slightly elevated area to ensure proper drainage, minimizing mud and standing water. A shaded spot is preferred to protect pigs from extreme heat. Additionally, accessibility to water and feed sources is essential to ease your chores. Remember, the location should be convenient for you, as regular check-ins, feeding, and cleaning are crucial for pig rearing.
Plan the Pen Layout for Pig Pen
Once you’ve identified the location, draft a layout on paper. While considering how to design a pig house, ensure the pen provides ample space for the pigs to move, play, and rest. Typically, you would want a minimum of 10 square feet per piglet and up to 50 square feet for larger pigs. Segment areas for feeding, sleeping, and waste management. Consider growth and future expansions; having extra space is always better than finding your pen cramped in a few months.
Gather Required Materials for Pig Pen
For a sturdy pig pen, quality materials are non-negotiable. While pondering the cheapest way to build a pig pen, it’s tempting to skimp on quality, but sturdy materials save time, effort, and money in the long run. You’ll need hog panels, U-posts or T-posts, strong wire or zip ties, and a hammer. Additionally, for the gate, source sturdy hinges and a latch. Make a checklist and ensure you have all the necessary tools and materials before starting the build.
Build the Frame for Your Pig Pen
Lay out the U-posts or T-posts according to your previously planned layout. Drive them into the ground at intervals suitable for the length of your hog panels, usually every 8 feet or so. Ensure the posts are firmly anchored, as they’ll support the weight of the hog panels and the pressure from the pigs. Consistency in height is crucial, so keep a level handy to ensure your posts are even.
Install the Hog Panels for Your Pig Pen
Now that your frame stands ready align the hog panels. Start by attaching them to one post using strong wire or zip ties, ensuring they’re snug and flush against the posts. Stretch the panel toward the next post and secure it. Hog panels are sturdy and resist bending but ensure no gaps or loose areas where a pig might squeeze through or get injured. The parts of a pig pen are integral to its function, and the panels are its backbone.
Install Doors and Gates for Your Pig Pen
Every pig pen needs an entry and exit point, not just for the pigs but also for you. Determine the most strategic point for your gate, ideally close to the feeding area. Fix the gate with the hinges to one of the posts, ensuring it opens and closes smoothly. A latch is crucial, not just to keep the pigs in but also to keep potential predators out. Regularly inspect the gate for wear and tear; any malfunction might risk the pigs escaping or facing threats.
In case you missed it: Top 10 Common Mistakes to Avoid in Pig Farming

Install Bedding and Fencing for Your Pig Pen
A comfortable pig is a happy pig. Ensure their resting area has ample bedding. Straw works best, as it’s soft and insulates against cold. Refresh and replace the bedding as required. As for fencing, even with hog panels, consider adding a layer of chicken wire or mesh at the bottom to prevent piglets from squeezing through gaps. This secondary layer is also an added deterrent against potential smaller predators that might target your pigs.
Provide Ventilation (Windows, Vents, and Fans)
Ventilation is crucial for a pig pen, ensuring the health and comfort of your livestock. Proper airflow minimizes moisture build-up, reduces the concentration of harmful gases, and offers a refreshing environment for the pigs. Incorporating windows is an excellent way to introduce natural light and air, but ensure they’re placed out of the pig’s reach and have sturdy grates to prevent breakage.
Strategically placed at various heights, vents can assist in air circulation, ensuring that stale air doesn’t settle at the bottom. Installing fans can be a boon for larger pens or in areas with minimal natural ventilation. They enhance airflow and lower the chance of heat-related strain, particularly during warmer periods.
Add Water and Feeding Areas to Your Pig Pen
The nutritional well-being of your pigs hinges on an efficient and hygienic feeding and watering system. Designate a specific area of the pen for feeding, ensuring it’s easily accessible for the pigs and refilling purposes. Troughs or feeders should be robust, easy to clean, and of a height suitable for the pigs to eat comfortably. Water, an essential for pigs, needs a separate area. Automatic water dispensers or large water troughs are preferred. Ensure the water source remains clean and there’s a system in place to prevent spillage, as stagnant water can become a breeding ground for diseases.
Finish Your Pig Pen by Adding a Roof and Installing Lighting
A roof over your pig pen serves multiple purposes: it provides shade, protection from the elements, and security. Choose a roofing material that offers the best protection against rain, sun, and snow, depending on your region’s climate. Ensure it’s slanted to allow rainwater runoff.
In case you missed it: 15 Cheapest Ways to Build a Pig Pen: Budget-Friendly Construction Ideas, Tips, and Techniques

Consider installing lighting for the interiors, especially if the pen is sizable or there’s limited natural light. Lights make it easier for you to monitor and manage the pigs and help regulate the pigs’ sleeping patterns. Opt for energy-efficient and weatherproof lighting fixtures to ensure longevity and safety.
Conclusion
Building a pig pen is a rewarding endeavor that ensures the safety and comfort of your pigs. This guide simplifies the process into actionable steps, making it easier for anyone, regardless of experience. With hog panels at the core of this design, you’re guaranteed a sturdy, long-lasting enclosure that meets the needs of your pigs while answering the pressing questions of “How do you make a hog pen?” and “How to design a pig house?”. Remember, the cheapest way to build a pig pen is to do it right the first time, saving on future repairs and modifications.
- Feed Your Flock for Less: Top 10 Tips to Save on Chicken Feed
- Ultimate Guide to Ossabaw Island Hog: Breeding, Raising, Diet, and Care
- Hatching Answers: The Top 10 Reasons Your Chickens Aren’t Laying Eggs
- Eggs and Economics: Breaking Down the Cost of Raising Backyard Chickens
- Defend Your Greens: Proven Methods to Keep Iguanas Out of Your Garden
- Ultimate Guide to Cinnamon Queen Chicken: A Comprehensive Guide for Beginners
- Ultimate Guide to California Tan Chicken: Breeding, Raising, Diet, Egg-Production and Care
- Ultimate Guide to Marsh Daisy Chicken: Breeding, Raising, Diet, and Care
- 10 Types of Chicken Farming Businesses You Can Start for Profits