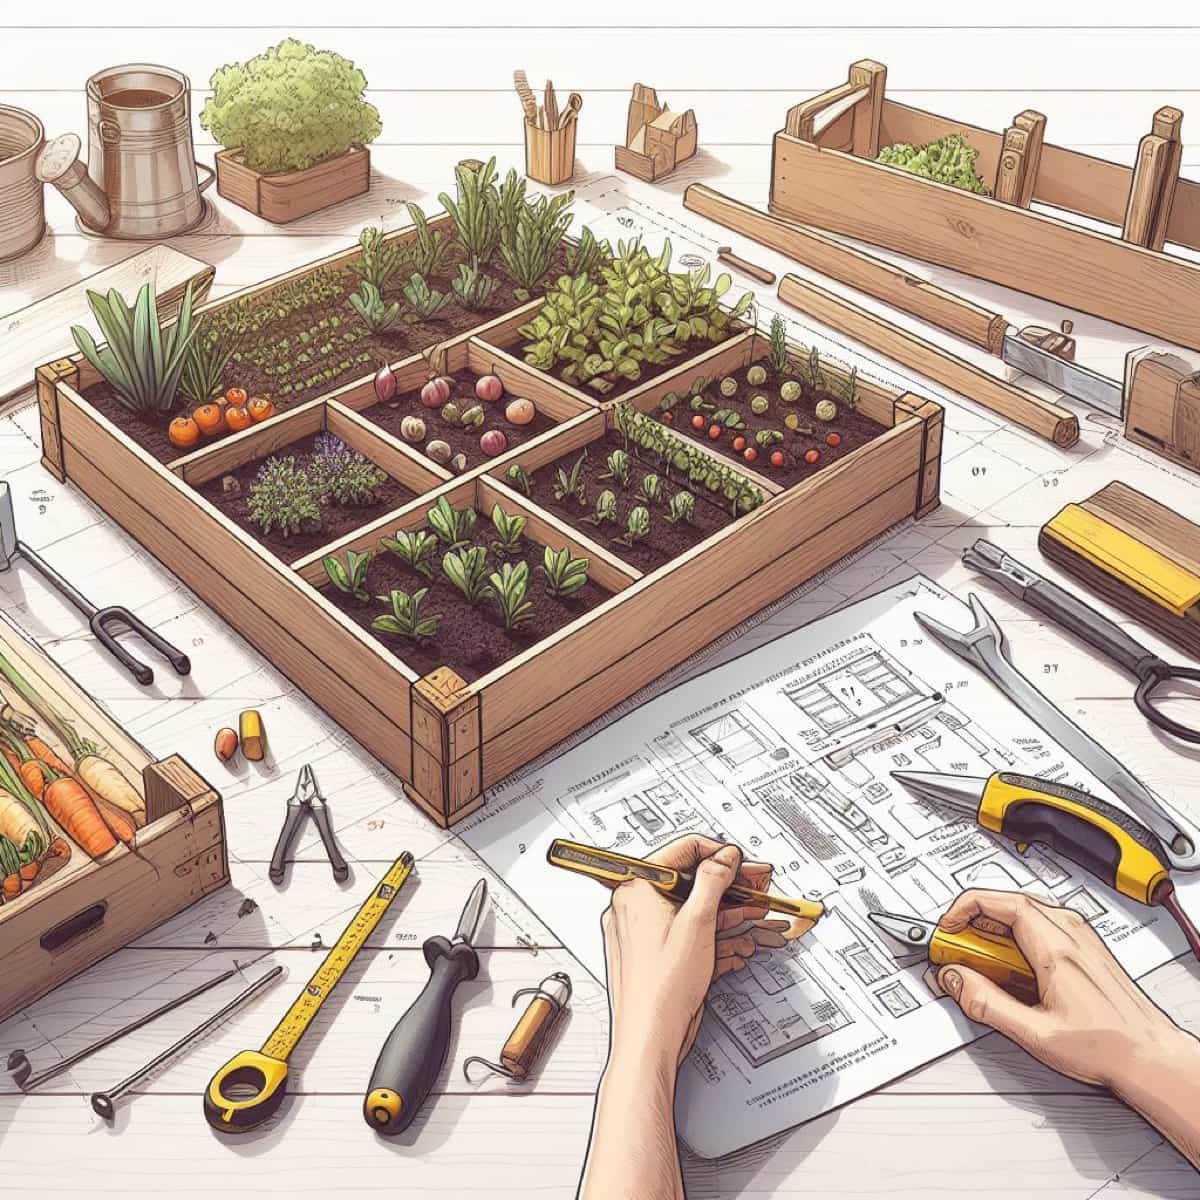
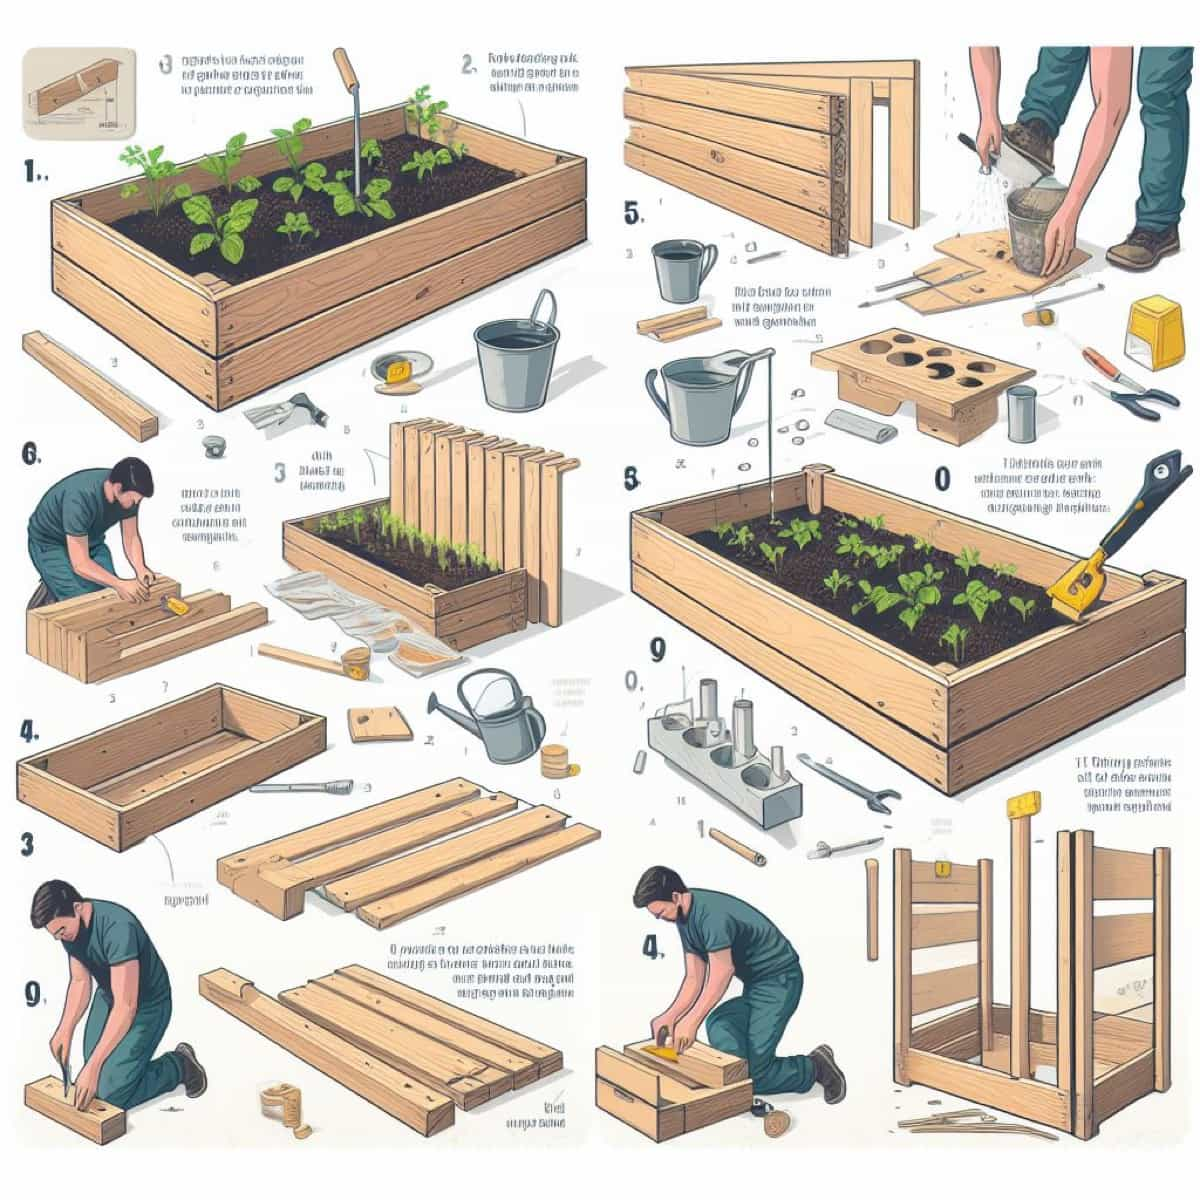
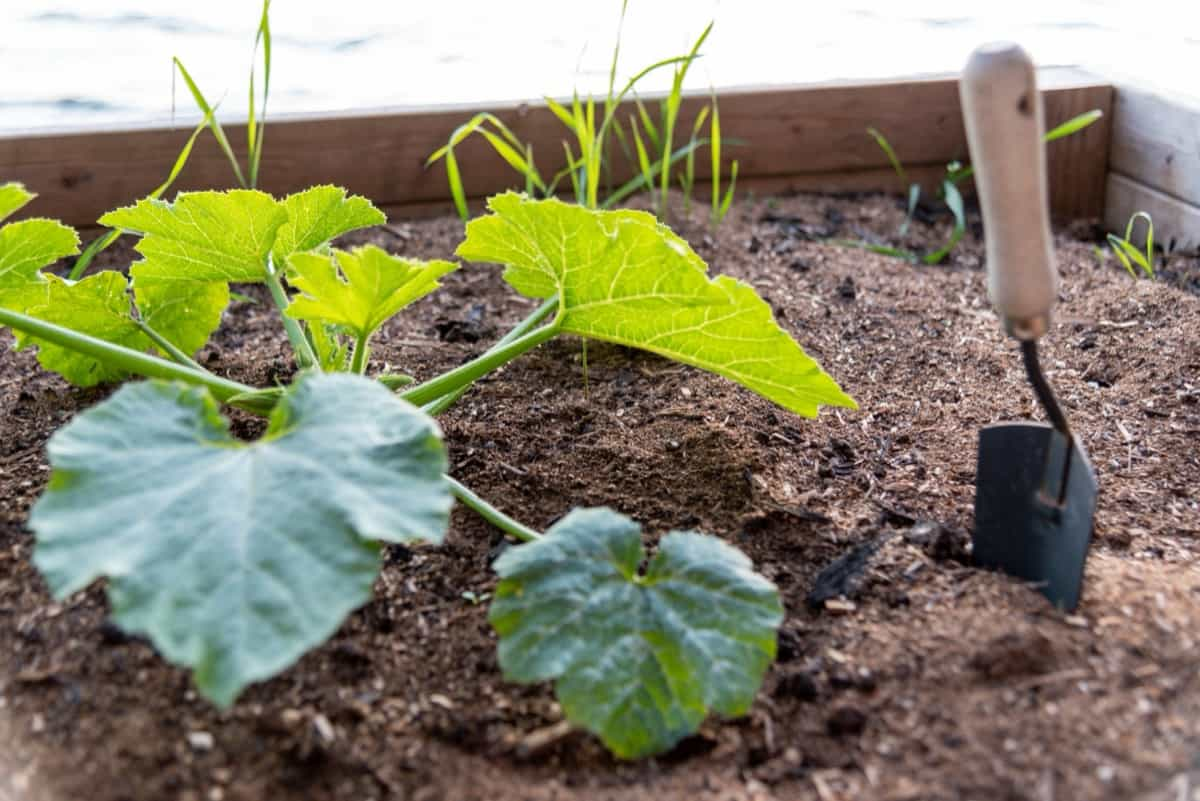
Creating vegetable garden boxes is a rewarding and practical project for those looking to cultivate their fresh produce at home. This guide, “How to Build Vegetable Garden Boxes in 10 Easy DIY Steps,” will walk you through 10 easy DIY steps to build the perfect vegetable garden boxes. These raised boxes maximize space and improve soil quality and drainage, promoting healthier plants. We’ll cover essential aspects such as selecting materials, sizing your boxes, building the frame, and filling them with nutrient-rich soil.

How to Build Vegetable Garden Boxes
Choosing the Right Materials for Your Vegetable Garden Boxes
The appropriate materials to build vegetable garden boxes are crucial for their durability and plant health. Cedar and redwood are popular due to their natural resistance to decay and insects. Pressure-treated lumber is also an option but may contain chemicals. Untreated pine is budget-friendly but less durable.
Avoid using treated wood near edible plants to prevent chemical leaching. Regardless of material, ensure proper drainage, and consider lining the interior with landscaping fabric to prevent weed growth. Prioritize safety, sustainability, and your garden’s specific needs when selecting.
Preparing Your Vegetable Garden Box Design
Designing an efficient and visually appealing vegetable garden box layout is crucial for a successful harvest. Start by selecting a suitable location with adequate sunlight and access to water, and decide on each vegetable garden box’s dimensions. Sketch a plan that organizes crops based on their compatibility and growth requirements. Consider plant height, spacing, and seasonality when arranging your boxes. Utilize companion planting to deter pests and improve yields.
Raised beds or container gardening can enhance accessibility and minimize weeds. Opt for straight rows or creative patterns, and allocate space for paths. Additionally, integrate vertical gardening for vining plants. An organized layout maximizes space and fosters a thriving, aesthetically pleasing vegetable garden.
Preparing the Soil for Your Vegetable Garden Boxes
Start by clearing debris, weeds, or grass from the area and leveling the ground. Next, consider a soil test to understand the pH and nutrient levels, allowing you to amend the soil accordingly. Incorporate organic matter like vermicompost or well-aged manure to improve soil structure and nutrient content. Mix it thoroughly with the existing soil.
Construct a soil mix of equal parts topsoil, compost, peat moss, or coconut coir for raised beds. This blend ensures excellent drainage, aeration, and fertility. Ensure the soil is well-prepared before planting by breaking up clumps and removing rocks. A well-prepared soil bed enhances root development, water retention, and nutrient uptake, leading to a bountiful and thriving vegetable garden.
Building the Frame of Your Vegetable Garden Boxes
Constructing a sturdy frame is a pivotal step in building vegetable garden boxes. Start by assembling the chosen materials, such as lumber or cedar, in a layout that matches your design. Use corrosion-resistant screws or nails to secure the corners, ensuring the frame’s durability.
In case you missed it: How to Build an Apartment Balcony Raised Garden Bed: DIY for Vegetables, Flowers and Herbs

Consider the height and dimensions, aiming for a depth of at least 6-12 inches to accommodate root growth. Level the frame to prevent water from pooling. Add corner braces for extra stability. If creating multiple boxes, ensure uniformity in size and spacing. A well-built frame sets the stage for the success of your garden, offering structural support and defining the garden’s layout.
Adding the Soil Mix to Your Vegetable Garden Boxes
The soil mix is the lifeblood of your vegetable garden boxes, and the quality of the mix profoundly impacts plant health and yield. First, fill your framed boxes with a well-balanced mix, typically composed of topsoil, compost, peat moss, or coconut coir. This blend offers optimal drainage, aeration, and nutrients for your plants.
Distribute the mix evenly and ensure it reaches the desired depth. Level the surface while avoiding compaction. Your soil mix should be loose and friable, promoting healthy root development. Its fertility will support crops throughout their growth cycle, ensuring robust and productive plants.
Installing Irrigation and Drainage Systems in Your Vegetable Garden Boxes
Proper irrigation and drainage systems are vital for maintaining the health of your vegetable garden. Install a drip irrigation system with adjustable emitters to ensure consistent moisture distribution to your plant’s roots, reducing water wastage and minimizing weed growth. Additionally, incorporate a layer of landscape fabric at the bottom of your boxes to prevent soil from leaching out while allowing excess water to drain.
Consider installing a drainage pipe or a layer of gravel beneath the boxes to improve overall drainage. Adequate irrigation and drainage are essential for preventing waterlogged soil and root diseases, promoting healthy growth, and maximizing your vegetable garden’s productivity.
Building a Trellis for Your Vegetable Garden Boxes
Constructing a trellis in your vegetable garden boxes is essential for maximizing space and supporting vining plants like tomatoes, cucumbers, and peas. Begin by attaching sturdy trellis materials like bamboo stakes, wooden poles, or wire mesh to the sides of your boxes. Ensure they’re securely anchored to withstand the weight of growing plants.
Position the trellis to provide easy access to your crops and to avoid shading other plants. As your vining vegetables grow, gently guide them onto the trellis, securing them with twine or clips. This efficient use of vertical space optimizes sunlight exposure and reduces the risk of fungal diseases by improving air circulation, resulting in healthier and more productive plants.
Adding Mulch to Your Vegetable Garden Boxes
Mulching is a beneficial step for maintaining the health of your vegetable garden boxes. After planting, apply an organic mulch like straw, wood chips, or leaves to the soil’s surface. Mulch acts as a protective layer, preventing weed growth and retaining moisture in the soil, reducing the need for frequent watering.
In case you missed it: How to Build a Raised Garden Bed for Under $100 in 9 Easy Steps: Low-cost and Cheap Ideas

It also regulates soil temperature, keeping it cooler in summer and warmer in winter. Furthermore, mulch breaks down over time, enriching the soil with organic matter and nutrients. Ensure the mulch layer is approximately 2-4 inches deep, leaving space around the base of your plants to prevent moisture-related issues. Regular mulching promotes plant health, reduces maintenance, and promotes higher yields in your vegetable garden.
Growing Companion Plants in Your Vegetable Garden Boxes
Incorporating companion plants into vegetable garden boxes can foster a thriving, pest-resistant ecosystem. You can optimize space and enhance your harvest by strategically planting mutually beneficial combinations. For instance, marigolds deter aphids and attract pollinators, making them excellent companions for various vegetables.
Basil, when planted alongside tomatoes, improves tomato flavor and discourages pests like whiteflies. Do your research to identify suitable companions, considering soil and sun requirements. Companion planting conserves space and promotes healthier crops while reducing the need for chemical interventions, creating a harmonious garden.
Maintaining Your Vegetable Garden Boxes
Regular maintenance is key to a flourishing vegetable garden. Monitor your garden boxes for weeds, promptly removing them to prevent nutrient competition. Consistently water your plants, focusing on the root zone to minimize fungal issues. Regularly inspect for signs of pests and diseases, taking preventative action when necessary, such as applying organic pest control or selecting disease-resistant varieties.
Prune and train vining plants to ensure proper growth. Monitor soil moisture levels and supplement with organic fertilizers to maintain soil fertility. Harvest your crops at peak ripeness to encourage continuous production. Well-maintained garden boxes yield abundant, healthy produce, ensuring your garden remains productive throughout the growing season.
In case you missed it: How to Build a Raised Garden Bed With Recycled Materials in 7 Easy Steps

Conclusion
In conclusion, create garden boxes for growing vegetables in these ten easy DIY steps offers a gratifying journey to homegrown abundance. With a dedicated vegetable garden box plan and care, your garden boxes can deliver a bountiful harvest, fostering a profound connection with the earth and the joys of cultivating your own nutritious, homegrown produce. Happy gardening!
- Feed Your Flock for Less: Top 10 Tips to Save on Chicken Feed
- Ultimate Guide to Ossabaw Island Hog: Breeding, Raising, Diet, and Care
- Hatching Answers: The Top 10 Reasons Your Chickens Aren’t Laying Eggs
- Eggs and Economics: Breaking Down the Cost of Raising Backyard Chickens
- Defend Your Greens: Proven Methods to Keep Iguanas Out of Your Garden
- Ultimate Guide to Cinnamon Queen Chicken: A Comprehensive Guide for Beginners
- Ultimate Guide to California Tan Chicken: Breeding, Raising, Diet, Egg-Production and Care
- Ultimate Guide to Marsh Daisy Chicken: Breeding, Raising, Diet, and Care
- 10 Types of Chicken Farming Businesses You Can Start for Profits