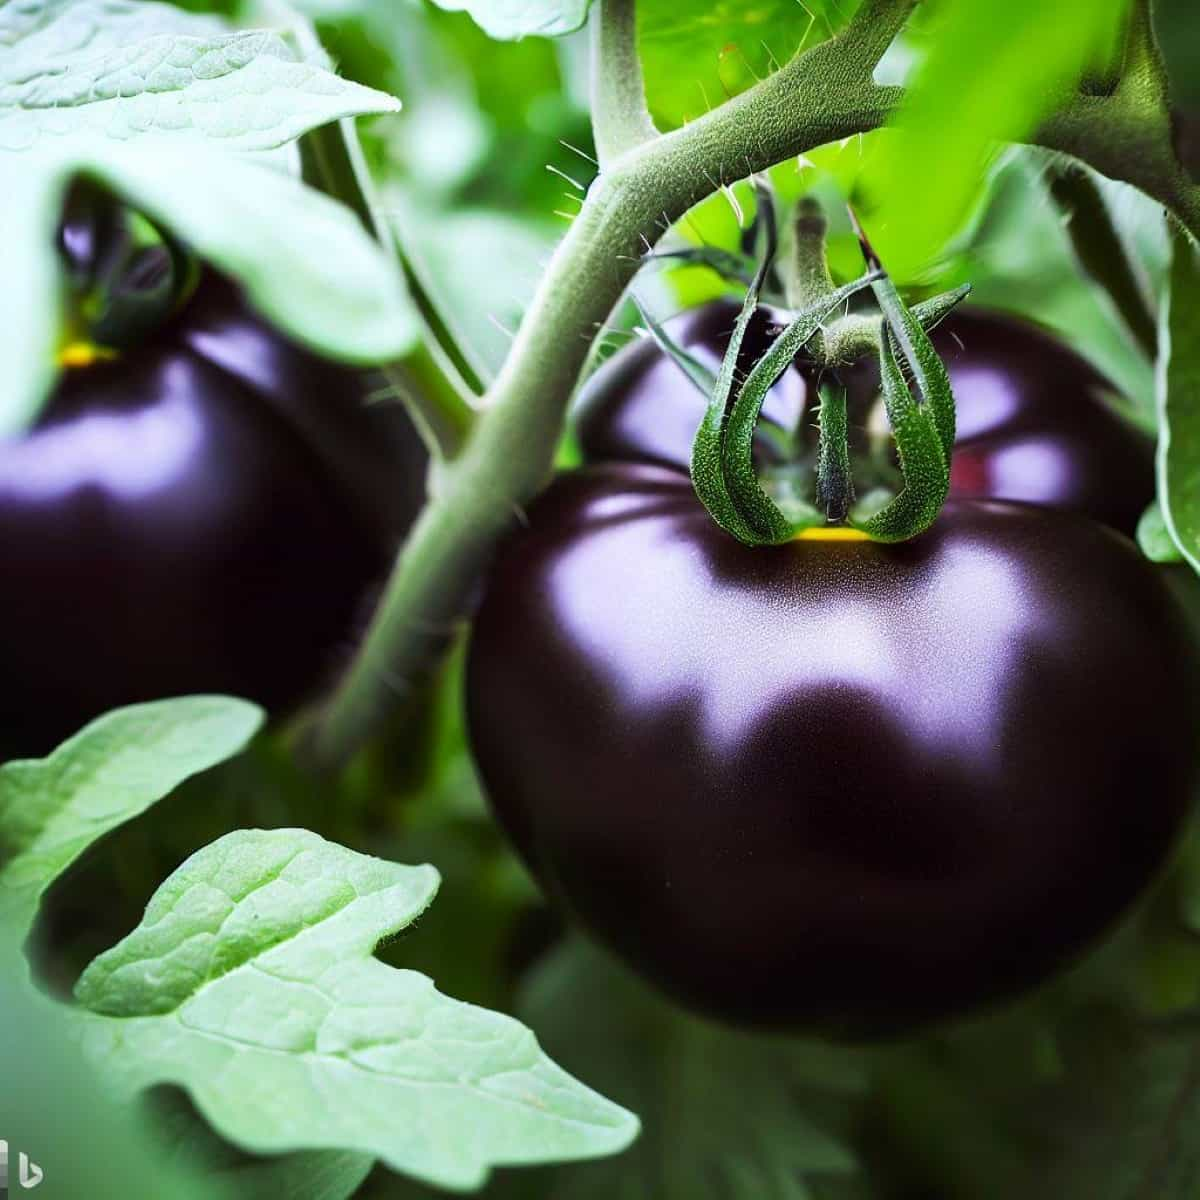
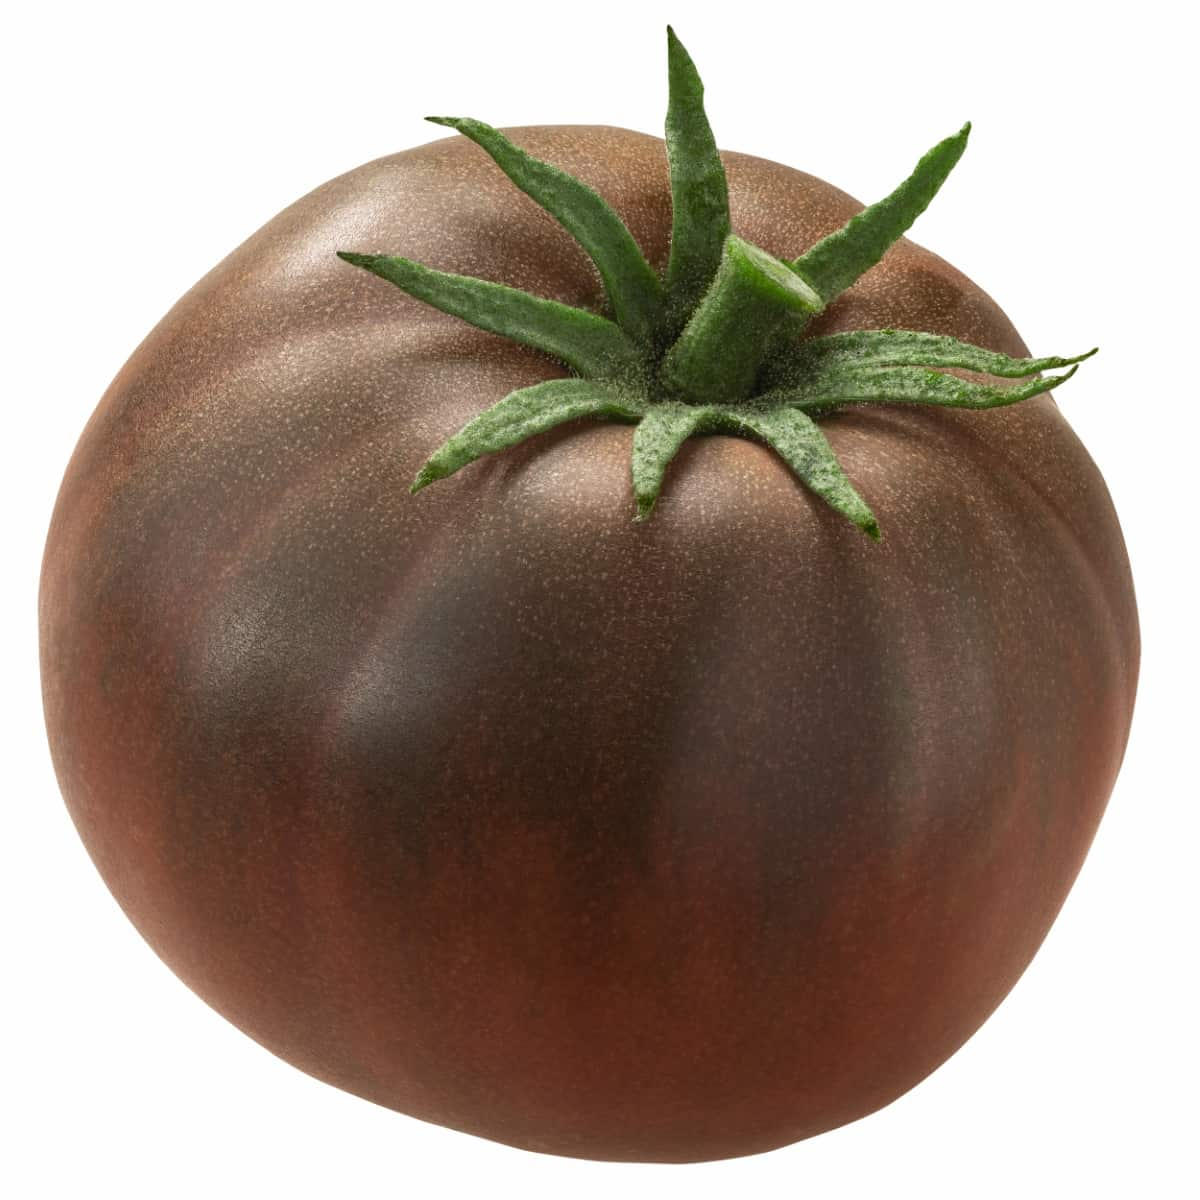
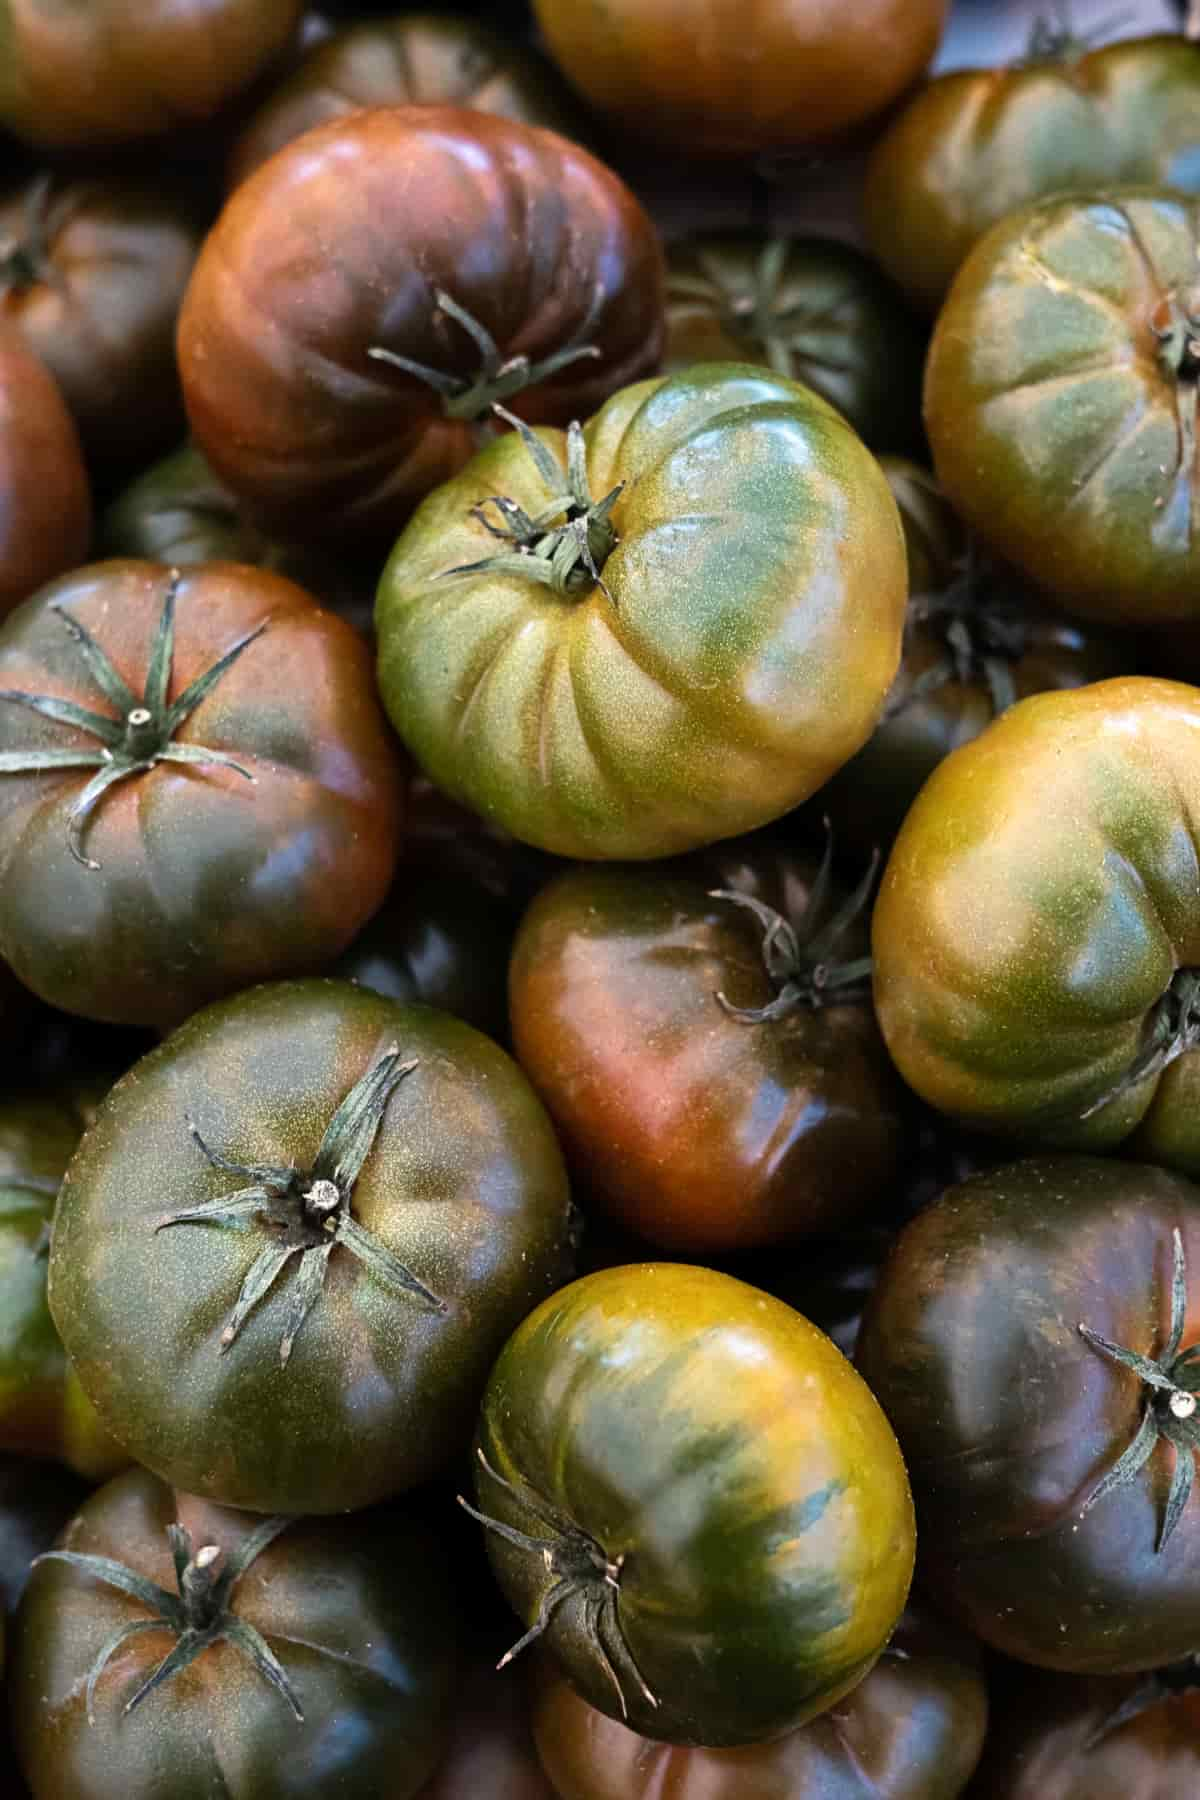
Growing your own Black Krim tomatoes is a rewarding and satisfying experience. With their unique flavor and stunning dark color, these heirloom tomatoes are a favorite among gardeners. This guide will provide you with brief instructions on how to grow and care for Black Krim tomatoes from seed to harvest successfully.

How to Grow Black Krim Tomatoes
Black Krim Tomato Overview
- Black Krim tomato size: 280-450 grams each
- Black Krim tomato size: 4-6 feet tall
- Are Black Krim tomatoes Determinate or indeterminate?: They are indeterminate.
Best Soil Conditions for Growing Black Krim Tomatoes
Loamy Soil: Black Krim tomatoes thrive in loamy soil, which has a balanced texture consisting of sand, silt, and clay. Loamy soil provides good drainage while retaining enough moisture for the plants to absorb.
Nutrient-Rich Soil: Black Krim tomatoes require nutrient-rich soil to support their growth and fruit production. Before planting, incorporate organic matter, such as vermicompost or well-aged manure, into the soil to provide essential nutrients.
pH Level: The ideal pH level for growing Black Krim tomatoes is slightly acidic to neutral, ranging from 6.0 to 7.0. Test the soil’s pH level using a soil testing kit and adjust it by adding amendments with lime to raise the pH and, on the other hand, sulfur to lower it.
Starting Black Krim Tomato Seeds Indoors
- To start growing Black Krim tomatoes in containers, First fill the trays or pots with seed-starting soil mix, leaving a small gap at the top for watering.
- Moisten the soil mix with water, ensuring it is evenly damp but not soaking wet.
- Place 2-3 seeds in each cell or pot, about 1/4 inch deep. Spread a layer of soil mix over the seeds,
- The trays or pots should be placed under grow lights or on a sunny windowsill, receiving at least 6-8 hours of direct sunlight per day.
- Ensure the soil mix is kept moist by regularly checking the moisture level and watering as needed.
- The plastic dome or wrap should be removed once the seedlings have sprouted to prevent excessive moisture buildup.
- Seedlings can be transplanted into larger pots and containers once they have developed their first true leaves.
Transplanting Black Krim Tomato Seedlings in Pots
- Choose pots or containers at least 6-8 inches deep to accommodate the root system of the black Krim tomato seedlings.
- Ensure that the pots or containers have drainage holes to prevent waterlogging.
- Carefully remove the black Krim tomato seedlings from their original container, being cautious not to damage the delicate roots.
- Gently loosen the root ball to encourage outward growth. Place the seedling into the prepared pot, ensuring it is centered and at the same depth as in the original container.
- Water the transplanted black Krim tomato seedlings immediately after transplanting to settle the soil and provide essential moisture. Avoid overwatering.
Providing Adequate Sunlight for Black Krim Tomatoes
Choose a sunny area in your yard for planting Black Krim tomatoes. Ideally, the location should receive at least 6-8 hours of direct sunlight daily. Avoid planting them in shaded areas, as it will limit their access to sunlight. Reflective mulch, such as silver or aluminum foil, can be used around the base of Black Krim tomato plants. This helps to redirect sunlight towards the lower leaves and fruits, maximizing their exposure to light.
Watering Requirements for Black Krim Tomatoes in Pots
Make sure the soil is well watered and never allowed to dry out. For tomatoes grown in containers during the summer, this means daily watering during heat waves, if not twice daily. It is possible for blossom end rot to occur during fruit development when the soil is dry. It is also important to pay attention to the way you water. Avoid overhead watering, which can spread diseases such as blight, by watering at the base of the plant.
In case you missed it: 10 Best Sandwich Tomato Varieties You Should Grow in Your Garden

Fertilizing Black Krim Tomato Plants in Pots
Use an organic slow-release fertilizer for vegetables or a tomato fertilizer with slightly higher potassium levels. Blossom end rot is prevented by calcium. Please read and follow the instructions on the label for exact amounts. From May through August, fertilize every 2 to 3 weeks after the plant is established by mixing the required amount into the soil. Fertilizer should be spread at least 3 inches from the stem, and it should be watered regularly.
Pruning and Supporting Black Krim Tomato Plants
Pruning Black Krim Tomato Plants
- Begin pruning when the plants have grown to about 12 inches tall.
- Remove the suckers and the small shoots that grow in the leaf axils. These suckers can divert energy from the main stem and reduce fruit production.
- Prune the suckers regularly throughout the growing season to maintain a single, strong main stem. This will decrease the risk of diseases and improve air circulation.
Supporting Black Krim Tomato Plants:
- Install stakes or cages to support the plants and prevent them from sprawling on the ground.
- Place stakes or cages in the ground before planting the tomato seedlings to avoid damaging the roots later.
- For staking, drive a sturdy stake into the ground near each plant, preferably at least 6 feet tall. Tie the tomato plant’s main stem to the stake using soft plant ties or twine.
Managing Pests and Diseases in Black Krim Tomatoes
Aphids: One of the most common Black Krim tomato problems is the presence of aphids. They suck the sap of the plants, causing their leaves to turn yellow and distort. To control aphids, introducing natural predators such as ladybugs or using insecticidal soap can help minimize their population.
Tomato hornworm: These large green caterpillars can quickly defoliate plants and cause significant damage. Introducing parasitic wasps or using Bacillus thuringiensis (Bt) can also help manage these pests.
Early blight: Early blight is characterized by dark spots on leaves, stems, and fruit. Removing infected plant debris and avoiding overhead watering is important to prevent early blight. Applying fungicides containing copper or chlorothalonil can also help in managing the disease.
Late blight: It is another fungal disease that can affect Black Krim Tomato plants. This disease causes dark lesions on leaves and stems, eventually leading to plant death. Applying fungicides containing copper or mancozeb can provide some control, but prevention through proper cultural practices is key.
Harvesting and Storing Black Krim Tomatoes
Black Krim tomatoes are typically ready for harvesting when fully ripened on the vine. Look for a deep, dark color and a slightly soft texture to determine if they are ready. Pruning shears or scissors can gently twist or cut the stem just above the fruit when harvesting Black Krim tomatoes. Be careful not to damage the fruit or the plant while doing so. Maintain proper ventilation in the storage area to prevent moisture buildup and spoilage. It is best to avoid storing Black Krim tomatoes in plastic bags, which can trap moisture and speed up the rot process.
In case you missed it: How to Grow and Care for Super Sweet 100 Tomatoes: A Step-by-Step Planting to Harvest Guide

Conclusion
Growing and caring for Black Krim tomatoes can be a rewarding experience for any gardener. By planting the right seeds, taking proper care, and paying attention to pests and diseases, you can have more chances to get a bountiful harvest of these tasty tomatoes. Take a deep breath, roll up your sleeves, and prepare your gardening tools for this exciting journey of growing Black Krim tomatoes.
- Feed Your Flock for Less: Top 10 Tips to Save on Chicken Feed
- Ultimate Guide to Ossabaw Island Hog: Breeding, Raising, Diet, and Care
- Hatching Answers: The Top 10 Reasons Your Chickens Aren’t Laying Eggs
- Eggs and Economics: Breaking Down the Cost of Raising Backyard Chickens
- Defend Your Greens: Proven Methods to Keep Iguanas Out of Your Garden
- Ultimate Guide to Cinnamon Queen Chicken: A Comprehensive Guide for Beginners
- Ultimate Guide to California Tan Chicken: Breeding, Raising, Diet, Egg-Production and Care
- Ultimate Guide to Marsh Daisy Chicken: Breeding, Raising, Diet, and Care
- 10 Types of Chicken Farming Businesses You Can Start for Profits