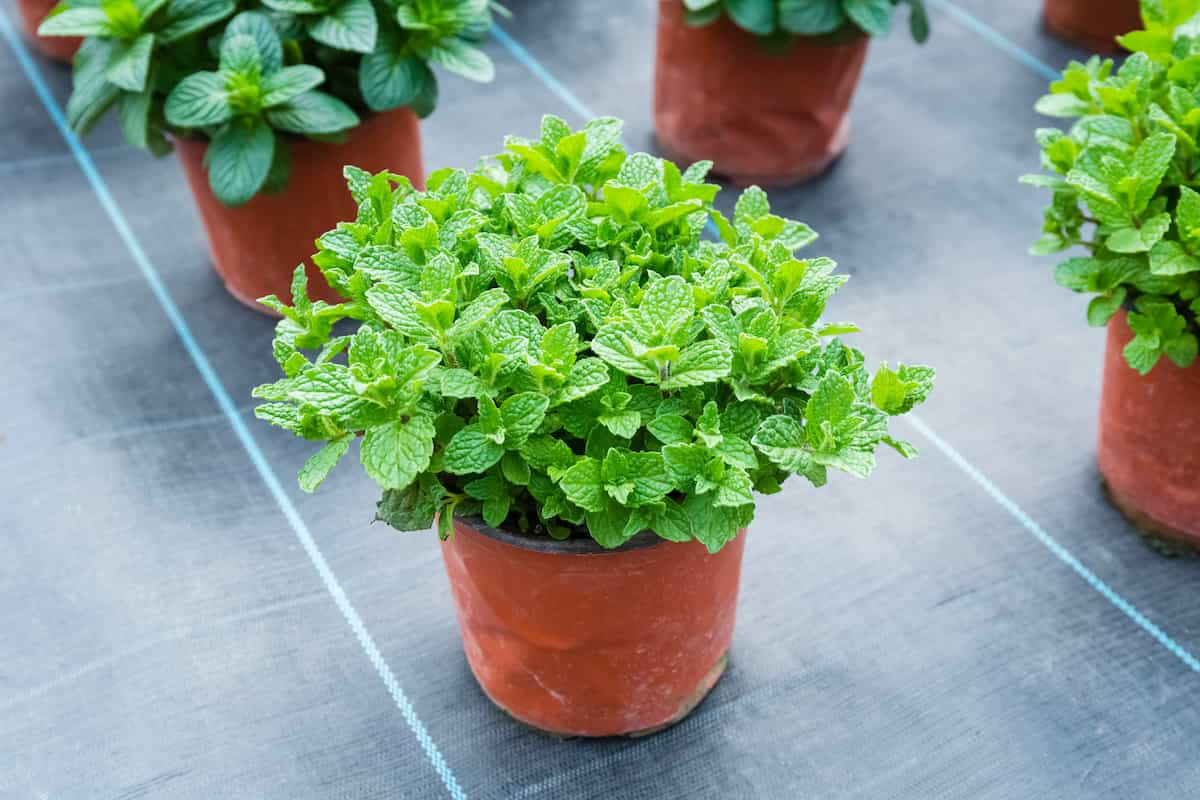
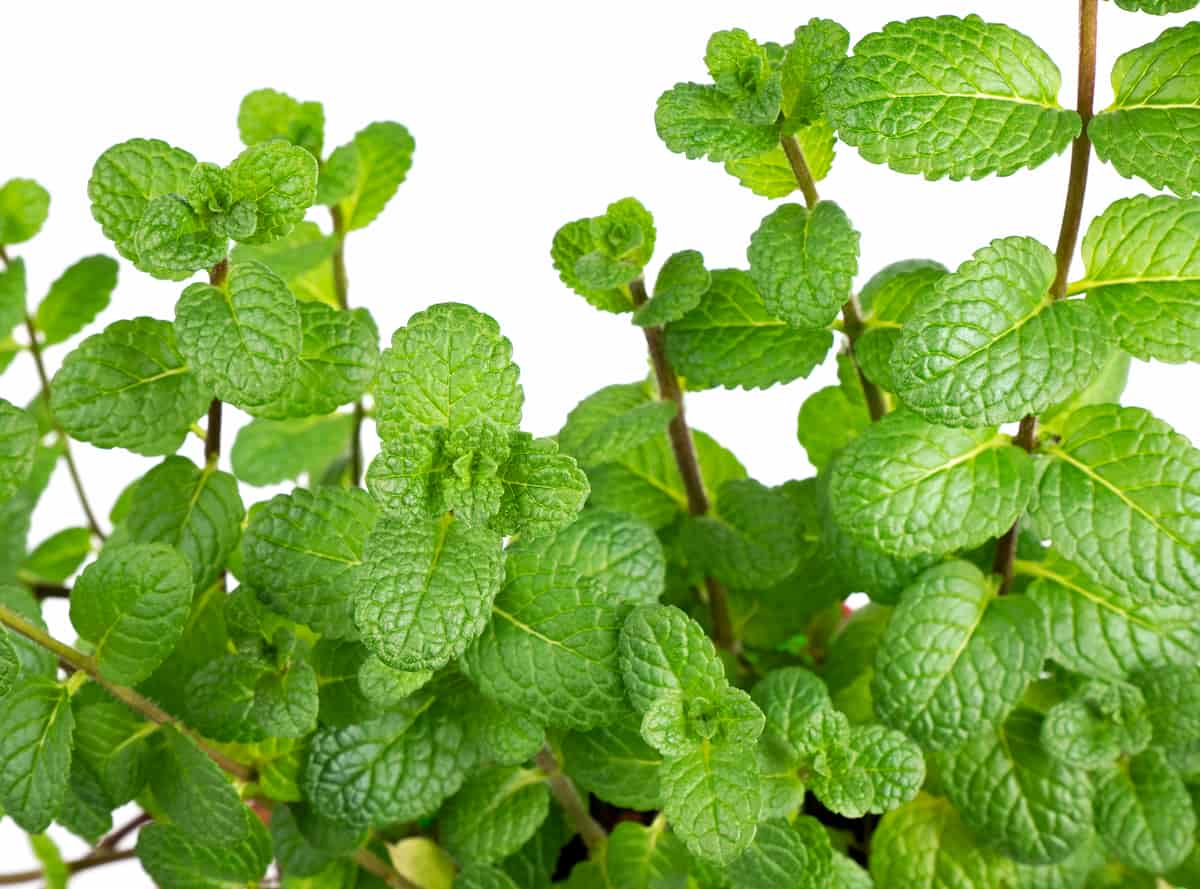
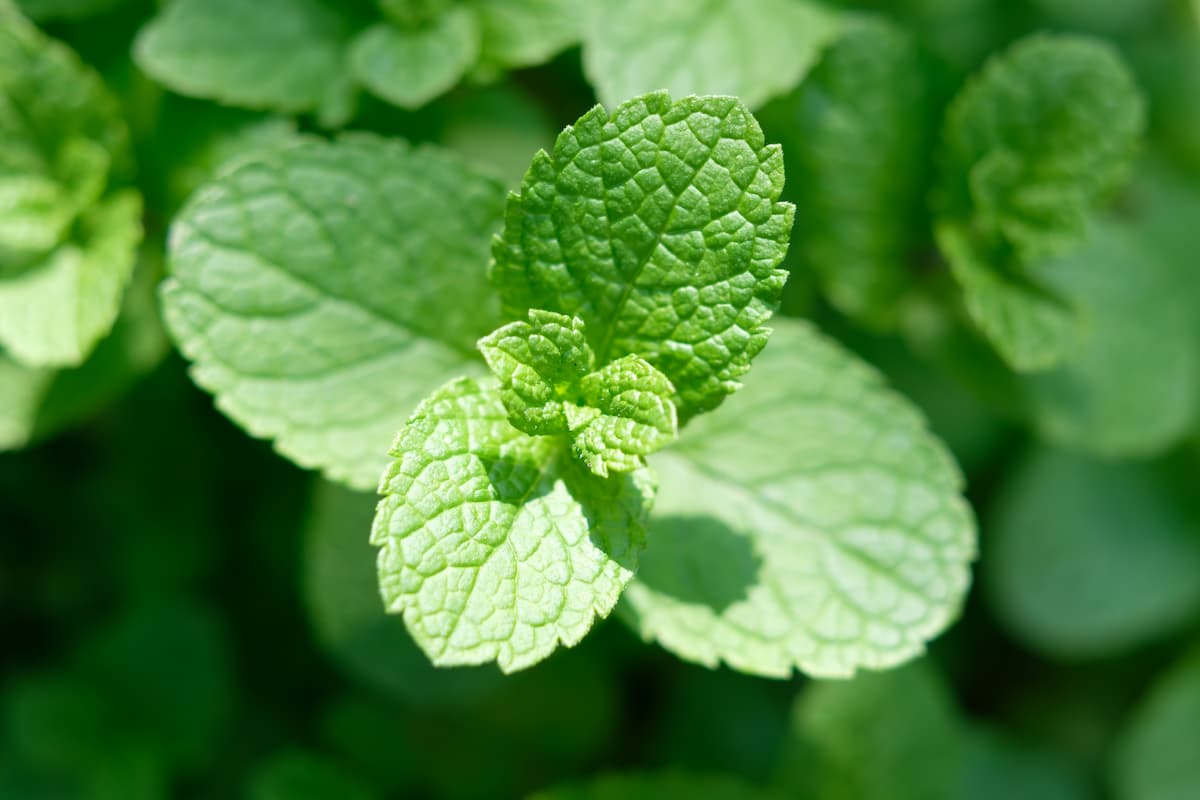
Mint is a popular and versatile herb in various culinary dishes, teas, and home remedies. It is an easy-to-grow herb that can be propagated from cuttings, making it perfect for gardeners of all skill levels. In this article, we will provide a detailed, step-by-step guide on how to grow mint from cuttings, ensuring you can cultivate your thriving mint plants at home. Below we learn how to grow mint from cuttings in soil and a step-by-step guide to growing mint in simple steps.

How to Grow Mint from Cuttings
Right Mint Variety
Before starting, it’s essential to decide which variety of mint you’d like to grow. Several varieties are available, such as spearmint, peppermint, chocolate mint, and apple mint. Consider factors like flavor, aroma, and the intended use of the mint in your decision-making process.
Obtain Mint Cuttings
You can take cuttings from an existing mint plant or purchase them from a local nursery or online supplier. To take cuttings from a healthy mint plant, follow these steps:
- Look for a healthy, pest-free plant with new growth.
- Identify a stem around 4-6 inches long, with several leaves and nodes (where leaves attach to the stem).
- Using clean, sharp scissors or pruning shears, make a clean cut just below a node, about a quarter-inch from the leaf attachment point.
Prepare the Cuttings
- Take off the leaves from the lower part of the stem and only keep the ones at the top.
- If the remaining leaves are large, consider cutting them in half to reduce transpiration (water loss through the leaves).
Root the Cuttings in the Water
Place the prepared cuttings in a container filled with water, ensuring that the bottom nodes are submerged but the leaves are not touching the water. Place the container in a well-lit area, but avoid direct sunlight to prevent the water from heating up and damaging the cuttings. Change the water every 2-3 days to keep it fresh and prevent bacterial growth. Root development usually takes 1-2 weeks.
Prepare the Potting Mix and Containers
While the cuttings are developing roots, prepare the containers and potting mix. Choose small pots or containers with drainage holes and fill them with a well-draining, high-quality potting mix. You can also create your own mix using equal parts of peat moss, perlite, and vermiculite. Ensure the containers are clean to prevent the spread of disease.
Transplant the Rooted Cuttings
Once the mint cuttings have developed at least an inch long roots, they are ready to be transplanted. Carefully remove the cuttings from the water and follow these steps:
- Make a hole in the potting mix slightly larger than the cutting’s root system.
- Gently place the cutting in the hole, ensuring the roots are fully covered but the leaves remain above the soil line.
- Firmly press the potting mix around the cutting to provide support and eliminate air pockets.
Water and Maintain the Newly Potted Cuttings
After transplanting the cuttings, water them thoroughly to settle the soil and establish good root-to-soil contact. Place the potted cuttings in a well-lit area with indirect sunlight. Keep the soil consistently moist but not waterlogged. Over the next few weeks, gradually expose the plants to direct sunlight to help them acclimate to their new environment.
In case you missed it: Frequently Asked Questions About Mint Farming

Encourage Bushy Growth
To promote bushy growth and a healthy root system, pinch back the tips of the mint plants when they reach 5-6 inches tall. This will encourage the plant to produce more lateral branches, resulting in a fuller and bushier appearance. Regular pruning will improve the plant’s aesthetics and stimulate the production of aromatic oils, enhancing the mint’s flavor and aroma.
Transplant
After 4-6 weeks, the mint plants should be well-established and ready for transplanting into a larger container or directly into your garden. If transplanting into a container, choose one at least 12 inches in diameter with drainage holes to ensure proper moisture management. Mint can be invasive, so planting it in a container or a designated garden area can help control its spread.
To Transplant, follow these steps
- Prepare the new location by loosening the soil and mixing it in compost or well-rotted manure for added nutrients.
- Carefully remove the mint plant from its current container, trying to preserve as much of the root system as possible.
- Dig a hole in the new location, slightly larger than the mint’s root ball.
- Place the mint plant in the hole, ensuring it is at the same depth as in its previous container.
- Firmly press the soil around the plant, thoroughly eliminating air pockets and water to settle the soil.
Care and Maintenance
- Mint plants require minimal maintenance once established. Follow these simple tips to ensure your mint plants thrive:
- Water consistently to maintain even moisture, as mint prefers slightly damp soil. However, avoid overwatering, as this can lead to root rot.
- Apply a balanced, water-soluble fertilizer every 4-6 weeks during the growing season to support healthy growth and maintain soil fertility.
- Regularly harvest mint leaves to encourage new growth and prevent the plant from becoming too woody. Harvesting in the morning ensures the highest concentration of essential oils.
- Check for pests, like aphids or spider mites, and treat them promptly with insecticidal soap or other appropriate methods.
In case you missed it: Sesame Production Guide: A Step-By-Step Cultivation Practices

Conclusion
Growing mint from cuttings is a rewarding and simple process that allows you to enjoy fresh, homegrown mint for culinary and medicinal purposes. You can also grow mint from cuttings in water, from cuttings in pots, and indoors.
- Feed Your Flock for Less: Top 10 Tips to Save on Chicken Feed
- Ultimate Guide to Ossabaw Island Hog: Breeding, Raising, Diet, and Care
- Hatching Answers: The Top 10 Reasons Your Chickens Aren’t Laying Eggs
- Eggs and Economics: Breaking Down the Cost of Raising Backyard Chickens
- Defend Your Greens: Proven Methods to Keep Iguanas Out of Your Garden
- Ultimate Guide to Cinnamon Queen Chicken: A Comprehensive Guide for Beginners
- Ultimate Guide to California Tan Chicken: Breeding, Raising, Diet, Egg-Production and Care
- Ultimate Guide to Marsh Daisy Chicken: Breeding, Raising, Diet, and Care
- 10 Types of Chicken Farming Businesses You Can Start for Profits