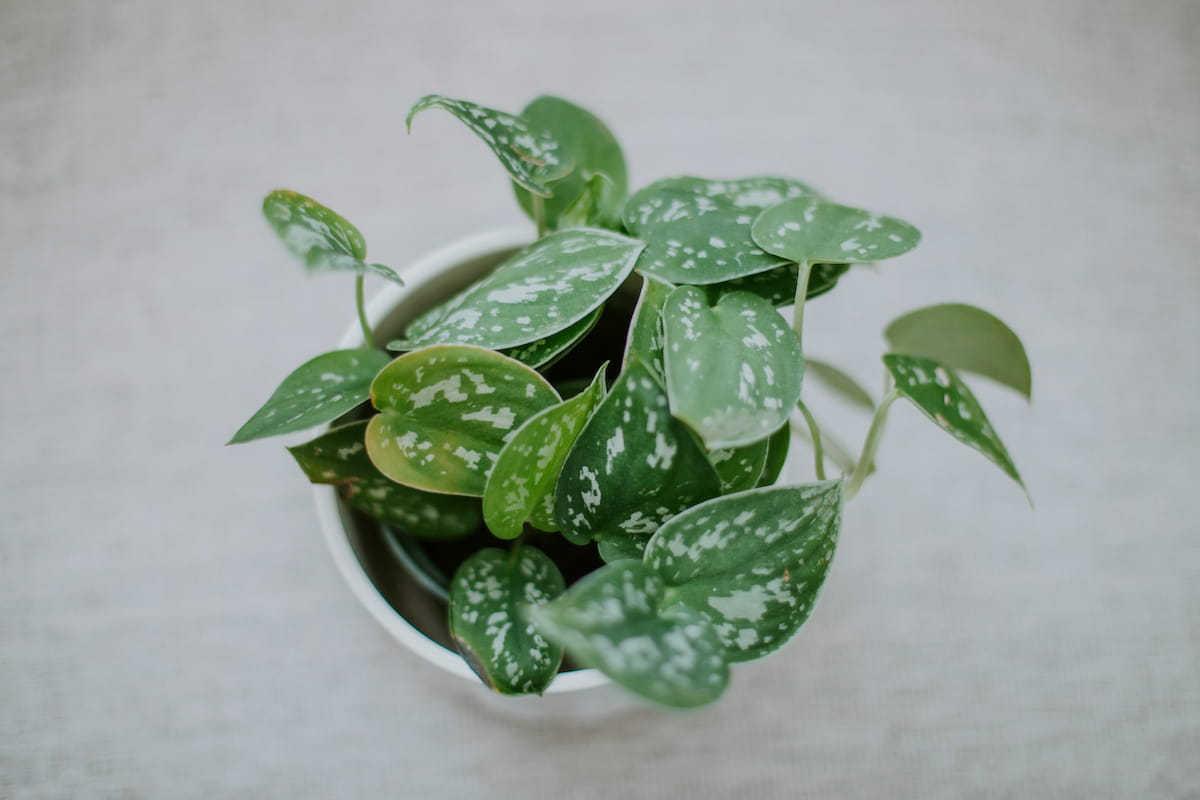
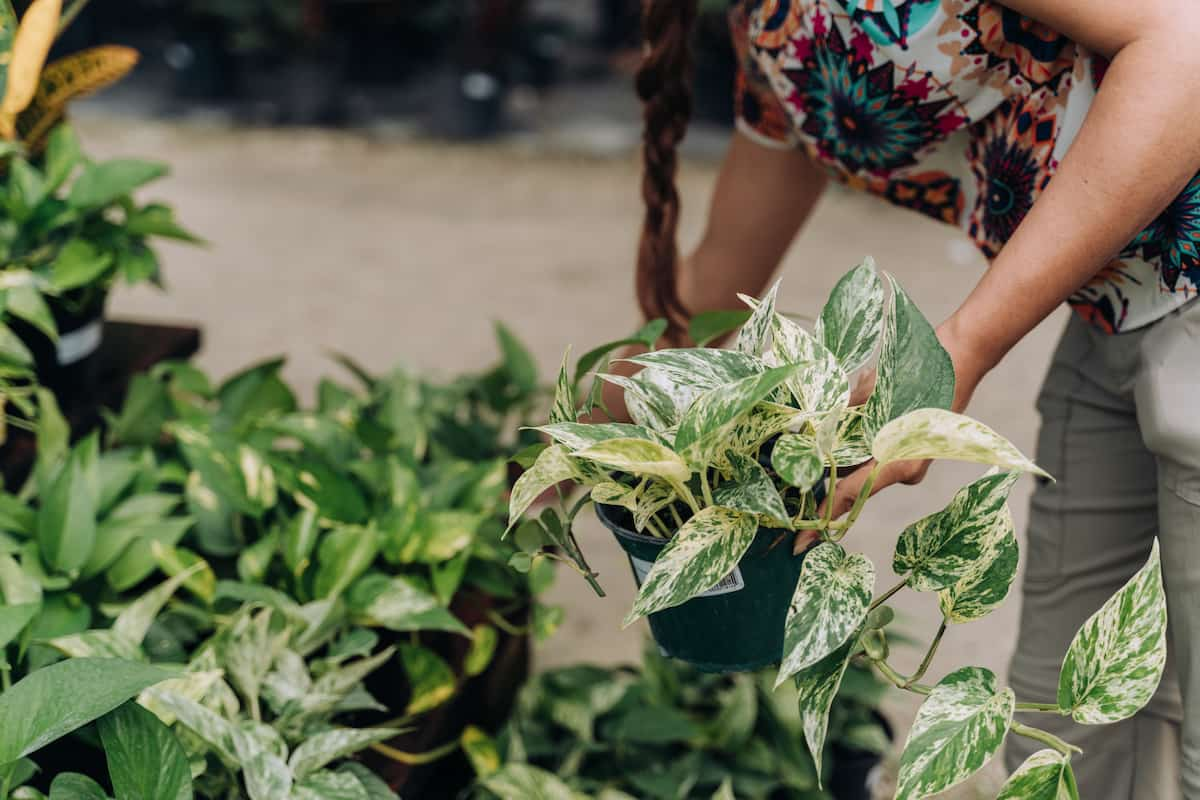
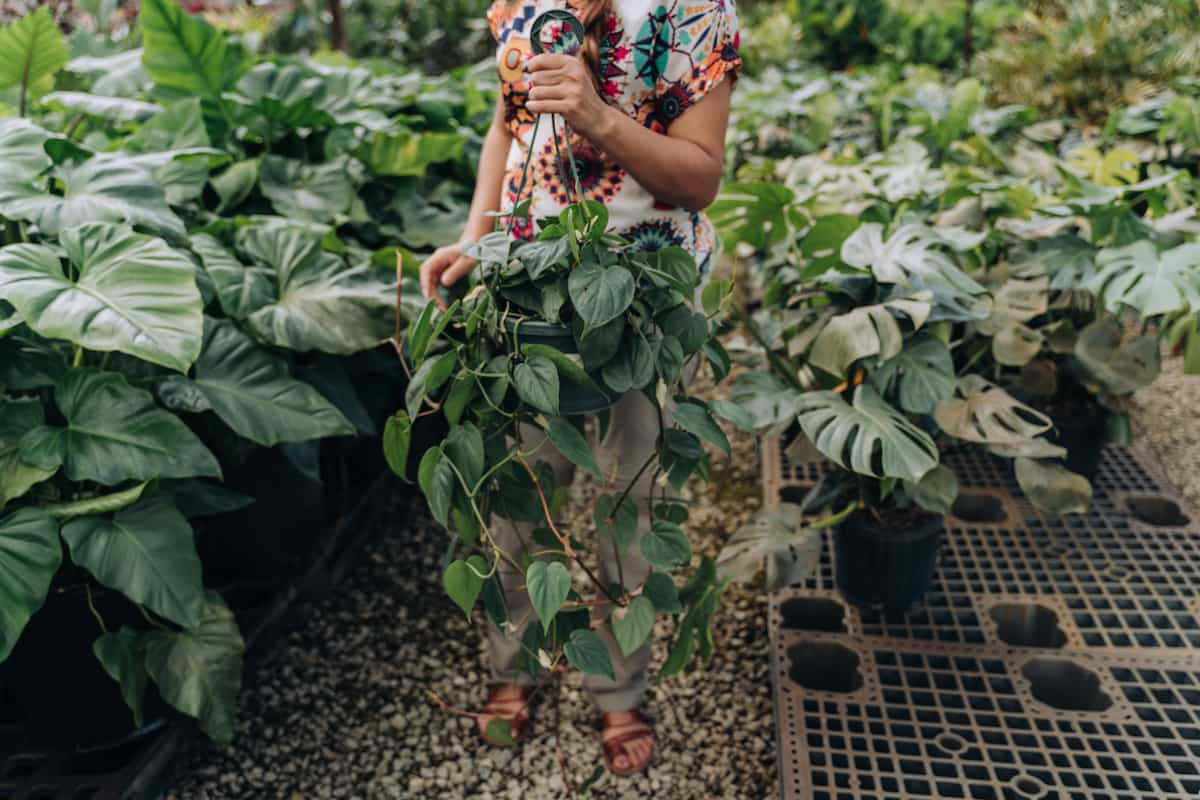
A popular and simple-to-care-for houseplant, pothos is also known as Devil’s Ivy and brings a welcome splash of green to any room. Growing pothos from cuttings is a simple and rewarding process even beginner gardeners can master. With more than 1000 words of detailed information, you will be well-equipped to propagate your own pothos plants and enjoy their lush foliage.

How to Grow Pothos from Cuttings
Choose a Healthy Parent Plant
Start by selecting a healthy, well-established pothos plant to take your cuttings from. A good parent plant should have:
- Vibrant green leaves without yellowing or browning
- No signs of pests or diseases
- Multiple long, trailing vines
- Inspect the plant thoroughly before taking any cuttings to ensure you start with the healthiest possible material.
Gather Your Materials
- Pruning shears or scissors that are both clean and sharp
- A glass or jar filled with clean water
- Optional: rooting hormone (liquid or powder)
- A small pot with drainage holes
- Well-draining potting mix (a mix of peat moss, perlite, and vermiculite works well)
- A clear plastic bag or cover to create a mini greenhouse
- Having all your materials ready before you start will make the process smoother and more enjoyable.
Take the Cuttings
- Locate a healthy vine with at least five leaves.
- Using your sharp pruning shears or scissors, cut the vine just below a leaf node (the small bump where a leaf meets the stem). This is where the roots will eventually emerge.
- Remove the bottom leaf, leaving about an inch of stem below the node. This will prevent the leaf from rotting in the water and encourage root growth.
- Repeat this process to take multiple cuttings, as not all may root successfully.
Apply Rooting Hormone (optional)
Rooting hormones can help speed up the rooting process and increase your chances of success. To apply:
- Pour a small amount of liquid rooting hormone into a separate container or place a small amount of powdered hormone onto a clean surface.
- Dip the cut end of your pothos into the rooting hormone, ensuring the node is covered.
- Gently tap off any excess hormone.
Place Cuttings in the Water
Fill a glass or jar with clean water and place your cuttings inside, ensuring that the nodes are submerged. The remaining leaves should be above the waterline. Place the glass in a warm, bright location out of direct sunlight. Direct sun can cause the cuttings to overheat and die.
Monitor and Change Water Regularly
Check the water level daily and top up as needed to submerge the nodes. Change the water completely every 3-5 days to prevent bacterial growth and keep the environment clean for your cuttings. Within a few weeks, you should see roots emerging from the nodes.
In case you missed it: How to Grow Moringa in Greenhouse/Polyhouse: A Step-By-Step Guide for Seed to Harvest

Prepare the Pot and Potting Mix
While waiting for roots to develop, prepare your pot and potting mix. Choose a small pot with drainage holes to prevent waterlogging. Fill the pot with a well-draining potting mix, leaving about an inch of space at the top.
Transplant Cuttings into Potting Mix
Once your cuttings have developed a robust root system (typically 1-2 inches long), they can be transplanted into the potting mix. Follow these steps:
- Gently remove the cuttings from the water, carefully not damaging the new roots.
- Create a small hole in the potting mix for each cutting, deep enough to cover the roots and the node.
- Place the cutting into the hole, ensuring the potting mix fully covers the roots.
- Gently firm the soil around the cutting to secure it in place, not damaging the roots or stem.
Provide a Mini Greenhouse
To help your newly potted cuttings acclimate to their new environment and maintain high humidity levels, create a mini greenhouse using a clear plastic bag or cover. This will help prevent the cuttings from drying out during the initial rooting phase. To create the mini greenhouse:
- Place the clear plastic bag over the pot, ensuring it doesn’t touch the leaves. Alternatively, you can use a clear plastic cover, such as an inverted clear plastic container or a propagation dome.
- Secure the bag or cover in place, ensuring that there is still some airflow for the cuttings to breathe.
- Keep the container out of direct sunlight but in a warm, bright area.
Monitor and Care for your New Pothos Plant
For the first few weeks, closely monitor your new pothos plant and provide proper care to help it establish and thrive:
- Water the potting mix when the top inch feels dry to the touch. Root rot is caused by overwatering, so be cautious.
- After two weeks, you can remove the plastic bag or cover to allow the plant to acclimate to the surrounding environment. Keep a close eye on your plant during this time, as it may need more frequent watering until it becomes fully established.
- As your plant grows, provide it with bright, indirect light, and rotate the pot regularly to ensure even growth. Although pothos plants may survive under less lighting, their development may decrease, and their leaves may become less vivid.
- Fertilize your pothos plant with a balanced, water-soluble fertilizer every 4-6 weeks during the growing season (spring and summer). Follow the package instructions for the proper dosage and application method.
In case you missed it: How to Grow Curry Leaf Plant from Cuttings: DYI in 10 Simple Steps

Conclusion
Growing pothos from cuttings is a rewarding and straightforward process that allows you to create new plants for your home or to share with friends and family. By following the 10 simple steps outlined in this comprehensive guide, you can easily propagate your pothos plants and enjoy their lush, green foliage for years to come. Happy gardening!
- Feed Your Flock for Less: Top 10 Tips to Save on Chicken Feed
- Ultimate Guide to Ossabaw Island Hog: Breeding, Raising, Diet, and Care
- Hatching Answers: The Top 10 Reasons Your Chickens Aren’t Laying Eggs
- Eggs and Economics: Breaking Down the Cost of Raising Backyard Chickens
- Defend Your Greens: Proven Methods to Keep Iguanas Out of Your Garden
- Ultimate Guide to Cinnamon Queen Chicken: A Comprehensive Guide for Beginners
- Ultimate Guide to California Tan Chicken: Breeding, Raising, Diet, Egg-Production and Care
- Ultimate Guide to Marsh Daisy Chicken: Breeding, Raising, Diet, and Care
- 10 Types of Chicken Farming Businesses You Can Start for Profits