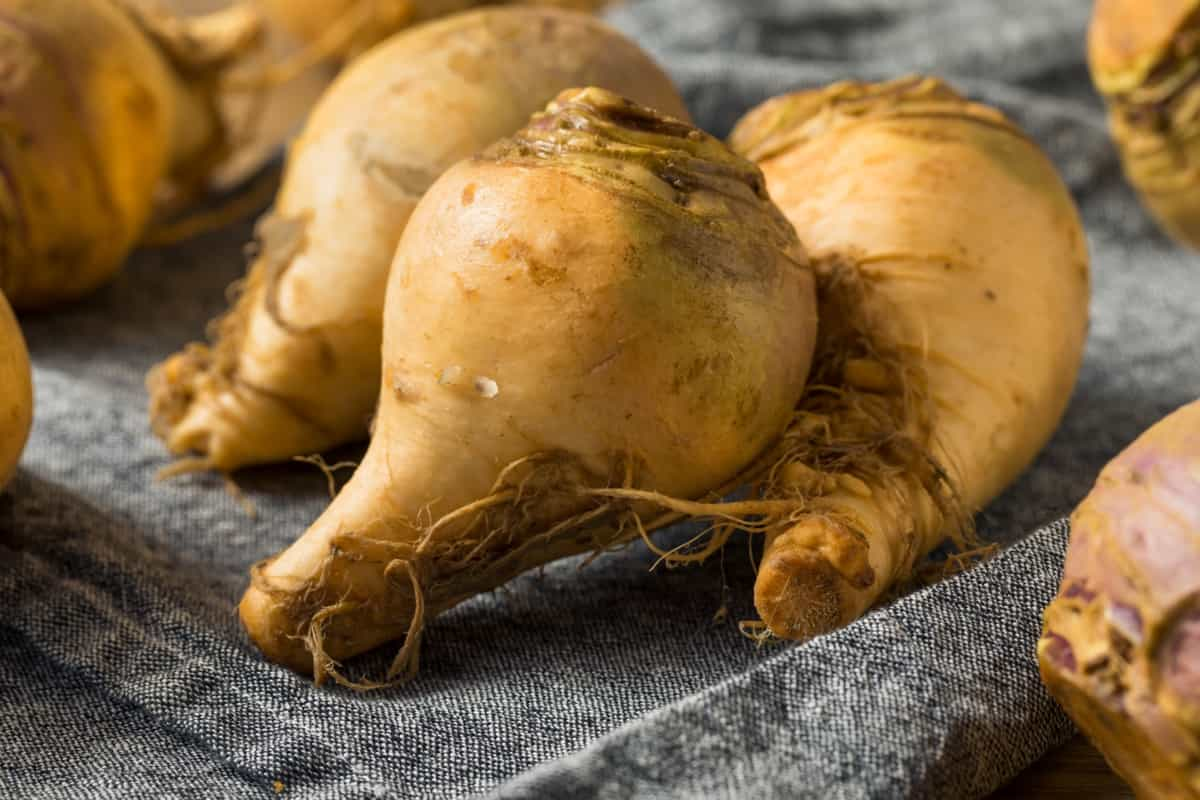
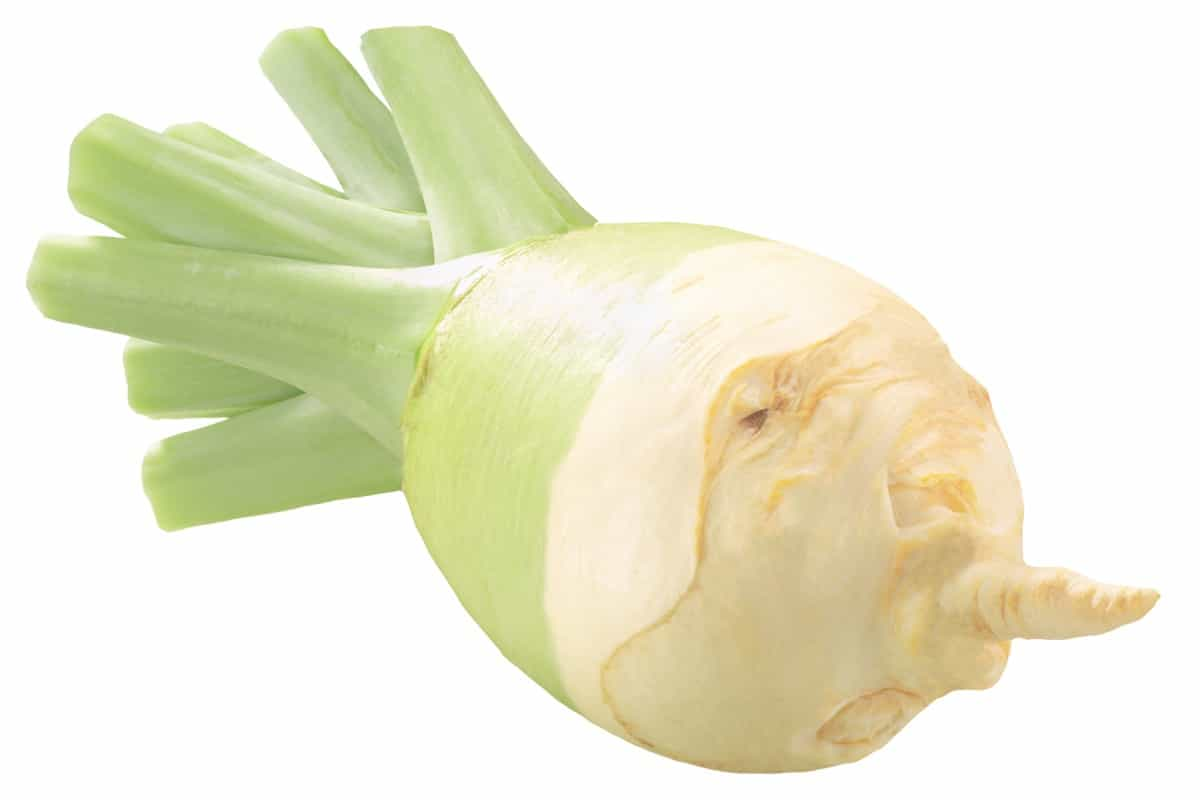
Rutabaga, also known as swede or yellow turnip, is a root vegetable that is popular for its sweet and earthy flavor. Growing rutabaga in your garden can be a rewarding experience, as it is relatively easy to grow and requires minimal care. In this guide, we will provide you with step-by-step instructions on how to plant and care for rutabaga.

How to Grow Rutabaga
Choosing the Right Rutabaga Varieties for Your Garden
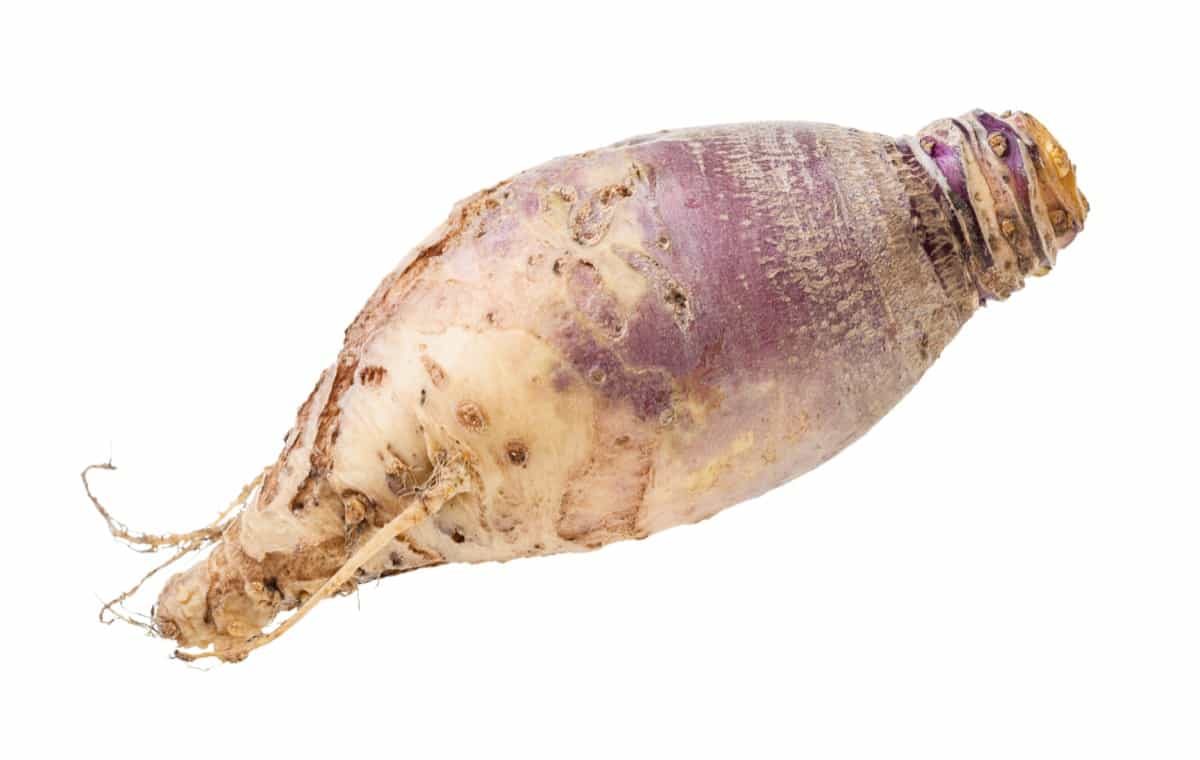
Several varieties of rutabagas are available, each with its characteristics. Some popular varieties include ‘American Purple Top’, ‘Laurentian’, and ‘Wilhelmsburger’. ‘American Purple Top’ is a common variety known for its purple-ish skin and yellow flesh. ‘Laurentian’ is a reliable variety that produces large, sweet roots.
‘Wilhelmsburger’ is a smaller variety perfect for those with limited garden space. When selecting a rutabaga variety, consider factors such as taste, size, and maturity period. Additionally, consider your climate and growing conditions to ensure your chosen variety will thrive in your garden.
Preparing the Soil for Rutabaga Planting: Tips and Techniques
- Choose a sunny location: Rutabagas thrive in full sun, so select a spot in the garden that receives at least six hours of direct sunlight daily.
- Test the soil pH: Rutabagas prefers slightly acidic soil with a pH range between 5.5 and 6.8. Use a soil testing kit to determine the pH of your soil, and make any necessary adjustments by adding lime to raise the pH or sulfur to lower it.
- Clear the area: Remove any weeds, rocks, or debris from the planting area. Rutabagas need space to grow and compete with weeds for nutrients and water.
- Loosen the soil: Using a garden fork, loosen the soil to a depth of at least 12 inches. This can improve drainage and allow the roots to penetrate easily.
- Add organic matter: Incorporate organic matter, such as compost or well-rotted manure. This will improve soil fertility, structure, and moisture retention.
- Level the soil: Rake the soil to create a smooth and level surface for planting.
Sowing Rutabaga Seeds: Step-by-Step Instructions
- Choose the right time: Rutabagas are cool-season crops and should be planted in early spring or late summer for a fall harvest. Check the recommended planting dates for your specific variety and location.
- Create furrows: Use a garden hoe or your finger to create shallow furrows in the prepared soil. Space the furrows about 12 inches apart.
- Sow the seeds: Place the rutabaga seeds in the furrows, spacing them about 2 inches apart. Cover these Rutabaga seeds with a thin layer of soil.
- Water thoroughly: After sowing the seeds, water the area gently but thoroughly. Consistently maintain the soil moist but not waterlogged.
- Thin the seedlings: When the seedlings have grown to 2 to 3 inches in height, thin them out to allow proper spacing. The seedlings should be at least 6 inches apart to ensure they have enough room to develop.
- Mulch the area: Apply an organic mulch, like straw or wood chips, around the seedlings. This will help conserve moisture, suppress weeds, and regulate soil temperature.
In case you missed it: Growing Burpless Cucumber: Varieties, Origin, Planting, and Care

Transplanting Rutabaga Seedlings: Best Practices for Success
- Dig deep holes enough to accommodate the roots of the seedlings.
- Gently remove the seedlings from their containers or seed trays, careful not to damage the delicate roots.
- Place each seedling in a hole and backfill it with soil, firming it gently around the base. Water thoroughly after transplanting to help the seedlings establish.
- Finally, provide adequate protection against pests and extreme weather conditions.
Providing Optimal Growing Conditions for Rutabaga Plants
Firstly, they require well-drained soil with a pH between 5.5 and 6.8. This allows for nutrient absorption and prevents root rot. Rutabagas prefer full sun exposure, so a minimum of 6 hours of sunlight daily is necessary. Adequate spacing between plants is crucial for proper air circulation and minimizing fungal disease risk. The ideal temperature range for rutabagas is between 10-21°C. Consistent moisture levels, achieved through regular watering, are essential for their growth.
Watering Rutabaga: Dos and Don’ts for Proper Moisture Levels
Do water regularly, keeping the soil consistently moist but not waterlogged. Rutabagas require about 1 inch of water per week. Don’t overwater, as it leads to root rot and other diseases. Avoid watering from above, as it can promote fungal growth. Instead, use drip irrigation or water at the base of the plants. Mulching can help retain moisture and regulate soil temperature.
Fertilizing Rutabaga Plants: Nutrient Requirements and Application Methods
These plants require a well-balanced blend of nitrogen, phosphorus, potassium, and other trace elements. Before planting, incorporate organic matter into the soil to improve fertility. Following the manufacturer’s instructions during the growing season, apply a balanced granular fertilizer. Avoid overfertilizing, as it leads to excessive foliage growth at the expense of root development. To prevent nutrient deficiencies, perform soil tests and make necessary adjustments.
Controlling Weeds, Pests, and Diseases in Rutabaga Gardens
Keeping weeds, pests, and diseases at bay is crucial for successful rutabaga gardening. To control weeds, regularly cultivate the soil with a hoe to disrupt weed growth. Mulching around the plants can also help suppress weeds. Monitor the plants for common pests like aphids, flea beetles, and cabbage worms. Use organic insecticides or biological controls to manage infestations. Prevent diseases by practicing crop rotation and avoiding excessive moisture on the foliage. If necessary, apply fungicides according to the specific disease being targeted.
Harvesting and Storing Rutabagas: Maximizing Flavor and Shelf Life
Knowing the proper techniques for harvesting and storing rutabagas is essential for maximizing their flavor and shelf life. Harvest rutabagas when they reach maturity, usually around 90-100 days after planting. Loosen the soil gently around the plants and lift them out, careful not to damage the roots.
In case you missed it: All About Cinderella Pumpkin: Varieties, History, Size, Planting, Growing, and Care

Remove the tops, leaving a small stem attached. For best flavor, store rutabagas at temperatures between 0-4°C and high humidity levels. Place them in a perforated plastic bag or a root cellar. Properly stored rutabagas can last up to several months, allowing you to enjoy their delicious flavor beyond the harvest season.
Conclusion
By following these planting and care instructions, you can enjoy a bountiful harvest of delicious rutabagas. Experiment with various cooking methods and recipes to fully appreciate the unique flavor and versatility of this versatile root vegetable.
- Feed Your Flock for Less: Top 10 Tips to Save on Chicken Feed
- Ultimate Guide to Ossabaw Island Hog: Breeding, Raising, Diet, and Care
- Hatching Answers: The Top 10 Reasons Your Chickens Aren’t Laying Eggs
- Eggs and Economics: Breaking Down the Cost of Raising Backyard Chickens
- Defend Your Greens: Proven Methods to Keep Iguanas Out of Your Garden
- Ultimate Guide to Cinnamon Queen Chicken: A Comprehensive Guide for Beginners
- Ultimate Guide to California Tan Chicken: Breeding, Raising, Diet, Egg-Production and Care
- Ultimate Guide to Marsh Daisy Chicken: Breeding, Raising, Diet, and Care
- 10 Types of Chicken Farming Businesses You Can Start for Profits