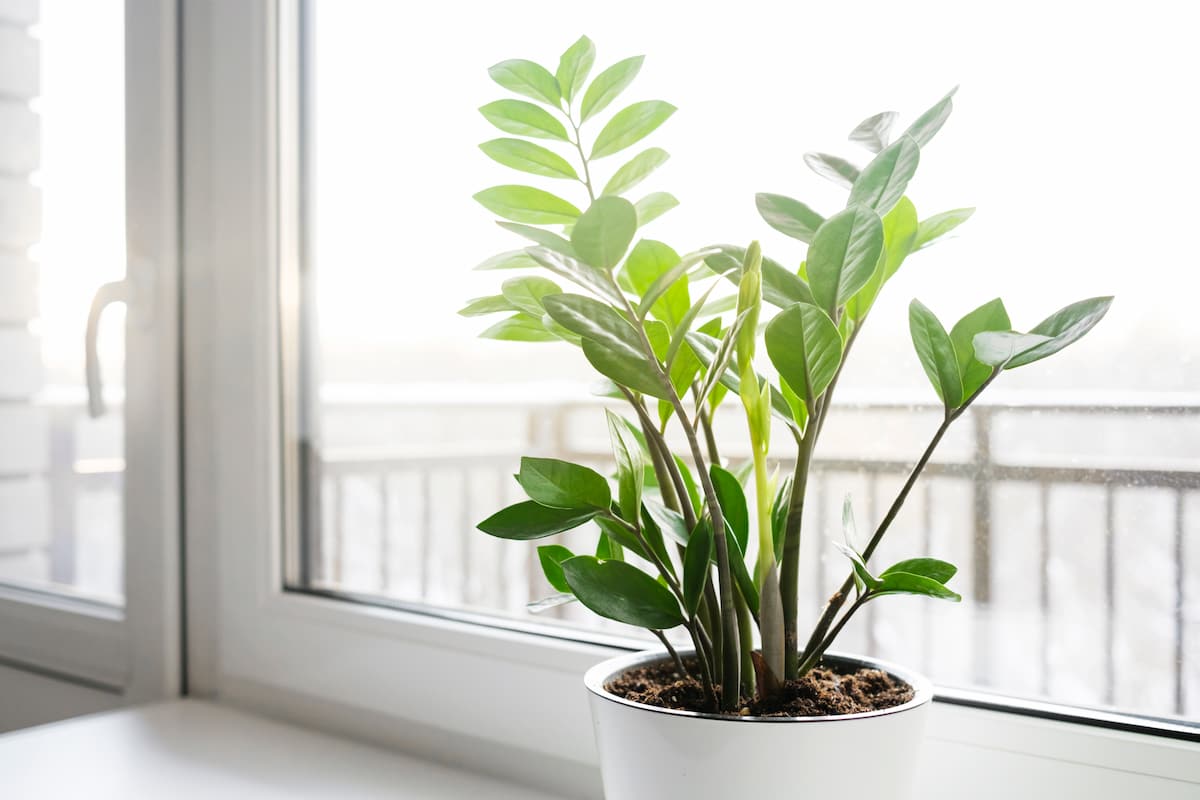
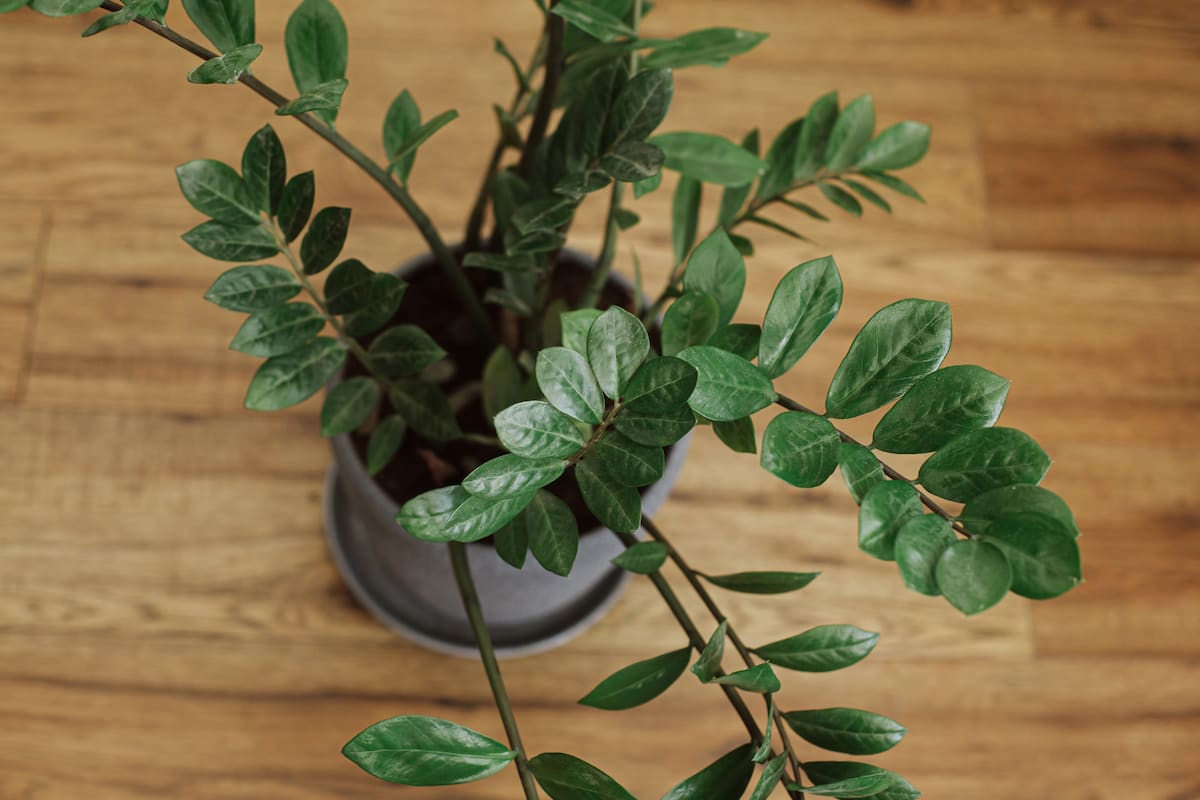
The ZZ plant, scientifically known as Zamioculcas zamiifolia, is a popular houseplant due to its low-maintenance nature and striking appearance. Propagating ZZ plants from cuttings is a simple and rewarding process that even beginner gardeners can undertake. Below we learn ZZ plant propagation in water, ZZ plant propagation in soil, how to propagate ZZ plants from stem and cuttings, how to grow ZZ plants faster, and steps to growing ZZ plants from cuttings.

How to Grow ZZ Plant from Cuttings
Choose the Right Time to Propagate
The best time to propagate your ZZ plant is in the spring or early summer when the plant is actively growing. During this period, the plant is more likely to produce new roots and grow vigorously.
Select a Healthy Parent Plant
Choose a mature, healthy ZZ plant with multiple stems as your source for cuttings. Healthy plants will have thick, glossy leaves and show no signs of pests or diseases. Avoid using plants with yellowing leaves or weak stems.
Gather the Necessary Supplies
- A clean, sharp pair of pruning shears or a knife
- A small container or pot with drainage holes
- A well-draining potting mix, preferably one designed for houseplants or succulents
- A plastic bag or cover to create a mini-greenhouse
- Optional: rooting hormone powder
Prepare the Potting Mix and Take the Cuttings
The mix should be light and airy, as ZZ plants are prone to root rot if kept in overly wet conditions. You can also add perlite or sand to improve drainage. Select a healthy stem with at least two leaf nodes. Using your clean, sharp pruning shears or knife, make a straight cut about 1-2 inches below the second node. It’s essential to take your cutting below a node, as this is where the new roots will grow. If possible, take multiple cuttings to increase your chances of success.
Allow the Cuttings to Callus
Before planting the cuttings, let them dry in a shaded area for 24-48 hours. Allowing the cuttings to callus helps prevent rot and encourages successful root development.
Apply Rooting Hormone
Although not required, applying rooting hormone to the cut end of the cutting can improve the chances of successful root growth. To do this, dip the cut end in rooting hormone powder, gently tapping off any excess.
In case you missed it: How to Grow Rubber Plant/Tree from Cuttings: DYI in 10 Simple Steps

Plant the Cuttings
Create a hole in the potting mix about 1-2 inches deep using your finger or a pencil. Insert the cut end of the cutting into the hole, ensuring the node is just below the soil surface. Firmly press the soil around the cutting to ensure good contact between the stem and the potting mix.
Cover the container with a plastic bag or clear plastic cover to maintain a high humidity level around the cuttings. Ensure the bag or cover doesn’t touch the leaves, which can cause rot. Place the container in a warm area with bright, indirect light, as direct sunlight can scorch the cuttings. Maintain a temperature between 65-75°F (18-24°C) for optimal growth.
Monitor and Care for Your Cuttings
Check the cuttings regularly, ensuring the soil remains slightly moist but not wet. If the soil feels dry, water it gently, taking care not to overwater. Remove the plastic cover or bag briefly daily to allow fresh air and prevent mold growth. Look for signs of growth
Roots typically develop within a few weeks, although it can sometimes take up to 8 weeks for your ZZ plant cuttings to root. Look for new growth, such as tiny leaves sprouting from the nodes, indicating that the cutting has successfully rooted. You can also give the cutting a gentle tug; if it offers resistance, roots have likely formed.
Transplant the Rooted Cuttings
Once the cuttings have developed a healthy root system, it’s time to transplant them into individual pots. Gently remove the cuttings from the original container, carefully not damaging the delicate roots. Fill a new pot with a well-draining potting mix and create a hole in the center. Place the rooted cutting in the hole and gently firm the soil around it.
Care
After transplanting, care for your new ZZ plants by providing bright, indirect light and watering them when the top 1-2 inches of soil feel dry. You can also begin to fertilize your ZZ plants with a balanced houseplant fertilizer, diluted to half strength, every 4-6 weeks during the growing season. To promote bushier growth in your new ZZ plants, pinch back the tips of new growth as the plants mature. This will encourage the plant to produce additional stems and leaves, resulting in a fuller appearance.
Troubleshooting Common Issues
- The parent plant was not healthy or vigorous
- The cuttings were not taken below a node
- Overwatering or poor drainage led to rot
- Temperature or humidity levels were not optimal
If you encounter issues, review the steps outlined in this article and make any necessary adjustments. Remember that propagation can sometimes be a trial-and-error process, so don’t be discouraged if your first attempt isn’t successful.
In case you missed it: How to Grow Hibiscus from Cuttings: DYI in 10 Simple Steps

Conclusion
Growing ZZ plants from cuttings is an enjoyable and cost-effective way to expand your collection or share these beautiful plants with friends and family. With patience and attention to detail, you’ll be well on your way to creating healthy, thriving new ZZ plants in no time.
- Feed Your Flock for Less: Top 10 Tips to Save on Chicken Feed
- Ultimate Guide to Ossabaw Island Hog: Breeding, Raising, Diet, and Care
- Hatching Answers: The Top 10 Reasons Your Chickens Aren’t Laying Eggs
- Eggs and Economics: Breaking Down the Cost of Raising Backyard Chickens
- Defend Your Greens: Proven Methods to Keep Iguanas Out of Your Garden
- Ultimate Guide to Cinnamon Queen Chicken: A Comprehensive Guide for Beginners
- Ultimate Guide to California Tan Chicken: Breeding, Raising, Diet, Egg-Production and Care
- Ultimate Guide to Marsh Daisy Chicken: Breeding, Raising, Diet, and Care
- 10 Types of Chicken Farming Businesses You Can Start for Profits