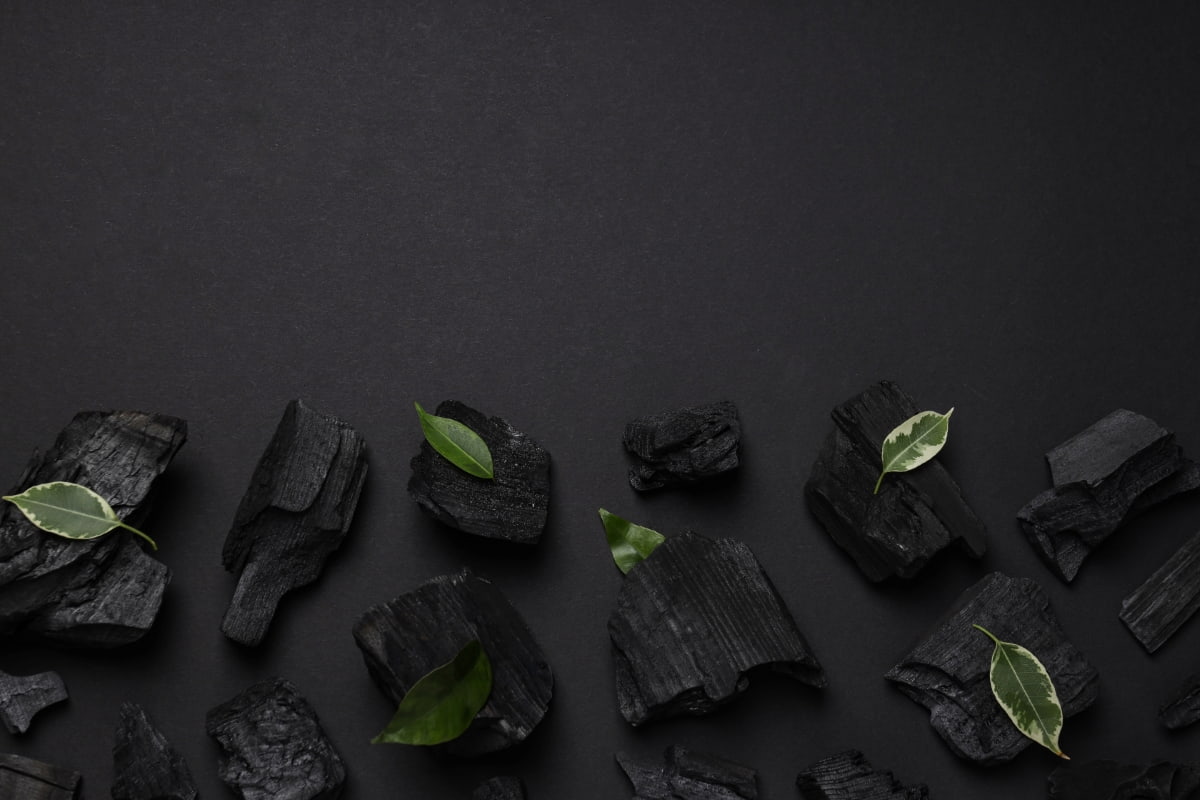
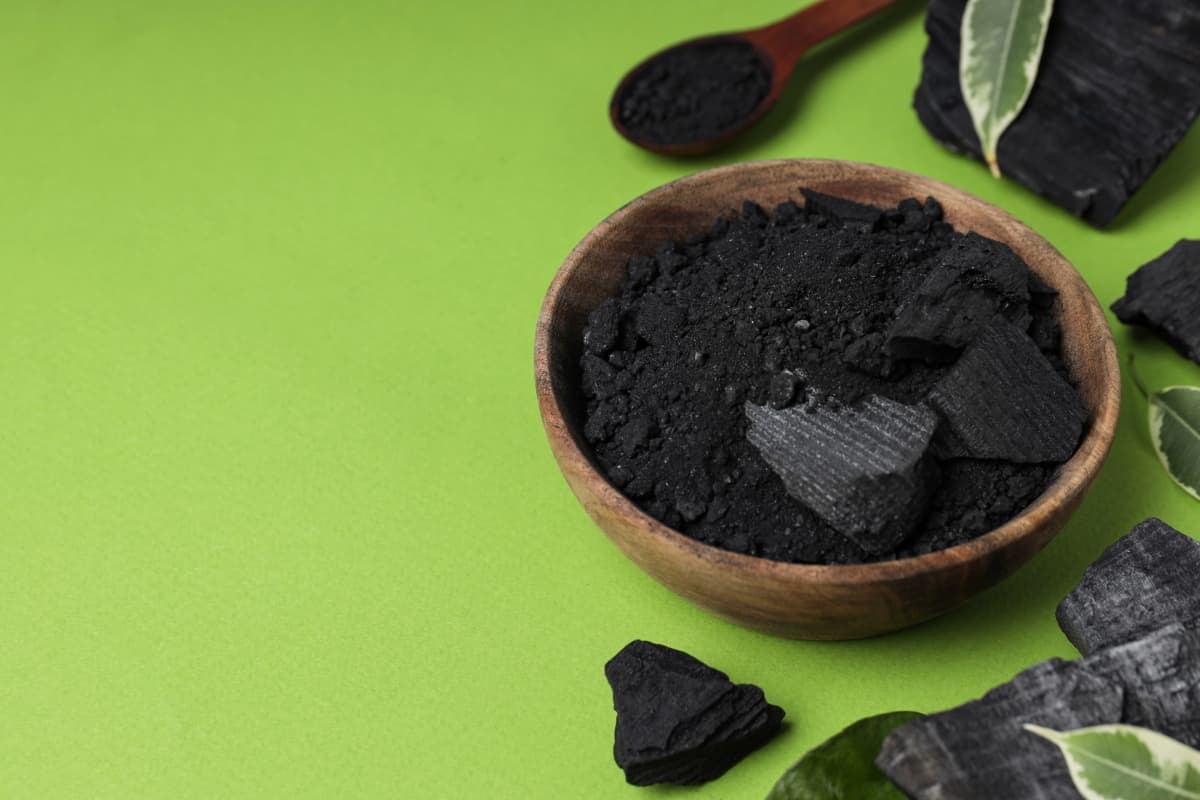
Coconut shell charcoal is a versatile and eco-friendly product with numerous benefits and uses, from soil enhancement to water purification. Learning how to make coconut shell charcoal at home is a sustainable way to recycle coconut shells, turning them into valuable resources. This DIY project involves several steps, including selecting and preparing coconut shells, carbonizing them, cooling and collecting the charcoal, grinding and sifting, and finally, activating the charcoal for plant use. The process is simple and can be achieved with basic equipment.

Coconut shell charcoal-making machines are available for those who wish to scale up production or ensure uniformity in the charcoal they produce. This homemade charcoal, often used in coconut shell charcoal business plans, offers various benefits, such as improving soil quality and serving as an eco-friendly fuel alternative. Its preparation, though time-consuming, is rewarding, and understanding how to burn coconut shells at home is an essential part of the process.
How to Make Coconut Shell Charcoal for Plants
Select and Prepare Coconut Shells
The first step in making coconut shell charcoal at home is to select and prepare the coconut shells. Choose mature, brown coconut shells as they yield better quality charcoal compared to green shells. Clean the shells thoroughly to remove any remaining flesh or fiber, as these can affect the quality of the charcoal. Once cleaned, break the shells into smaller pieces, ideally in uniform sizes. This size reduction facilitates even carbonization and makes the process more efficient.
Smaller pieces ensure quicker and more consistent burning. It’s important to ensure the shells are dry; if they’re wet, they should be dried in the sun for a few hours to remove moisture. This preparation is crucial as it directly impacts the efficiency of the carbonization process and the quality of the charcoal produced.
Carbonization Process for Coconut Shells
The carbonization process is the core step in making coconut shell charcoal at home. This process involves heating the coconut shells in a controlled environment where oxygen is limited. There are various methods to achieve this, but a simple and effective way is to use a metal drum or kiln. Insert the prepped coconut shells into the drum and securely close it, leaving a slight gap for gas release.
The drum should then be heated to a high temperature. This heating process should be maintained for several hours, depending on the amount of coconut shell being carbonized. The goal is to burn off all volatile compounds in the shells, leaving behind the pure carbon, which is the charcoal.
Cooling and Collecting the Charcoal
After the carbonization process, it’s crucial to let the coconut shell charcoal cool down properly before handling. Open the drum or kiln and allow the charcoal to cool down naturally. This step might take several hours or even a day, depending on the quantity of charcoal and the outside temperature.
Once the charcoal is cool to the touch, it can be collected. Handle the charcoal gently to avoid turning it into powder. The gathered charcoal should be stored in a dry location to prevent it from absorbing moisture from the atmosphere. Proper cooling and handling are essential to maintain the integrity and quality of the coconut shell charcoal.
Grinding and Sifting the Charcoal
After cooling and collecting the charcoal, the next step is grinding and sifting. This process is about breaking down the charcoal into smaller, more usable pieces or even into a fine powder, depending on the intended use. Use a hammer or a mortar and pestle to crush the charcoal into smaller pieces.
For a finer texture, a grinder can be used. After grinding, sift the charcoal to separate the fine powder from the larger pieces. The fine charcoal powder is useful for various applications, including use as a soil amendment. The larger pieces can be further processed or used as is for other purposes. Grinding and sifting are important for creating a uniform product that is easier to handle and use.
Activating the Charcoal for Plant Use
The final step in making coconut shell charcoal at home is activating the charcoal for plant use. Activation increases the surface area and porosity of the charcoal, making it more effective for applications like soil amendment and water filtration. To activate the charcoal, it needs to be exposed to certain chemicals or steam at high temperatures. A simple method is to soak the charcoal in a solution of calcium chloride or lemon juice and then dry it out completely.
In case you missed it: Discover the 15 Benefits of Charcoal for Garden Plants

Alternatively, steam activation involves heating the charcoal at high temperatures in the presence of steam. This process opens up the pores in the charcoal, making it more absorbent. Once activated, the charcoal is ready for use in gardening, improving soil quality and helping with water retention and aeration. The benefits of coconut shell charcoal in gardening are numerous, making this a worthwhile endeavor for any home gardener or eco-conscious individual.
Mix Charcoal with Soil or Compost
Once you have your activated coconut shell charcoal, the next step is to mix it with soil or compost. This process is simple yet crucial for effective use in gardening. For mixing, ensure that the charcoal is in small, manageable pieces or powdered form. Blend it evenly with soil or compost in a ratio that suits your gardening needs.
A common guideline is to add about 10% charcoal to the soil or compost mix. This addition helps in improving the soil structure and aids in moisture and nutrient retention. The charcoal-infused soil becomes more fertile and conducive to plant growth. It’s also an excellent way to enrich compost, as the charcoal can absorb odors and help in the decomposition process. This step turns your homemade charcoal into a powerful amendment for gardening.
Apply Coconut Shell Charcoal to Plants
Applying coconut shell charcoal to plants is straightforward. Once mixed with soil or compost, use this enriched mix for potting new plants or as a top dressing for existing ones. When repotting, layer the bottom of the pot with the charcoal mix to enhance drainage and root health.
For garden beds, spread the charcoal-enriched soil or compost around the base of the plants. This application helps in slowly releasing nutrients to the plants and maintaining a healthy soil pH. The charcoal’s porous nature also aids in retaining water, reducing the need for frequent watering. Additionally, it can protect plants from common soil-borne diseases due to its natural antifungal properties.
Benefits of Using Coconut Shell Charcoal for Plants
Firstly, it improves soil structure, making it looser and better aerated, which is crucial for healthy root development. The charcoal’s porous nature aids in retaining water and nutrients, reducing the need for frequent watering and fertilizing. This also helps in maintaining a balanced soil pH, which is essential for plant growth.
In case you missed it: 9 Causes of Dying Coconut Trees and How to Fix Them?

Additionally, coconut shell charcoal has natural antifungal properties, which can help protect plants from soil-borne diseases. Another significant benefit is its eco-friendliness. By using a byproduct like coconut shell, you’re contributing to waste reduction and sustainable gardening practices. All these benefits make coconut shell charcoal an excellent addition to any garden, improving plant health and contributing to a healthier environment.
Conclusion
Making coconut shell charcoal at home is a sustainable and rewarding process that provides numerous benefits for plant care and soil health. By following the steps of selecting and preparing coconut shells, carbonizing them, cooling, grinding, sifting, and finally activating the charcoal, you can create a valuable product from a common waste material.
Note: The images presented in this post are intended solely for representation purposes. The images are meant to serve as visual aids and should not be relied upon as accurate representations of their real-life counterparts.
- Feed Your Flock for Less: Top 10 Tips to Save on Chicken Feed
- Ultimate Guide to Ossabaw Island Hog: Breeding, Raising, Diet, and Care
- Hatching Answers: The Top 10 Reasons Your Chickens Aren’t Laying Eggs
- Eggs and Economics: Breaking Down the Cost of Raising Backyard Chickens
- Defend Your Greens: Proven Methods to Keep Iguanas Out of Your Garden
- Ultimate Guide to Cinnamon Queen Chicken: A Comprehensive Guide for Beginners
- Ultimate Guide to California Tan Chicken: Breeding, Raising, Diet, Egg-Production and Care
- Ultimate Guide to Marsh Daisy Chicken: Breeding, Raising, Diet, and Care
- 10 Types of Chicken Farming Businesses You Can Start for Profits