Millets, a group of small-seeded grasses, have been gaining popularity in the United States due to their numerous health benefits and potential for sustainable agriculture. These hardy crops are drought-tolerant, require minimal inputs, and provide valuable nutrients, making them an ideal choice for farmers looking to diversify their operations. This article will guide you through starting your millets farming venture in the USA. Below we learn the millets farming business plan, how to start millets farming, millets growing conditions, and harvesting millets.

How to Start Millets Farming in the USA
Understanding Millets
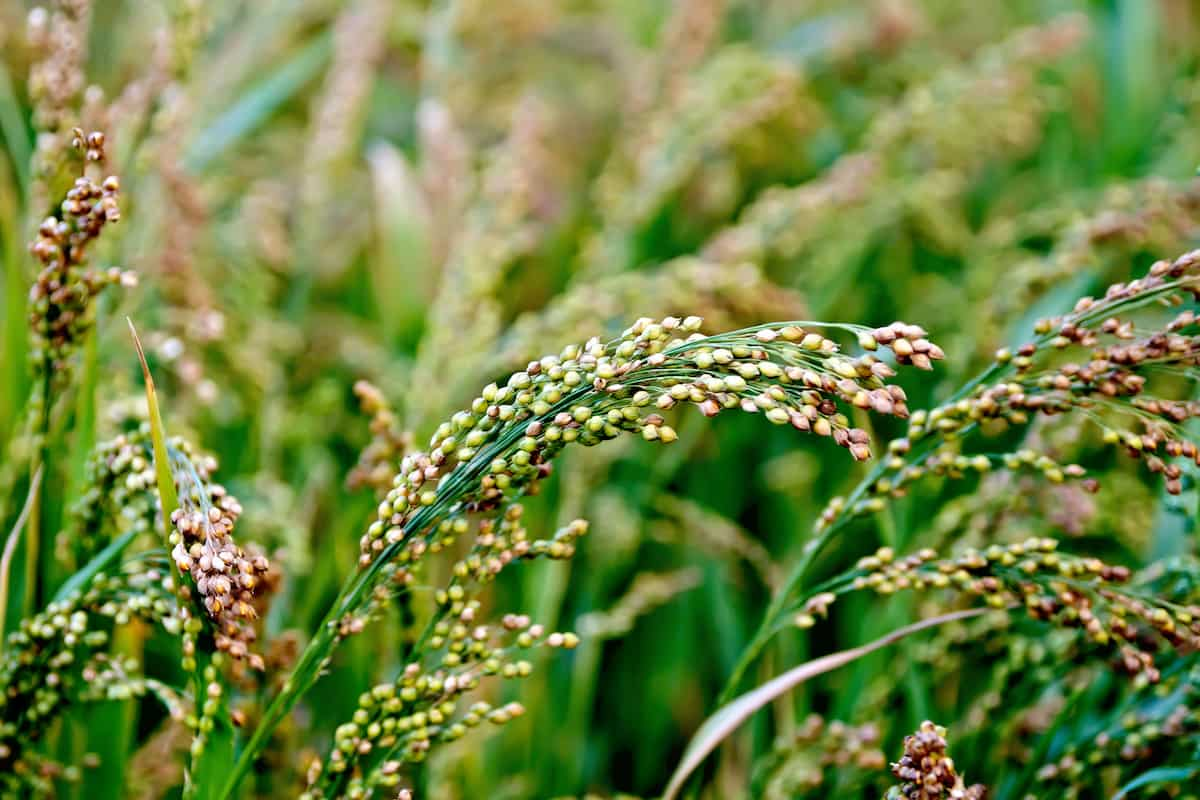
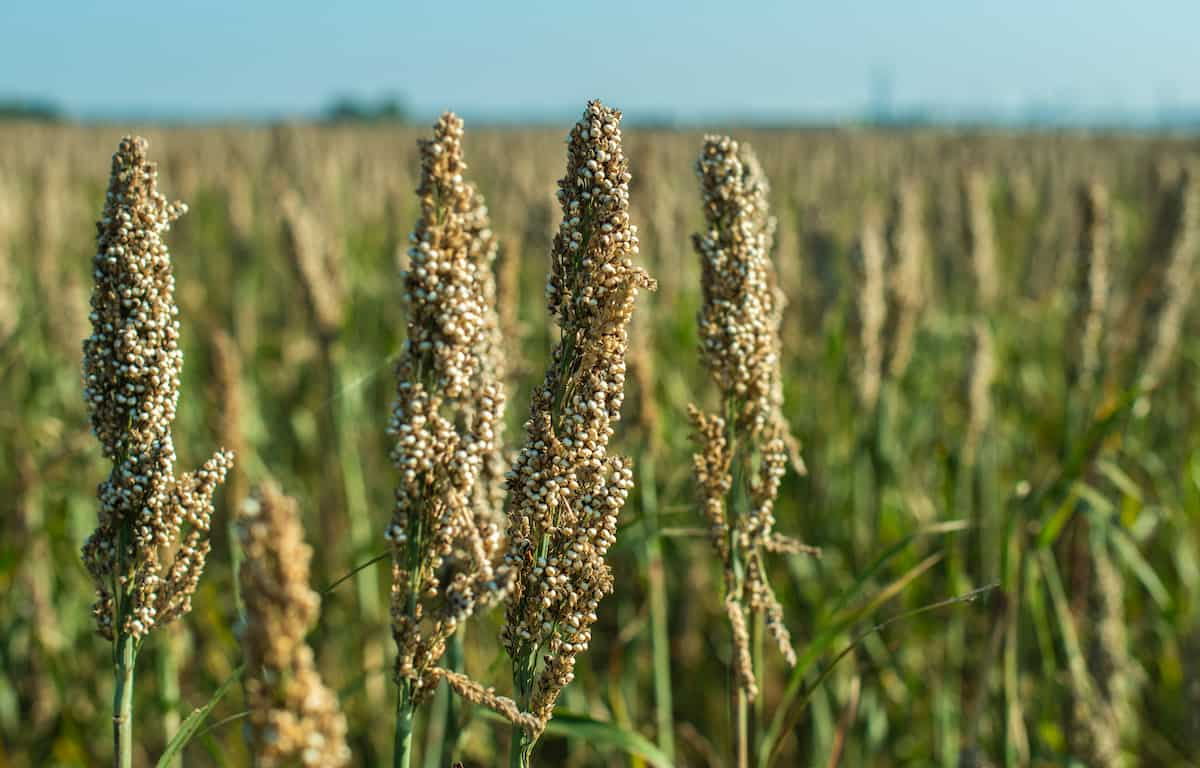
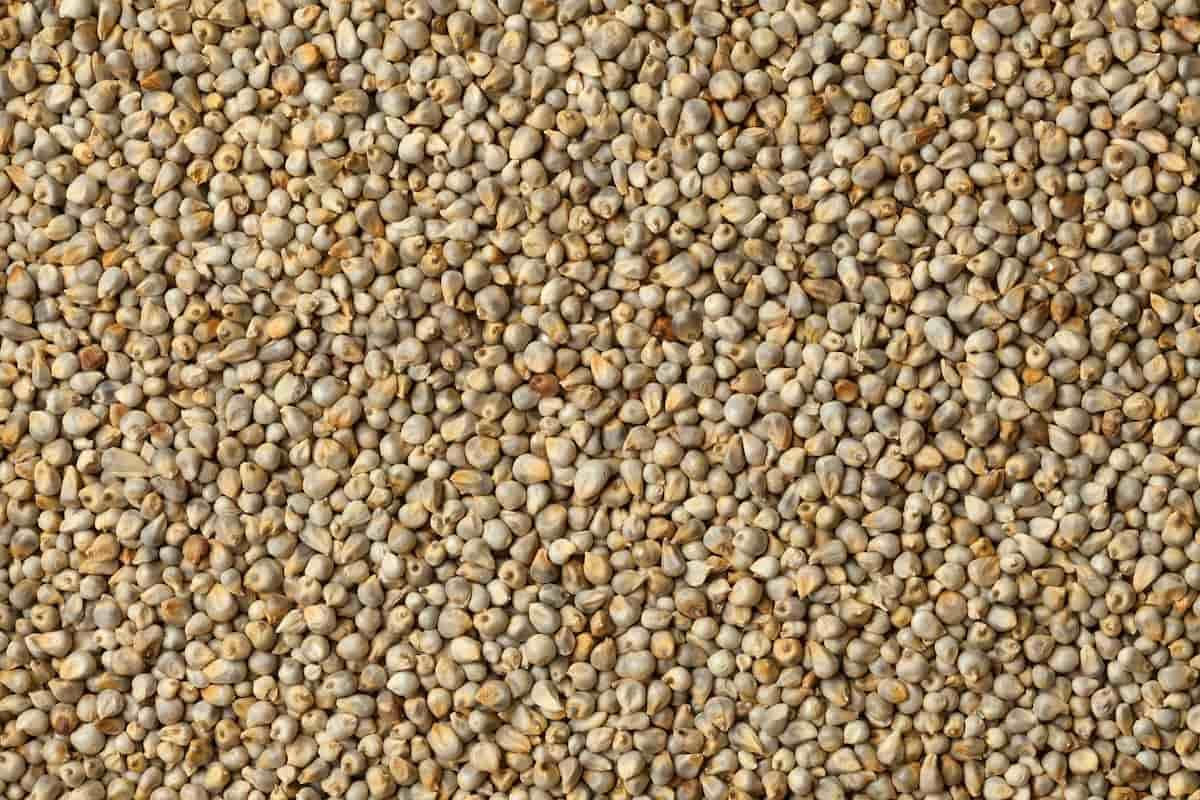
Millets comprise a diverse group of cereal crops, including pearl millet, foxtail millet, proso millet, finger millet, and several other lesser-known varieties. Each type of millet has distinct characteristics, but all are known for their resilience, adaptability, and suitability for various climates and soil types. As you plan your millet farming enterprise, it is essential to research the specific millet variety that best suits your local conditions and market demands.
Market Research and Demand
Before you begin, it’s crucial to conduct market research to understand the demand for millets in your region. Identify potential buyers, such as grocery stores, restaurants, bakeries, and health food retailers, and gauge their interest in millets. You can also explore niche markets, such as gluten-free products, organic foods, and specialty grains. Understanding the demand will help you determine the right scale for your farming operation and which millet varieties to grow.
Soil Preparation
Millets thrive in well-drained soils with a pH ranging from 5.5 to 7.5. They can tolerate various soil types, including sandy loams and clay soils. However, they perform best in light to medium-textured soils with good drainage. When selecting a plot for millet farming, consider factors such as topography, previous crop rotations, and proximity to water sources. Once you have selected the land, prepare it by plowing and harrowing it to create a fine seedbed.
Seed Selection
Choose high-quality seeds from reputable suppliers, and ensure they are certified and tested for germination rates, purity, and disease resistance. When selecting a variety, consider factors like yield potential, maturity period, and resistance to pests and diseases. Consult your local agricultural extension office for guidance on the best millet varieties for your region.
Planting
Millets can be directly seeded or transplanted, depending on the variety and local conditions. Direct seeding is typically done using a drill, broadcast seeder, or by hand. Sow seeds at a depth of 0.5 to 1 inch, maintaining a spacing of 6 to 12 inches between rows and 2 to 4 inches between plants. Millets have a relatively low nutrient requirement, but providing adequate nitrogen, phosphorus, and potassium for optimal growth is essential.
In case you missed it: How to Start Strawberry Farming in the USA: A Step-By-Step Production Guide

Apply a balanced fertilizer at planting, and consider a top dressing of nitrogen during the growing season if needed. Irrigation is generally not necessary, as millets are drought-tolerant. However, supplementary irrigation may be beneficial during prolonged dry spells or in areas with low rainfall. Monitor your crops regularly for pests, diseases, and nutrient deficiencies, and take appropriate action to manage any issues that arise.
Pests and Diseases
Monitor your millet crop often to catch pests and diseases early. Birds, rodents, stem borers, and aphids are millet pests. Downy mildew, smut, and leaf blight are other threats. Integrated Pest management (IPM) reduces chemical pesticide consumption and promotes a healthier, more sustainable agricultural system.
Encourage beneficial insects like ladybirds and lacewings that eat aphids. Consider releasing biological control agents, such as parasitic wasps, to help manage stem borers. Use physical barriers like bird nets to protect your crop from bird damage. Employ rodent traps or fencing to keep rodents at bay. If you’re using chemical pesticides, use them with caution. Always follow label instructions and recommended application rates.
Soil and Nutrient Management
Regular soil testing is crucial for maintaining optimal soil health and fertility in your millet field. Analyze your soil for nutrient levels, pH, and organic matter content, and make adjustments as needed. Apply lime to increase soil pH if it is too acidic or sulfur to decrease pH if it is too alkaline.
Base your fertilizer application on soil test results and the specific nutrient requirements of your millet variety. Split applications of nitrogen can be beneficial for preventing nutrient loss and ensuring optimal plant uptake. Consider using slow-release fertilizers or incorporating organic amendments like compost, manure, or green manure to improve soil fertility and structure.
Weed Management
Effective weed management is crucial for optimal millet growth and yield. Weeds compete with millets for nutrients, water, and sunlight and can also harbor pests and diseases. Start by selecting a clean field with minimal weed pressure. Implement a combination of cultural, mechanical, and chemical methods to manage weeds in your millet field:
- Cultural methods: Rotate crops and incorporate cover crops to suppress weed growth. Planting millets at a higher density can also help to outcompete weeds by limiting the available space, light, and resources.
- Mechanical methods: Use mechanical cultivation techniques, such as shallow tillage or hoeing, to remove weeds before they become well-established. Hand weeding may be necessary for small-scale operations or hard-to-reach areas.
- Chemical methods: Apply pre-emergent or post-emergent herbicides, if necessary, to control weeds.
Harvesting and Post-Harvesting
Millets are usually harvested when the seeds reach physiological maturity, which is indicated by a change in seed color and a hardening of the seed coat. Harvesting can be done manually or using a combined harvester, depending on the scale of your operation. After harvesting, it’s essential to thoroughly clean and dry the millet grains to prevent spoilage and ensure long-term storage. This can be done using sun drying or mechanical dryers, aiming for a moisture content of around 12-14%. Once the grains are dry, store them in well-ventilated, moisture-proof containers or bags away from direct sunlight and pests.
Regulations and Certification
Ensure your millet farming operation complies with all relevant local, state, and federal regulations, such as land use, water management, and food safety. You may also consider obtaining certifications, such as organic or non-GMO, to appeal to specific market segments and increase the value of your products.
In case you missed it: How to Start Apple Farming in the USA: A Step-By-Step Production Guide

Conclusion
Starting a millet farming operation in the USA requires careful planning, research, and dedication. Embrace the challenges and opportunities of growing this versatile and nutritious grain, and contribute to the growing movement towards sustainable agriculture in the United States.
- Feed Your Flock for Less: Top 10 Tips to Save on Chicken Feed
- Ultimate Guide to Ossabaw Island Hog: Breeding, Raising, Diet, and Care
- Hatching Answers: The Top 10 Reasons Your Chickens Aren’t Laying Eggs
- Eggs and Economics: Breaking Down the Cost of Raising Backyard Chickens
- Defend Your Greens: Proven Methods to Keep Iguanas Out of Your Garden
- Ultimate Guide to Cinnamon Queen Chicken: A Comprehensive Guide for Beginners
- Ultimate Guide to California Tan Chicken: Breeding, Raising, Diet, Egg-Production and Care
- Ultimate Guide to Marsh Daisy Chicken: Breeding, Raising, Diet, and Care
- 10 Types of Chicken Farming Businesses You Can Start for Profits