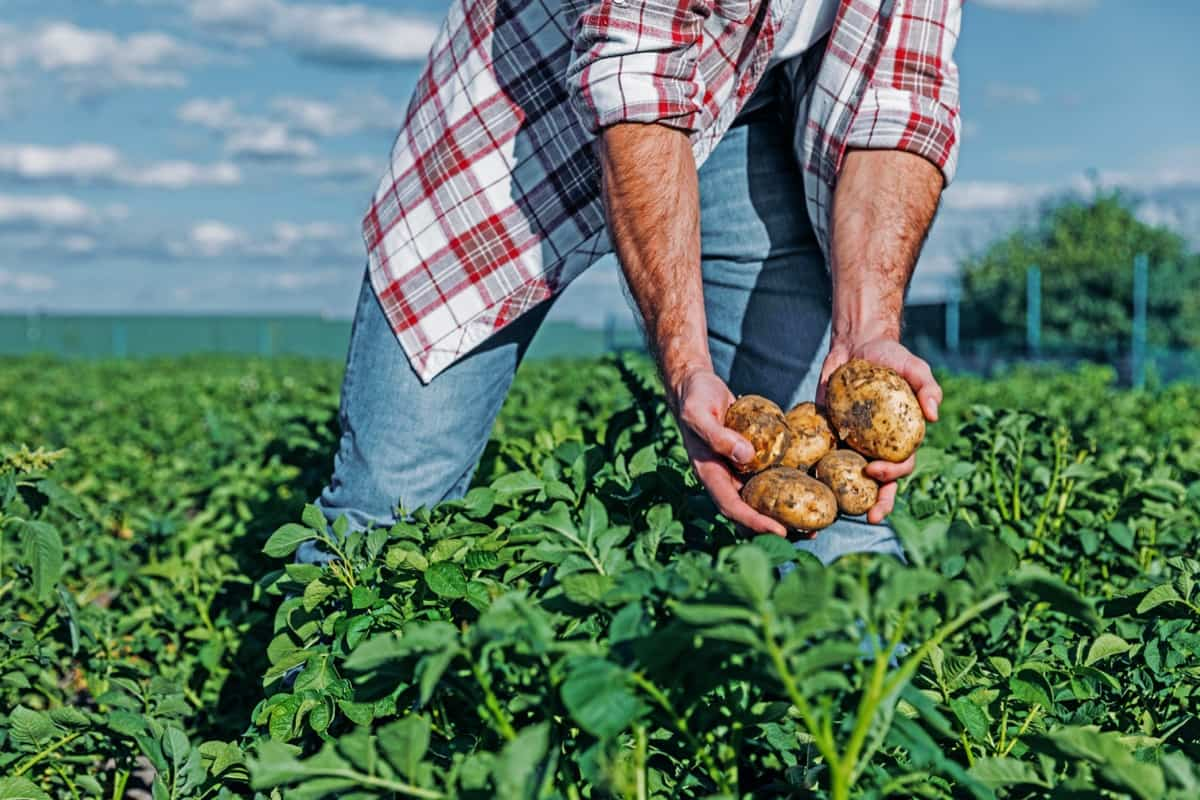
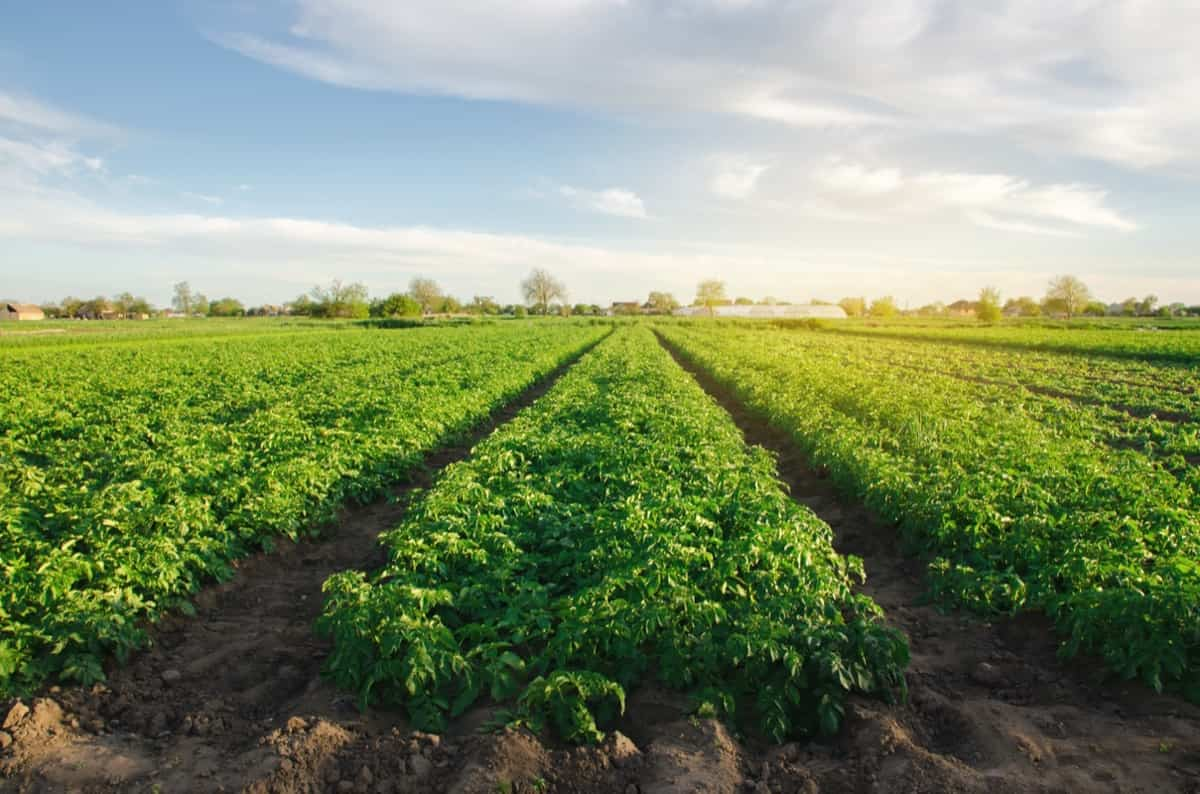
Potatoes are a versatile and popular crop that can be grown successfully in various climates and soil conditions. If you’re interested in starting a potato farm in the USA, here’s a detailed step-by-step guide to help you get started. Below we learn the potato farming business plan and cultivation procedures in the USA.

How to Start Potato Farming in the USA
Right Variety
Before you start potato farming, choosing the right potato variety that suits your climate, soil type, and market demand is important. The most commonly grown varieties are russet, red, and fingerling potatoes.
- Russet potatoes are large, oblong, and high in starch. They are popular for baking and frying and are often used to make French fries.
- Red potatoes are round, with thin skin and white flesh. They are lower in starch and are often used for roasting, boiling, and salads.
- Fingerling potatoes are small and elongated and come in various colors, including yellow, red, and purple. They are often used for gourmet dishes with unique flavors and textures.
When choosing a potato variety, consider the local climate, soil type, and market demand for different varieties. Consult with local agricultural extension offices or experienced farmers to help select the best farm variety.
Prepare the Soil
Potatoes grow best in loose, well-drained soil rich in organic matter. Before planting potatoes, it’s important to prepare the soil properly. Start by removing any weeds, rocks, or debris from the planting area. Then, use a plow or tiller to loosen the soil to a depth of 8-10 inches. You may also need to add organic matter, such as compost or manure, to improve the soil’s fertility. Testing the soil’s pH level and adjusting it if necessary is also important. Potatoes prefer a pH level between 5.5 and 6.5. If the soil is too acidic, give some lime to increase the pH levels. If the soil is too alkaline, add sulfur to the soil to lower the pH levels.
Plant the Potatoes
Potatoes can be planted in the spring or fall, depending on your location and climate. To plant potatoes, follow these steps:
- Cut seed potatoes into pieces with at least one “eye” or bud. Each piece should be about 2-3 inches in size.
- Allow the cut seed potatoes to dry and form a callus for a day or two before planting.
- Dig trenches that are 4-6 inches deep and spaced 2-3 feet apart.
- Place the seed potatoes in the trench with the eyes facing up and spaced 12-15 inches apart.
- As the potato plants grow, hill up soil around the base of the plants to protect the developing tubers and prevent them from turning green.
In case you missed it: How to Grow Potatoes in Greenhouse: A Step-by-Step Guide for Seed to Harvest

Maintain the Crop
- Water the potatoes regularly to keep the soil moist but not waterlogged. Potatoes require about 1 inch of water per week.
- Fertilize the potatoes with a balanced fertilizer at planting time and again when the plants reach 6-8 inches tall.
- Control weeds by cultivating or hoeing the soil shallowly around the potato plants.
- Monitor the potato plants for pests and diseases, such as Colorado potato beetle, aphids, and late blight. Use insecticides or fungicides as needed, or implement cultural practices such as crop rotation or sanitation.
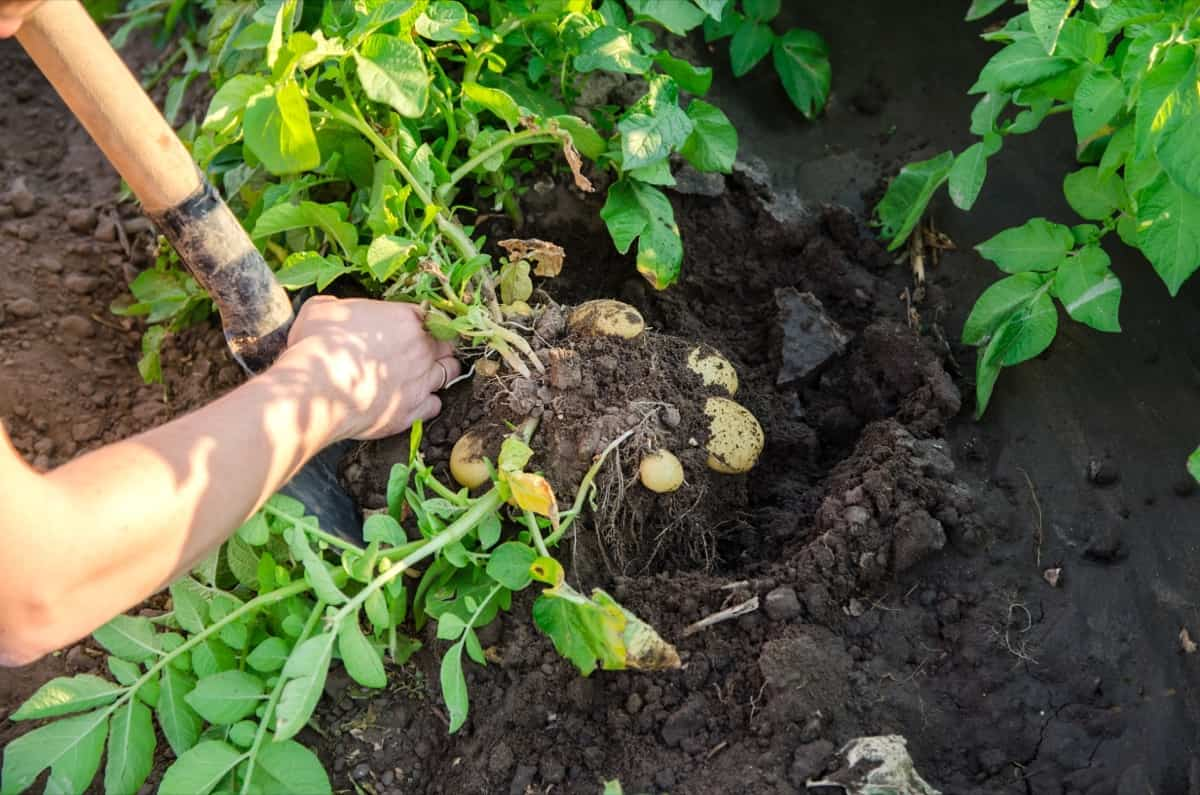
- Harvest the potatoes when the plants have died back, and the leaves have turned yellow. Carefully dig up the potatoes with a shovel or digging fork, being careful not to damage the tubers.
Cure and Store the Potatoes
- After harvesting, it’s important to properly cure and store the potatoes to ensure their quality and shelf life. Here are some tips for curing and storing potatoes:
- Allow the potatoes to dry and cure for 1-2 weeks in a cool, dry, and dark location. This will toughen their skin and improve their storage life.
- Store the potatoes in a cool, dark, dry location with good ventilation. A 45-55 degrees Fahrenheit temperature is ideal for storing potatoes.
- Handle the potatoes carefully to avoid bruising or damaging them, as this can cause them to spoil.
- Regularly check the stored potatoes for signs of decay or sprouting, and remove any damaged or rotten potatoes to prevent the spread of disease.
Market and Sell
Once you have harvested and stored your potatoes, it’s time to market and sell them. Here are some tips for marketing and selling your potatoes:
- Identify your target market, whether it’s local grocery stores, restaurants, farmers’ markets, or online customers.
- Advertise your potatoes using social media, local newspapers, or flyers. Emphasize your potatoes’ quality, freshness, and unique characteristics, such as their variety or growing practices.
- Offer different packaging options, such as bags or baskets, to appeal to different customers.
- Consider offering promotions or discounts, such as bulk discounts or seasonal specials, to attract customers and encourage repeat business.
- Build relationships with your customers by providing excellent customer service, promptly responding to feedback and questions, and offering educational resources about potato farming and cooking.
In case you missed it: How to Start a Potato Chips Production in India: A Profitable Business Idea for Potato Farmers

Conclusion
Starting a potato farm in the USA requires careful planning, research, and hard work. Following these steps and implementing best practices, you can successfully grow and sell high-quality potatoes and contribute to the agricultural industry. Consult with local agricultural experts and experienced farmers to ensure your success.
- Feed Your Flock for Less: Top 10 Tips to Save on Chicken Feed
- Ultimate Guide to Ossabaw Island Hog: Breeding, Raising, Diet, and Care
- Hatching Answers: The Top 10 Reasons Your Chickens Aren’t Laying Eggs
- Eggs and Economics: Breaking Down the Cost of Raising Backyard Chickens
- Defend Your Greens: Proven Methods to Keep Iguanas Out of Your Garden
- Ultimate Guide to Cinnamon Queen Chicken: A Comprehensive Guide for Beginners
- Ultimate Guide to California Tan Chicken: Breeding, Raising, Diet, Egg-Production and Care
- Ultimate Guide to Marsh Daisy Chicken: Breeding, Raising, Diet, and Care
- 10 Types of Chicken Farming Businesses You Can Start for Profits