Walnut farming is a profitable and sustainable agricultural practice that has been gaining popularity in California. With the ideal climate, soil conditions, and a growing demand for walnuts, this business can provide significant returns on investment. Below we learn how to establish a successful walnut farm in California, covering essential aspects such as production, cultivation, and commercial harvesting.

How to Start Walnut Farming in California
Production
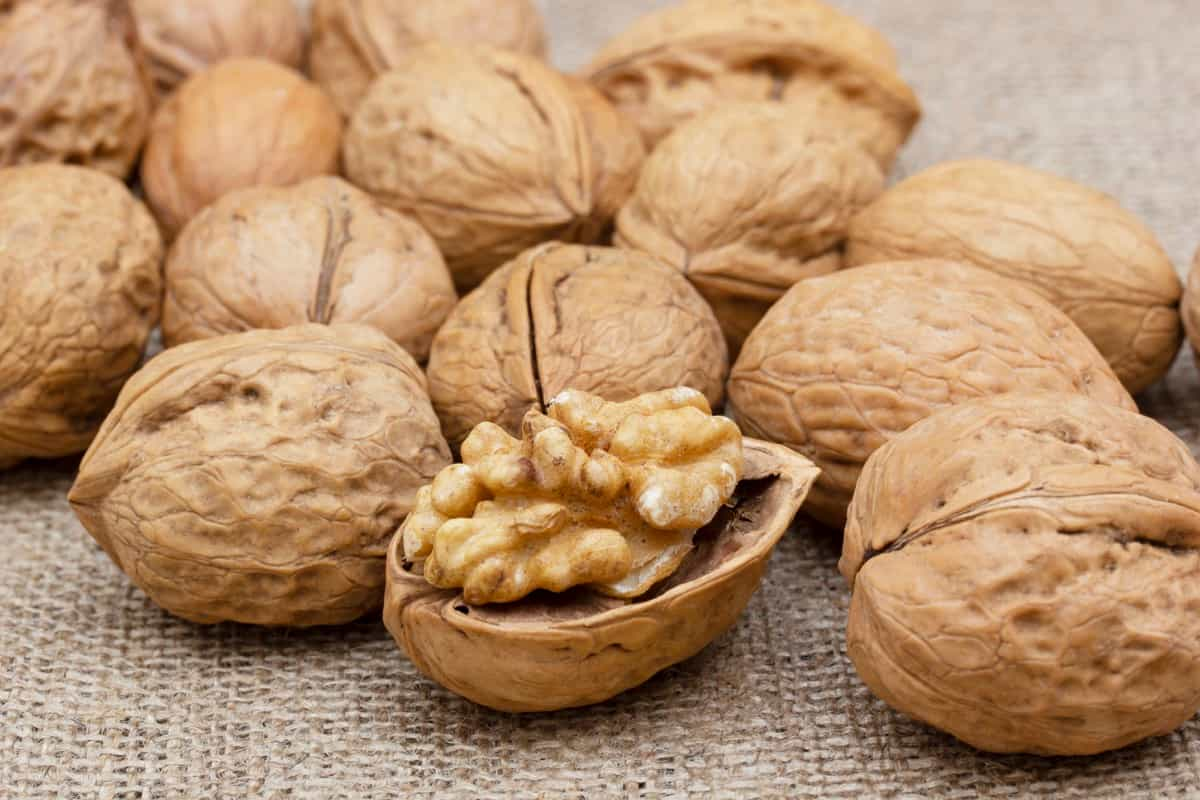
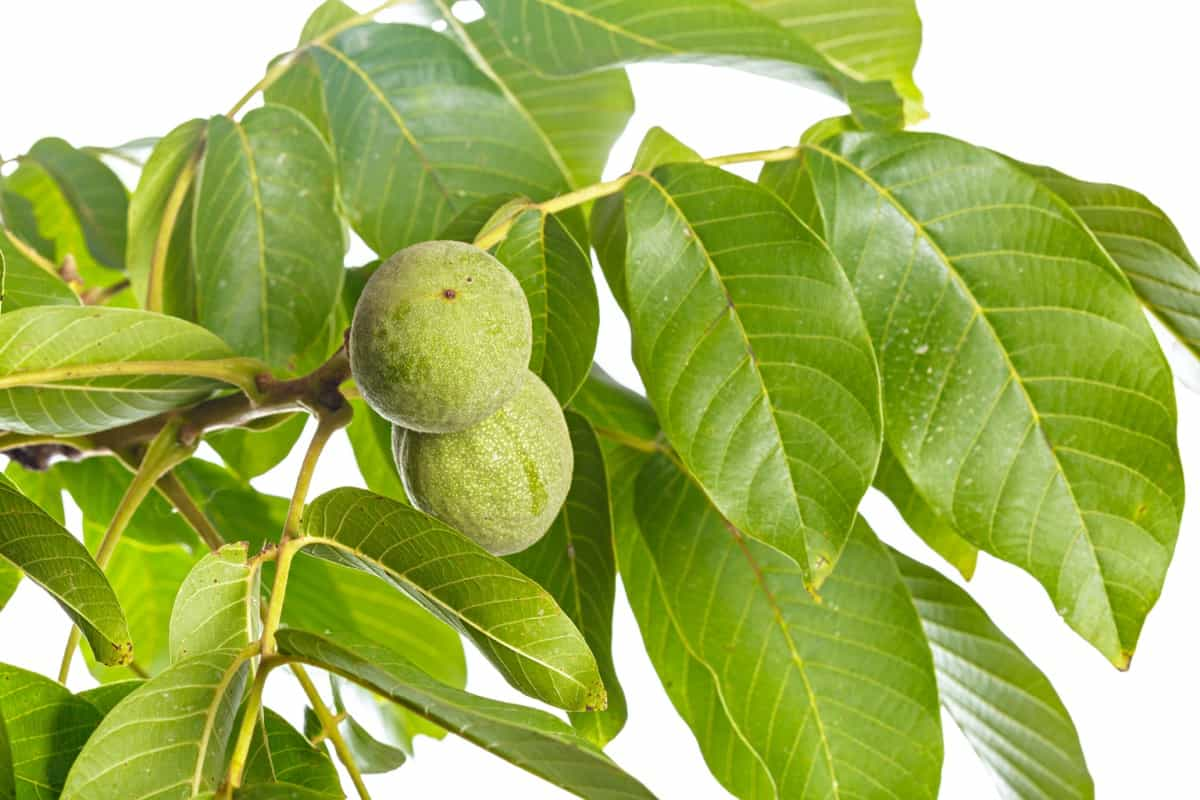
The production of walnuts begins with the selection of the right variety. California is primarily known for two types of walnuts: the English walnut (Juglans regia) and the Black walnut (Juglans hindsii). The English walnut is the most common choice for commercial farming due to its higher yield and thinner shells, making it easier to crack and process.
Before starting your walnut farm, conducting a thorough market analysis is essential. Investigate the current and projected demand for walnuts, both locally and globally, as well as the competition in your area. This research will help you determine the size of your farm, the specific walnut varieties to grow, and the marketing strategies to employ.
Land Selection and Preparation
The success of your walnut farm largely depends on the land you choose. The ideal location should have well-draining, deep, loamy soil with a pH between 6 and 7.5. Additionally, walnuts require a minimum of 140 frost-free days to grow successfully. Once you’ve chosen the perfect location, prepare the land by clearing it of any debris, rocks, or weeds. Soil testing is crucial to ensure that the necessary nutrients are present for optimal walnut growth. Based on the test results, you can amend the soil with the appropriate organic matter, such as compost or well-rotted manure, to improve its fertility and structure.
Cultivation
After land preparation, the next step is planting the walnut trees. The two primary methods of establishing a walnut orchard are planting bare-root trees or using grafted seedlings. Bare-root trees are typically more affordable and readily available. However, they require extra care during planting to ensure their roots do not dry out.
Grafted seedlings are more expensive but offer the advantage of specific rootstock and scion combinations, which can provide better resistance to diseases and pests. Spacing between trees is essential for optimal growth and production. Generally, walnut trees should be planted 25-30 feet apart in rows 25-30 feet apart. The wider spacing allows for sufficient sunlight and air circulation, reducing the risk of fungal diseases.
Irrigation and Fertilization
Walnut trees require regular irrigation, especially during the first few years of establishment. Drip irrigation systems are the most efficient, delivering water directly to the root zone. Depending on the soil type and climate, walnut trees may require watering every 10-14 days. Fertilization is another crucial aspect of walnut cultivation. Nitrogen is the primary nutrient required, but phosphorus and potassium are also necessary for optimal growth. Base your fertilization schedule on soil tests and follow the recommendations from a local agricultural extension office to ensure you’re providing the right balance of nutrients.
Pest and Disease Management
Walnut farming is susceptible to various pests and diseases. Some common pests include the codling moth, walnut husk fly, and aphids, while diseases like walnut blight, crown gall, and deep bark canker can negatively impact your crop. Implement an integrated pest management (IPM) strategy to control these issues. IPM involves using cultural, biological, and chemical methods to maintain pest and disease populations at manageable levels.
Monitor your orchard regularly and take action as soon as you identify any problems. For instance, use pheromone traps to monitor codling moth populations and release beneficial insects like lacewings and ladybugs to control aphids. In the case of diseases, ensure proper pruning and sanitation practices to minimize their spread.
Pruning and Training
Pruning and training are essential for maintaining the health and productivity of your walnut trees. Pruning helps control tree size, promotes good air circulation, and allows sunlight to penetrate the canopy, reducing the risk of diseases. Training shapes the tree’s structure, ensuring a strong framework that can support fruit production. Prune walnut trees during their dormant period, typically between December and February. Remove dead, diseased, or damaged branches and those that cross or rub against each other. For young trees, focus on developing a central leader with evenly spaced scaffold branches.
Weed Management
Weed control is essential for the successful growth of walnut trees, as weeds compete with the trees for water, nutrients, and sunlight. Implement cultural, mechanical, and chemical methods to control weed growth in your walnut orchard. Cultural methods involve selecting the right cover crops to suppress weed growth and improve soil structure.
In case you missed it: How to Start Almonds Farming in California: A Step-By-Step Production Guide for Planting to Harvest

Mechanical methods include mowing, disking, and hand weeding. Chemical methods involve the careful use of pre-emergent and post-emergent herbicides. Always follow the label instructions and consult local agricultural extension services for guidance on the most effective and environmentally friendly weed control practices.
Walnuts Commercially
Walnut harvesting usually begins in late September and continues through October. Commercial harvesting involves three main steps: shaking, sweeping, and hulling.
- Shaking: Mechanical shakers are used to dislodge the walnuts from the trees. These machines grip the trunk and vibrate the tree, causing the nuts to fall onto the ground.
- Sweeping: After shaking, specialized equipment called sweepers is used to gather the fallen walnuts into windrows, making them easier to collect.
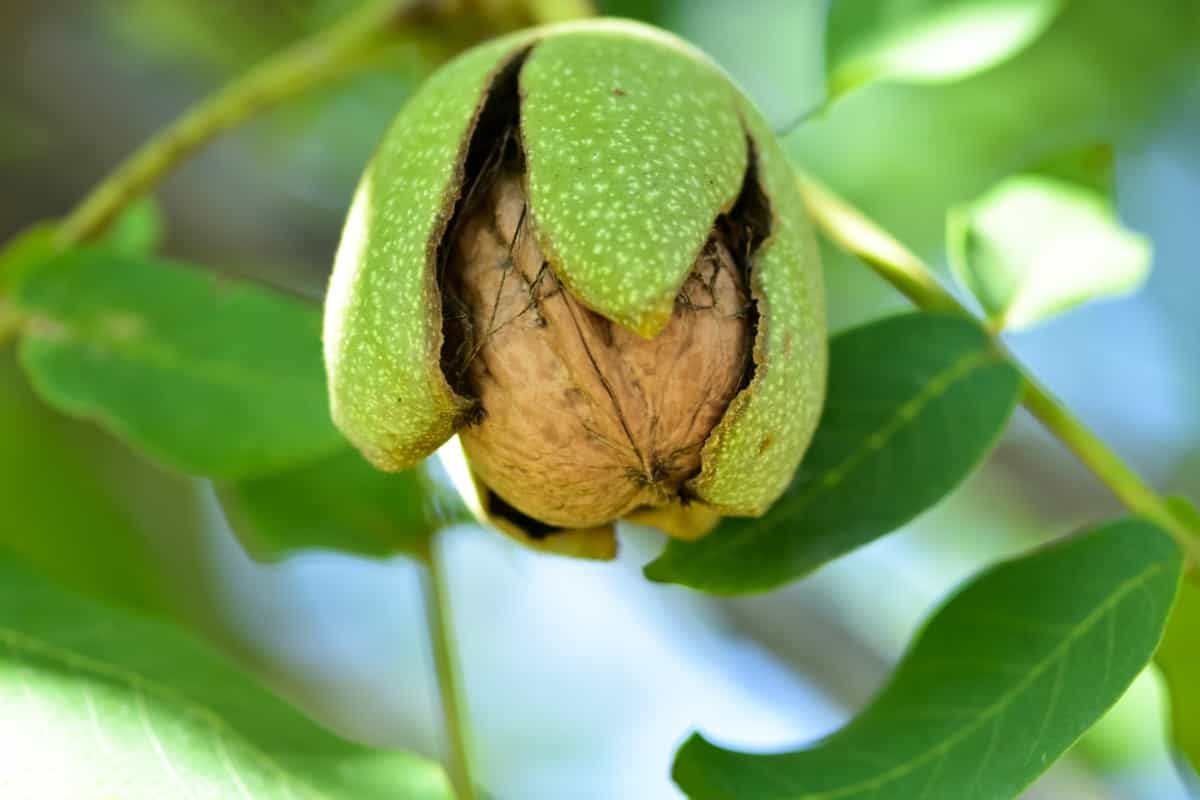
- Hulling: Once the walnuts are collected, they must be dehulled to remove the outer green husk. This process typically occurs within 24 hours of harvesting to prevent the husks from staining the shells. After hulling, the walnuts are washed and dried to reduce their moisture content to around 8%, making them suitable for storage and transport.
Post-Harvest Management
If you want your harvested walnuts to keep their quality, you need to store them properly. Store them in a cool, dry, and well-ventilated area with a temperature of around 32-38°F and relative humidity of 65-70%. This will help prevent mold growth and preserve the nuts’ flavor and quality. Marketing your walnuts is another essential post-harvest activity. Establish connections with wholesalers, retailers, and processors in the industry. Alternatively, consider selling your walnuts directly to consumers through farmers’ markets or online platforms.
In case you missed it: How to Start Berries Farming in California: A Step-By-Step Production Guide for Planting to Harvest

Conclusion
Starting a walnut farm in California can be a rewarding and lucrative endeavor. By following this step-by-step guide, you’ll be well-equipped to establish a successful walnut farming business. Focus on proper land selection, cultivation techniques, and post-harvest management to ensure your farm thrives and meets the growing demand for high-quality walnuts.
- Feed Your Flock for Less: Top 10 Tips to Save on Chicken Feed
- Ultimate Guide to Ossabaw Island Hog: Breeding, Raising, Diet, and Care
- Hatching Answers: The Top 10 Reasons Your Chickens Aren’t Laying Eggs
- Eggs and Economics: Breaking Down the Cost of Raising Backyard Chickens
- Defend Your Greens: Proven Methods to Keep Iguanas Out of Your Garden
- Ultimate Guide to Cinnamon Queen Chicken: A Comprehensive Guide for Beginners
- Ultimate Guide to California Tan Chicken: Breeding, Raising, Diet, Egg-Production and Care
- Ultimate Guide to Marsh Daisy Chicken: Breeding, Raising, Diet, and Care
- 10 Types of Chicken Farming Businesses You Can Start for Profits