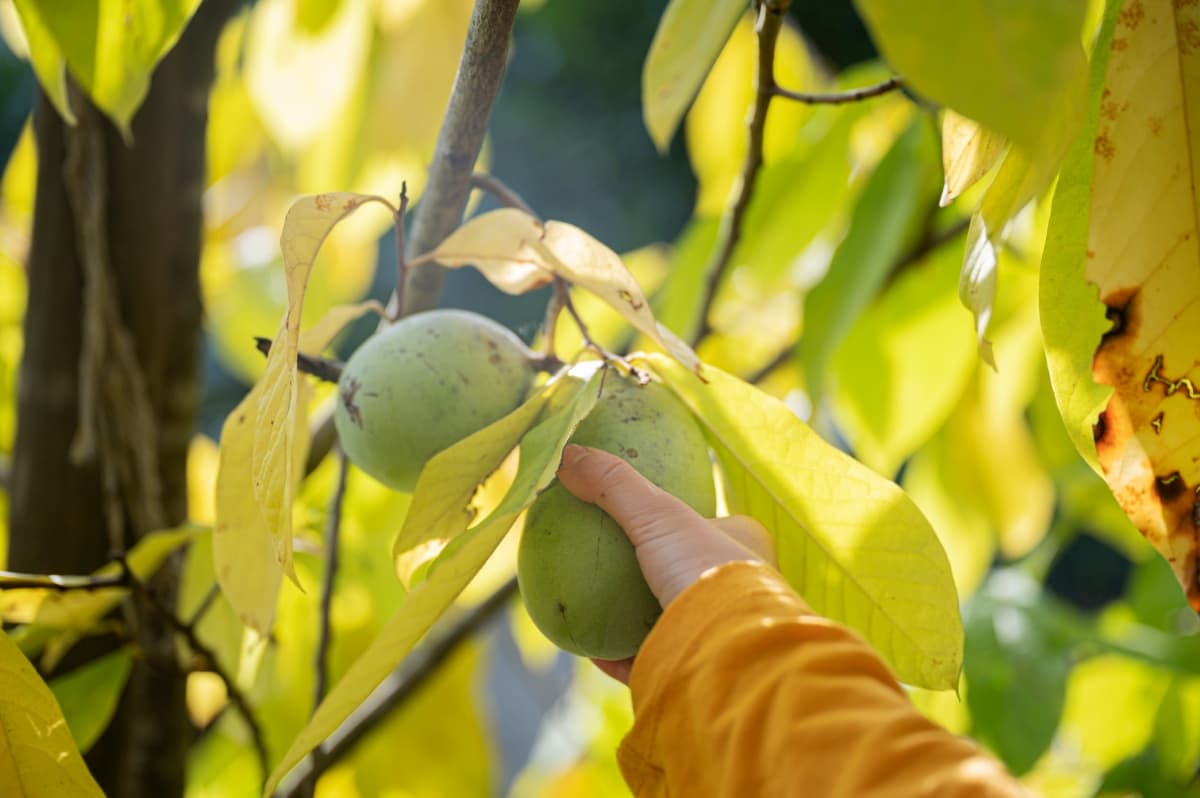
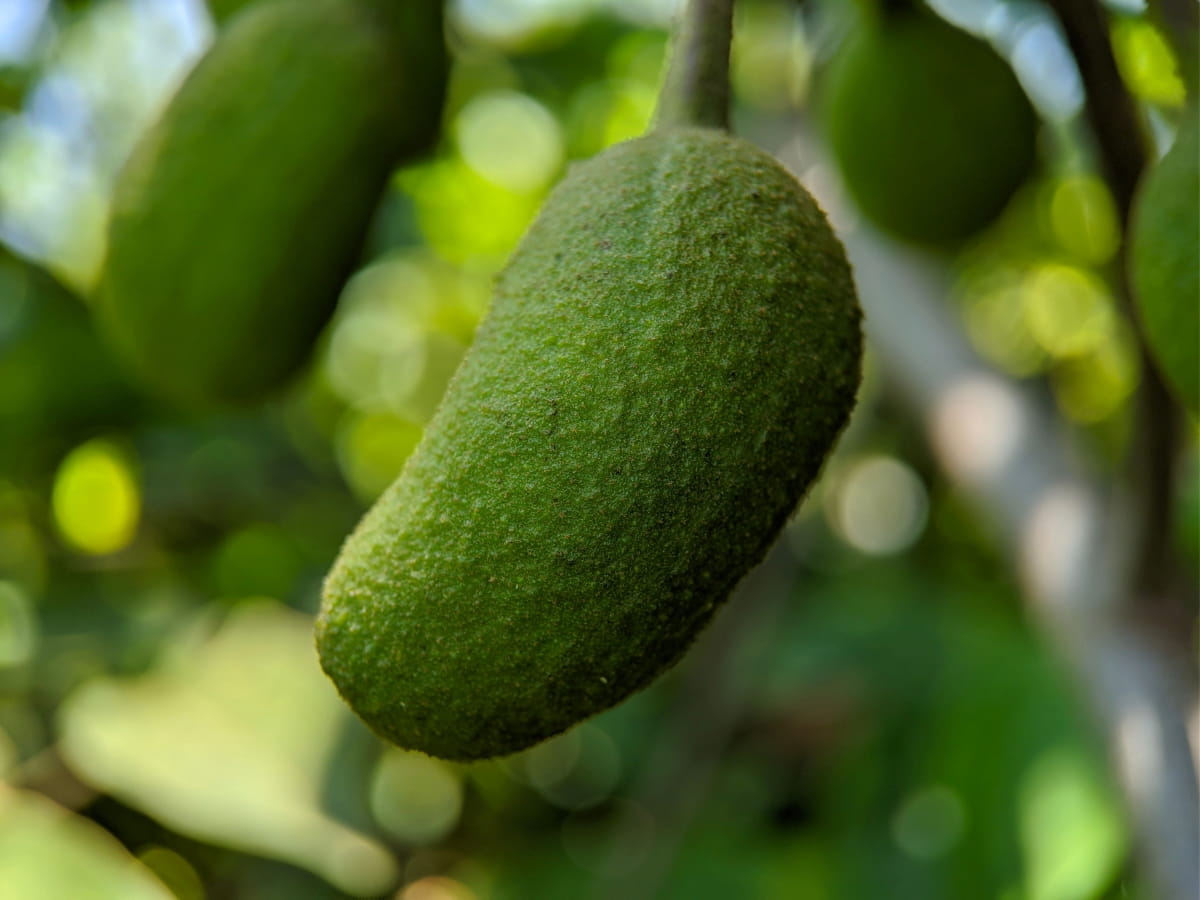
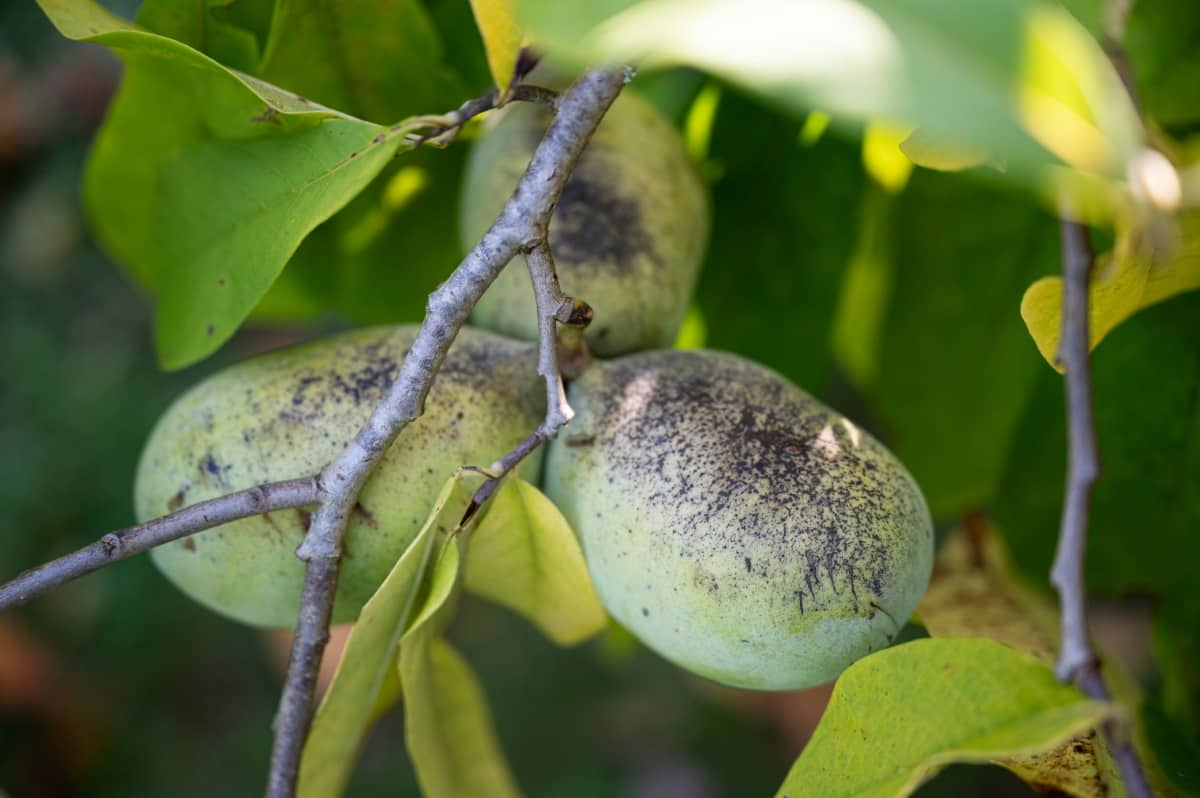
The Papaya, or Pawpaw, is the plant species Carica Papaya, one of the 21 species in the genus Carica of the family Caricaceae. Pawpaws are versatile fruit trees that can also thrive in containers, making them a great option for those with limited garden space or who prefer to have their plants portable.

Seed Propagation of Pawpaw
The propagation of Pawpaw seeds is an exciting journey that allows you to grow your Papaya plants from scratch. Pawpaws are tropical fruit trees that require warm temperatures and plenty of sunlight to thrive. They are known for their large, melon-like fruits with sweet flesh. Choose a container that is large enough to accommodate the root system of the Pawpaw tree.
To increase the chances of successful germination, many gardeners choose to scarify the Pawpaw seeds before planting them. To propagate Pawpaw seeds successfully, starting with healthy, mature fruits is important. Once you have collected your ripe Pawpaws, it’s time to prepare the seeds for germination.
Collecting and Preparing Pawpaw Seeds for Germination: Best Practices and Techniques
The first step is to choose ripe fruits with fully developed seeds. One effective technique is scarification, which involves scratching the seed coat to allow water to promote germination. It is the fastest way to germinate Pawpaw seeds. This can be done by gently filing a small notch in the seed or using sandpaper to roughen its surface. Another technique that can enhance Pawpaw seed germination is stratification.
This process mimics the natural conditions that break dormancy in wild Pawpaw seeds. To stratify the seeds, place seeds in a moist medium and store them in a cool location, like a refrigerator, for several weeks. Before sowing your Pawpaw seeds, choosing suitable containers and soil mixtures is important.
For growing Pawpaw in containers, use deep containers with good drainage and fill them with a well-draining potting mix enriched with organic matter. When planting your prepared Pawpaw seeds, ensure they are planted at an appropriate depth of about 1 inch into the soil mixture. Lightly cover them with additional soil and gently firm them down. Keep the soil moist by watering deeply whenever the top inch (2.5 cm) feels dry. Fertilizing young Pawpaws can help promote vigorous growth.
Scarification Methods for Enhancing Pawpaw Seed Germination
Scarification is a vital step in enhancing Pawpaw seed germination. One method is mechanical scarification, which involves physically damaging the seed coat by nicking or scratching it with a knife or sandpaper. This helps to create small openings through which water can enter and stimulate germination. Another method is hot water treatment, where seeds are soaked in hot water for a specific period.
The heat softens the seed coat and promotes faster germination. Acid scarification is another technique used for preparing Pawpaw seeds for planting. In this method, the seeds are soaked in a weak acid solution such as sulfuric acid or hydrogen peroxide to soften the hard shell. By employing these scarification methods, you can significantly increase your chances of successful Pawpaw seed germination.
Stratification Techniques: Optimizing Pawpaw Seed Dormancy Breaking
How to stratify Pawpaw seeds? One effective technique is stratification, which mimics the natural conditions that Pawpaw seeds experience in their native habitats. To begin with, you’ll need to gather your Pawpaw seeds and remove any pulp or flesh attached to them. Next, choose a suitable medium for stratification. Many gardeners opt for moist sand or vermiculite as these materials provide good moisture retention while allowing proper air circulation.
Once your medium is ready, place the cleaned seeds in a container and cover them with the dampened material. Ensuring the medium remains consistently moist throughout the stratification period is important. Now it’s time to create some favorable conditions for breaking dormancy. With patience and proper care, those dormant Pawpaw seeds will soon sprout into healthy seedlings ready to thrive in your garden.
Sowing Pawpaw Seeds: Choosing the Right Soil, Containers, and Planting Depth
Pawpaws thrive in well-drained soil that is rich in organic matter. A loamy soil with acidic pH of 6-7 is ideal for these tropical plants. How deep to plant Pawpaw seeds? Choose deep pots or seed trays that provide enough space for the developing root system. If you’re using recycled containers, clean them thoroughly before use. Aim for a depth of about one inch (2-3 cm) when sowing Pawpaw seeds. This allows the seeds to establish themselves without being buried too deeply.
In case you missed it: Propagation of Passion Fruit: Growing from Seed, Cuttings, and Grafting

Optimal Growing Conditions for Pawpaw Seedlings: Light, Temperature, and Humidity
Pawpaw seedlings thrive in bright but indirect sunlight. They need at least 6-8 hours of light daily to grow properly. Maintaining the right temperature is essential for Pawpaw seedling growth. These plants prefer warm temperatures between 24°C – 29°C. Ensuring proper humidity levels is vital for Pawpaw seedlings’ overall health.
Aim for a humidity range of around 50% -70%. High humidity helps prevent leaf wilting and dehydration, while low humidity can lead to plant stress. So, how long does it take for a Pawpaw tree to bear fruit? A Pawpaw tree takes around 4-8 years to produce fruit from seed.
Watering and Fertilizing Pawpaw Seedlings: Nurturing Healthy Growth
Proper watering ensures that the young plants receive adequate moisture without being overwatered, which can lead to root rot. It is important to water consistently, allowing the soil to dry out between each watering. A balanced formula with equal amounts of N, P, and K is recommended for Pawpaw seedlings.
Applying fertilizer should be done sparingly, following package instructions or consulting a garden expert. Overfertilization can result in excessive leaf growth at the expense of fruit production. You will actively nurture healthy growth in your Pawpaw seedlings by carefully monitoring watering needs and providing appropriate fertilization.
Managing Pests and Diseases in Pawpaw Seedlings: Common Issues and Control Measures
One common pest that affects Pawpaws is the Papaya fruit fly. These pesky insects lay their eggs on the fruit, resulting in damage and rotting. To control this problem, you can use insecticidal sprays or traps with attractants to catch and kill the flies. Another issue that Pawpaw seedlings may face is powdery mildew. This disease appears as a white powdery coating on leaves and stems, causing them to become distorted and stunted. To combat this problem, fungicides are recommended specifically formulated for powdery mildew control.
Root rot can also be a concern for Pawpaw seedlings. This disease occurs when the plant’s roots are infected by fungi or bacteria, leading to wilting, yellowing leaves, and eventually death. Proper drainage and avoiding overwatering can help prevent root rot from occurring. Regularly inspecting your Pawpaw plants for signs of infestation, such as curled leaves or sticky residue, can help identify these issues early on.
Transplanting Pawpaw Seedlings: Step-By-Step Guide for Successful Establishment
- Choose a suitable location for your Pawpaw seedlings. The Pawpaw plants prefer full sun or partial shade and well-draining soil. Make sure the area has enough space for the mature tree to grow.
- Next, prepare the planting hole and dig a hole slightly wider and deeper than the seedling’s root ball. This will give the plant roots plenty of room to spread out.
- Gently remove the seedling from its container or nursery bed carefully not to damage the fragile roots. Please place it in the center of the planting hole and then backfill it with soil, firming it around the base of the plant.
- Water thoroughly after transplanting to settle any air pockets around the roots and ensure good contact between soil particles and roots. Continue watering regularly until your Pawpaw seedling becomes established.
- To promote healthy growth, consider applying a balanced fertilizer specifically formulated for fruit trees during transplanting. Follow package instructions for dosage and application method.
- Monitor your transplanted Pawpaw seedling closely for any signs of stress or disease. Providing adequate protection from pests such as aphids or caterpillars using organic pest control methods if necessary.
In case you missed it: How to Grow Jujube Tree: Propagation From Seeds, Cuttings, and Grafting

Conclusion
This tropical fruit tree is renowned for its unique flavor and numerous health benefits. These small but mighty seeds have the potential to grow into beautiful and fruitful Pawpaw trees with just a little bit of care and attention. By implementing scarification methods or stratification techniques, you can enhance germination rates and break dormancy in Pawpaw seeds.
- Feed Your Flock for Less: Top 10 Tips to Save on Chicken Feed
- Ultimate Guide to Ossabaw Island Hog: Breeding, Raising, Diet, and Care
- Hatching Answers: The Top 10 Reasons Your Chickens Aren’t Laying Eggs
- Eggs and Economics: Breaking Down the Cost of Raising Backyard Chickens
- Defend Your Greens: Proven Methods to Keep Iguanas Out of Your Garden
- Ultimate Guide to Cinnamon Queen Chicken: A Comprehensive Guide for Beginners
- Ultimate Guide to California Tan Chicken: Breeding, Raising, Diet, Egg-Production and Care
- Ultimate Guide to Marsh Daisy Chicken: Breeding, Raising, Diet, and Care
- 10 Types of Chicken Farming Businesses You Can Start for Profits