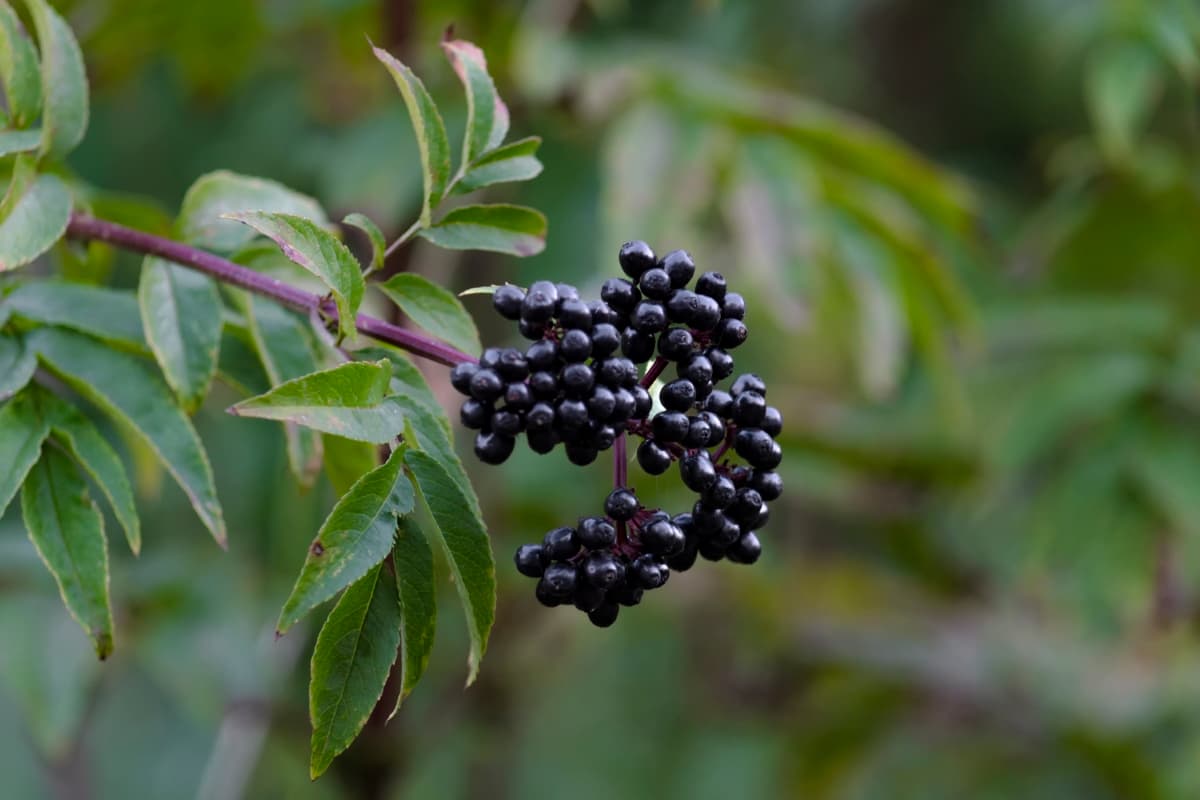
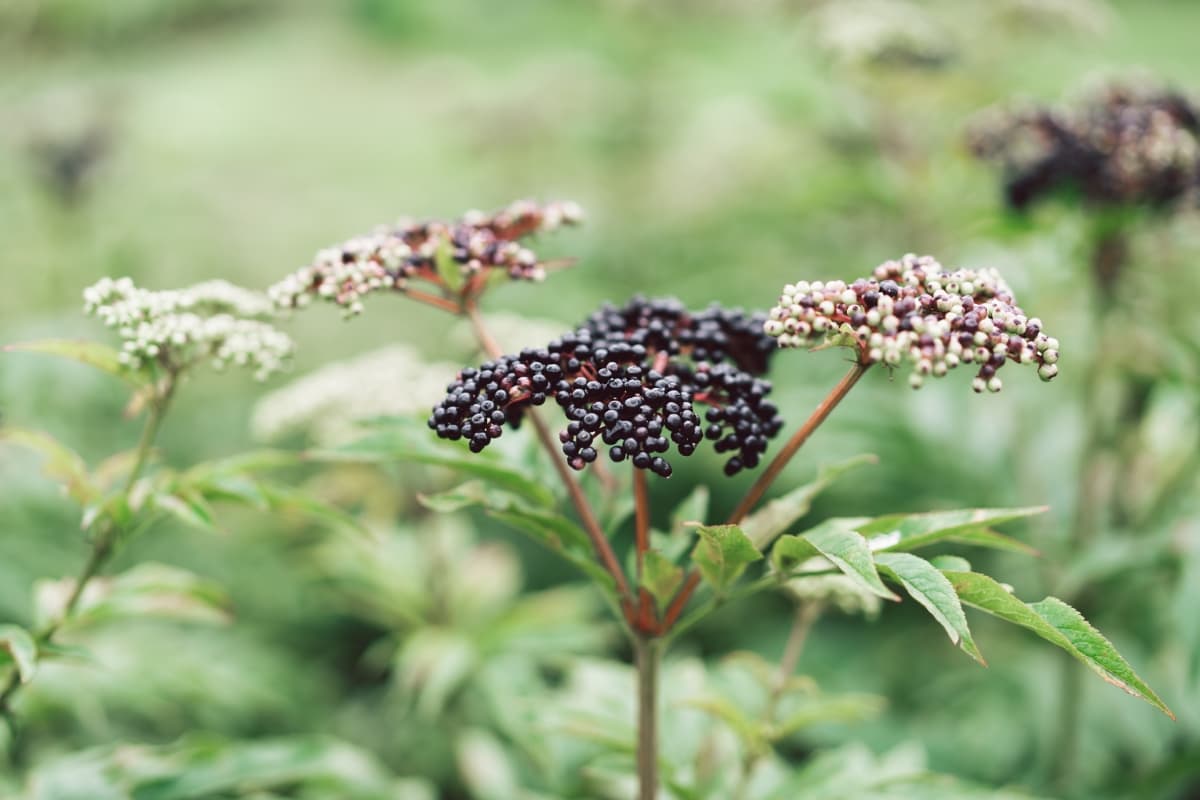
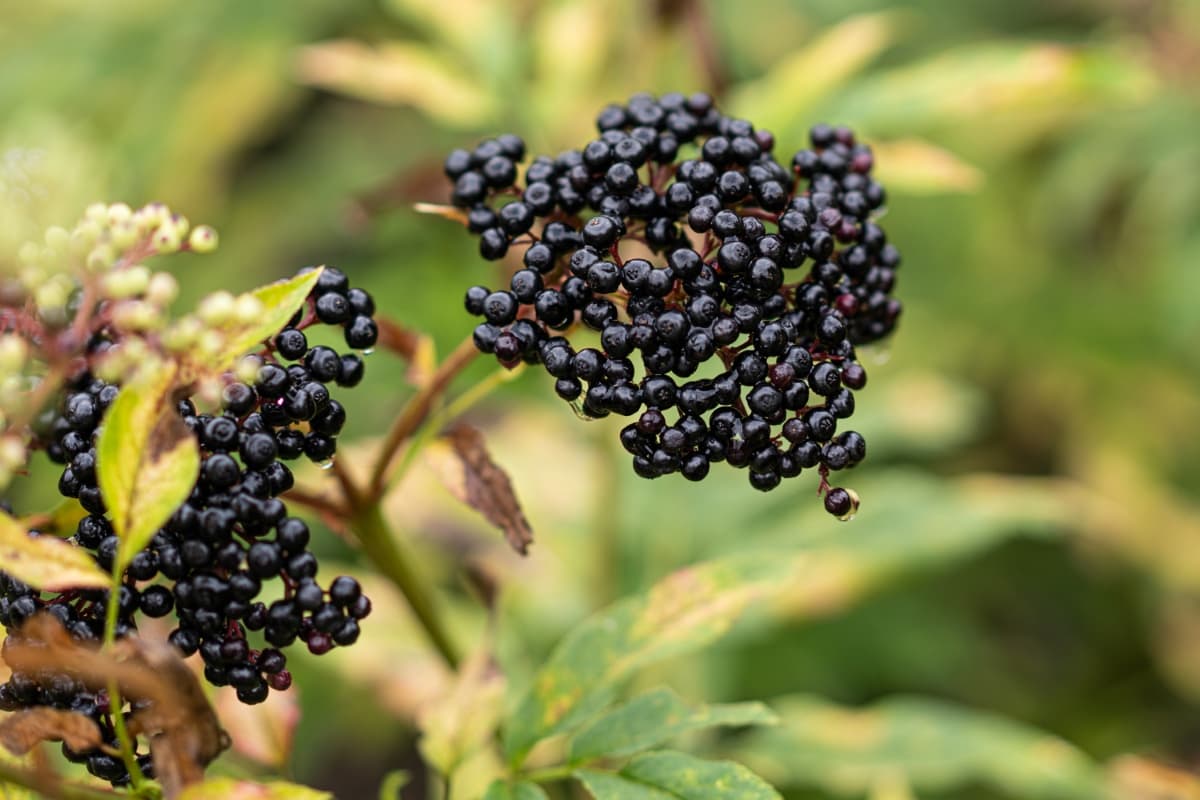
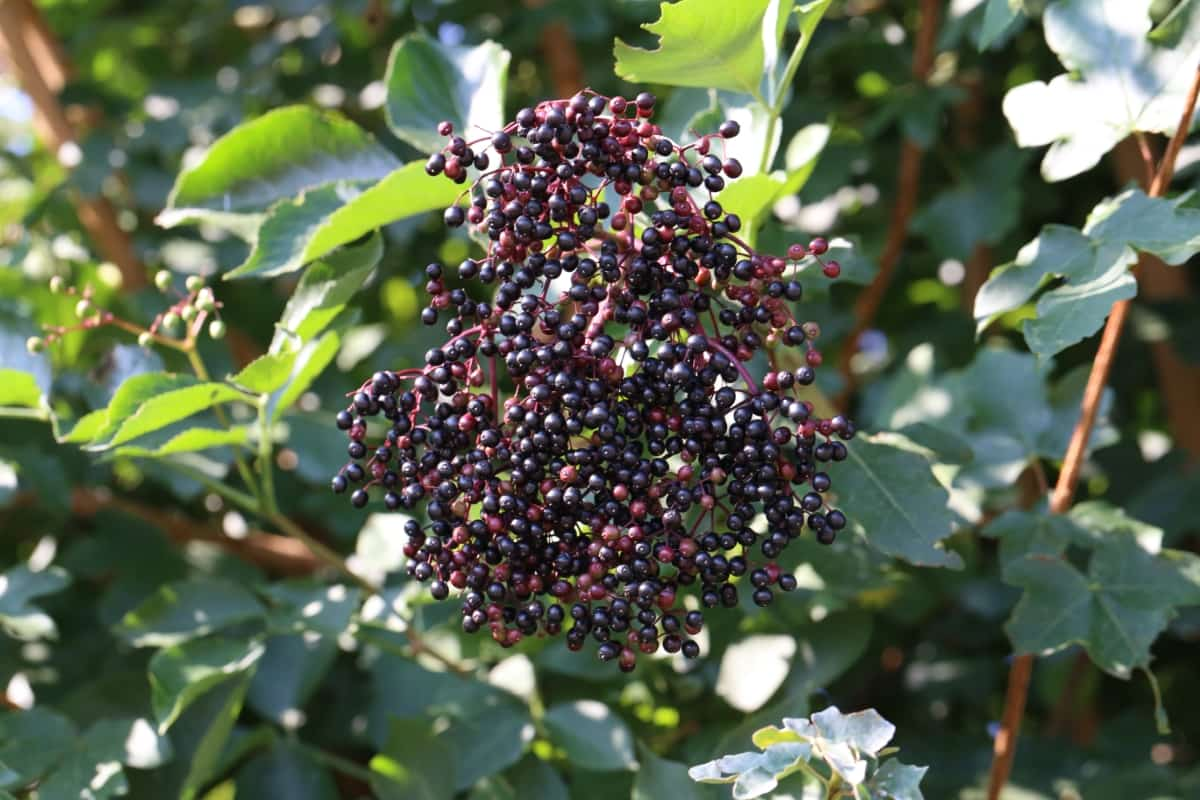
Elderberries (Sambucus) are versatile shrubs or small trees that are prized for their beautiful foliage, fragrant flowers, and clusters of dark purple berries. With the right care and attention, you can enjoy a bountiful harvest of elderberries year after year. This Elderberry growing guide will cover everything you need to know to cultivate elderberries in your garden or landscape successfully.
Overview of Elderberry Benefits and Uses
Elderberry is celebrated for its immune-boosting properties due to its high vitamin C content. It’s revered for its ability to alleviate cold and flu symptoms, reduce inflammation, and promote respiratory health. Rich in antioxidants, elderberry aids in combating oxidative stress and supports heart health. Its anti-viral properties make it a popular natural remedy for fighting infections. Elderberry also exhibits potential benefits for skin health and digestion.
Advantages of Propagating from Cuttings
- Faster Growth: Cuttings typically establish roots more quickly than seeds, allowing you to have mature elderberry plants in a shorter time frame.
- Genetic Consistency: Propagating from cuttings ensures that the newly rooted plants will be genetically identical to the parent plant, preserving desirable traits such as fruit size, flavor, and disease resistance.
- Predictable Results: Unlike seeds, which may produce variable offspring, cuttings offer a reliable way to reproduce elderberry plants with known characteristics.

Propagating Elderberry Plants from Cuttings
Selecting the Right Time: Elderberry Cuttings Season
Best Seasons for Taking Elderberry Cuttings
The best time to take elderberry cuttings is during the plant’s dormant season, typically in late winter to early spring prior to new growth begins. This period provides optimal conditions for root development without competing demands from foliage growth.
Understanding Plant Dormancy and Growth Cycles
Elderberry plants naturally enter a period of dormancy during colder months. Taking cuttings during this phase allows the plant to focus its energy on root development rather than supporting foliage.
Choosing Cuttings
Identifying Healthy Elderberry Plants
Look for elderberry plants with vigorous growth, abundant foliage, and no signs of disease or pest infestation. Healthy plants typically have sturdy stems, vibrant green leaves, and strong root systems. Avoid plants with wilted or yellowing foliage, as they may indicate underlying health issues.
Selecting the Best Stems for Cuttings
Choose young, semi-hardwood stems from the current season’s growth, preferably 4 to 6 inches long. Select stems with healthy foliage and nodes, as these are the points where roots will emerge. Avoid stems that are overly woody or succulent, as they may have lower rooting potential.
Preparing Your Cuttings
How to Cut and Trim Elderberry Stems
- Use clean, sharp pruning shears to cut 4 to 6-inch sections of healthy, semi-hardwood stems from the parent plant.
- Make each cut just below a leaf node, ensuring that the cutting has at least one pair of leaves and several nodes for root development.
Pre-treatment Steps to Enhance Rooting
- Remove any excess foliage from the lower portion of the cutting, leaving only 2-3 leaves at the top to minimize water loss during rooting.
- Dip cut ends of elderberry cuttings in rooting hormone to stimulate root growth.
Rooting Medium and Environment
Choosing the Right Soil Mix
- Select a well-draining elderberry soil mix, such as a combination of perlite, vermiculite, and peat moss, to promote root development.
- Avoid heavy or compacted soils, which can impede drainage and lead to rotting of the cuttings.
- Ensure the pH of the soil mix is slightly acidic, ideally around 6.0 to 6.5, suitable for elderberry growth.
Creating an Ideal Humidity and Temperature Setting
- Maintain humidity with a plastic cover or place cuttings in a humidity chamber.
- Aim for a temperature range of 21-24°C during the rooting process to encourage active growth and root formation.
- Avoid exposing the cuttings to direct sunlight, which can cause excessive drying and stress.
Planting the Cuttings
Depth and Spacing for Planting
- Plant the elderberry cuttings in the rooting medium at a depth of 2-3 inches. Ensure that at least one node is buried below the surface.
- Space the cuttings 4-6 inches apart to allow for adequate air circulation and avoid overcrowding, which can lead to fungal diseases.
Watering and Initial Care
- Water the cuttings immediately after planting to settle the soil around the stems and provide moisture for root development. Avoid overwatering.
- Mist the cuttings regularly to maintain humidity levels and prevent dehydration, especially in dry environments.
- Monitor the cuttings closely for signs of wilting or drying out, and adjust watering frequency as needed to ensure optimal moisture levels.
Caring for Rooting Cuttings
Monitoring Moisture and Temperature
- Regularly check the moisture level of the rooting medium by inserting your finger into the soil. Water when the topsoil is dry, but avoid waterlogging.
- Maintain a consistent temperature around the cuttings, ideally between 21-24°C, to promote healthy root growth. Use a thermometer to monitor temperature fluctuations.
Detecting Signs of Root Development
- Look for new leaf growth and signs of firmness in the stems, indicating that roots are developing.
- Gently tug the cutting to feel resistance, which suggests that roots have formed and are anchoring the plant in the soil.
- Carefully remove a cutting from the soil to inspect the root system visually for white, healthy roots.
In case you missed it: How to Grow Elderberry from Seed: A Comprehensive Guide for Beginners

Transplanting Elderberry Rooted Cuttings
When and How to Transplant to a Permanent Location
- Wait until the rooted cuttings have developed healthy rooting elderberry stems, typically after 6-8 weeks.
- Opt for an area with full sun to partial shade with well-draining soil for planting elderberry plants.
- Dig planting holes larger than the root ball of each cutting and space them according to the mature size of the elderberry variety, typically 5-6 feet apart.
- Gently remove the rooted cuttings from their containers, avoiding damage to the fragile roots, and place them into the prepared holes.
- Backfill the holes and water thoroughly to settle the soil around the roots.
Acclimatizing Cuttings to Outdoor Conditions
- Gradually expose the transplanted elderberry cuttings to outdoor conditions over 1-2 weeks.
- Start by placing the elderberry plants in a sheltered location with partial sun and protection from wind and extreme temperatures.
- Gradually increase exposure to full sun and outdoor elements each day until the plants are acclimated to their new environment.
- Provide supplemental watering during the acclimatization period to prevent stress and ensure adequate moisture for root establishment.
Ongoing Care and Maintenance
Pruning and Fertilization Tips
- Prune elderberry plants annually during the dormant season to remove dead or diseased wood, promote airflow, and encourage new growth.
- Trim back older canes to encourage the growth of younger, more productive stems.
- Apply fertilizer in early spring to support vigorous growth and fruit production, following package instructions for application rates.
Pest and Disease Management
- Monitor elderberry plants regularly for signs of pests such as aphids, spider mites, and borers. Use insecticidal soap or else neem oil as an organic control method.
- Prevent fungal disease infections (such as powdery mildew and leaf spots) by ensuring proper airflow around plants and avoiding overhead watering.
- Treat bacterial infections with copper fungicides or other appropriate remedies, following label instructions carefully.
In case you missed it: 9 Essential Steps to Grow Strawberries in Aquaponics: Explore from How to Plant to Harvest

Harvesting and Utilization
Guidelines for Harvesting Elderberries
- Harvest elderberries when they are fully ripe, typically in late summer to early fall.
- Gently shake or handpick clusters of ripe berries, discarding any unripe or damaged fruit.
- Handle harvested berries with care to avoid bruising or crushing.
Uses of Elderberries: From Medicinal to Culinary
- Medicinal Uses: Elderberries are prized for their immune-boosting properties and are commonly used to make syrups, tinctures, and teas for cold and flu relief.
- Culinary Uses: Elderberries can be used to make jams, jellies, pies, and sauces or infused into beverages such as wine, cordials, and liqueurs.
- Other Uses: Elderberry flowers can be used to make fragrant syrups, infusions, and cakes.
In case you missed it: 8 Common Problems with Garden-Grown Strawberries: How to Overcome Them

Conclusion
In conclusion, growing elderberry from cuttings offers a rewarding and efficient way to propagate these versatile plants. By selecting healthy stems, providing optimal pre-treatment, and creating conducive rooting environments, success rates can be maximized. Ongoing Elderberry Plant Care, including pruning and disease management, ensures healthy plants.
- Feed Your Flock for Less: Top 10 Tips to Save on Chicken Feed
- Ultimate Guide to Ossabaw Island Hog: Breeding, Raising, Diet, and Care
- Hatching Answers: The Top 10 Reasons Your Chickens Aren’t Laying Eggs
- Eggs and Economics: Breaking Down the Cost of Raising Backyard Chickens
- Defend Your Greens: Proven Methods to Keep Iguanas Out of Your Garden
- Ultimate Guide to Cinnamon Queen Chicken: A Comprehensive Guide for Beginners
- Ultimate Guide to California Tan Chicken: Breeding, Raising, Diet, Egg-Production and Care
- Ultimate Guide to Marsh Daisy Chicken: Breeding, Raising, Diet, and Care
- 10 Types of Chicken Farming Businesses You Can Start for Profits