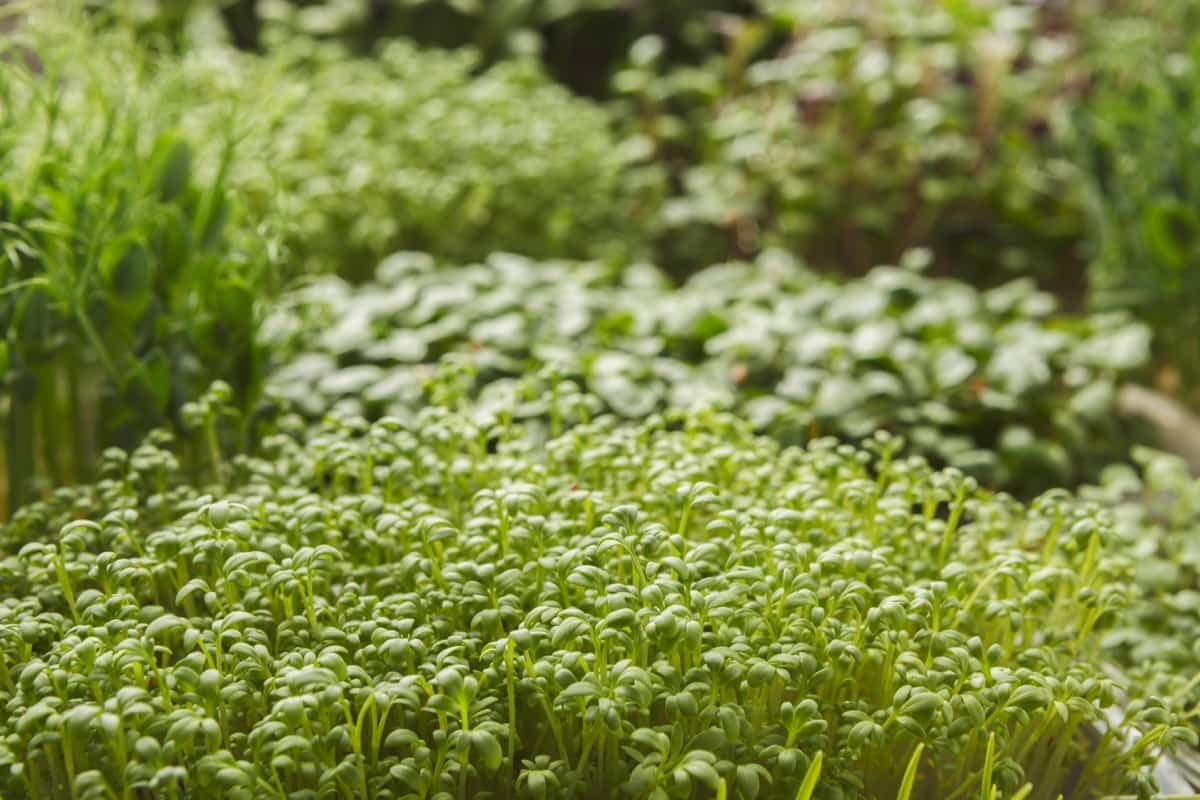
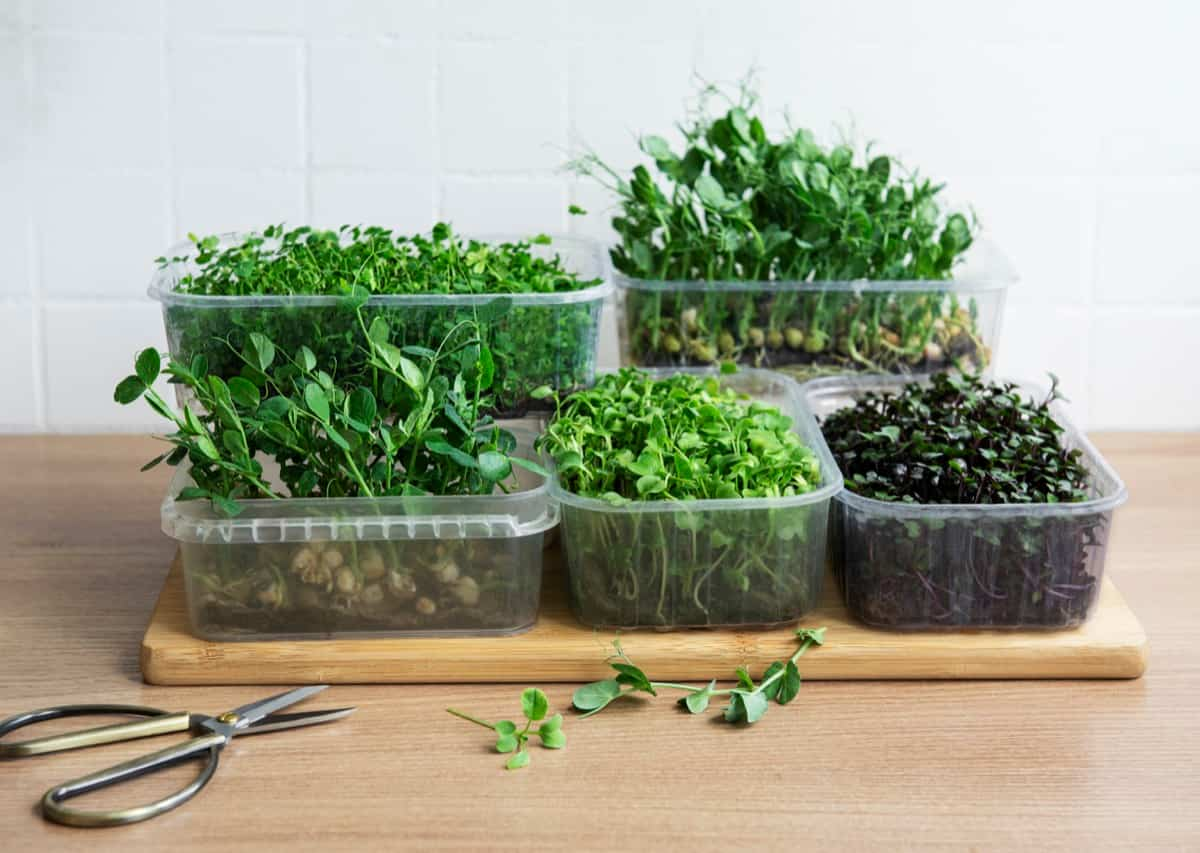
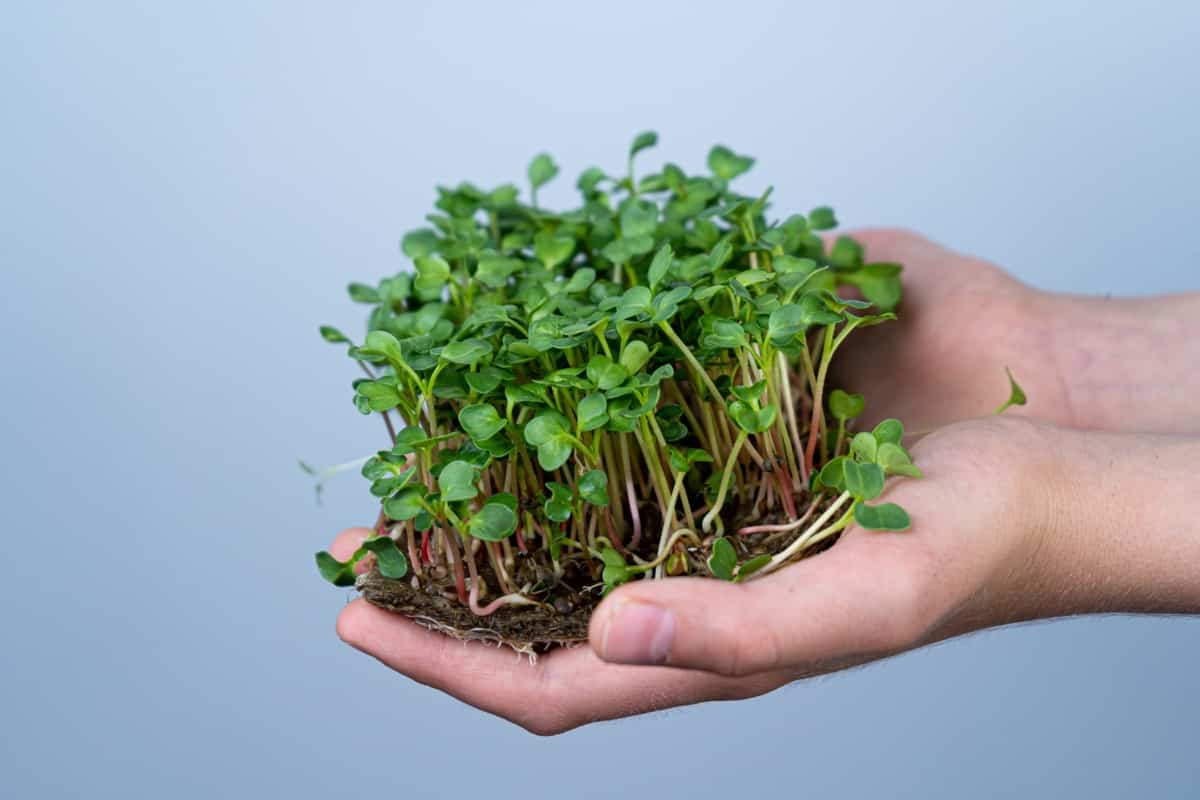
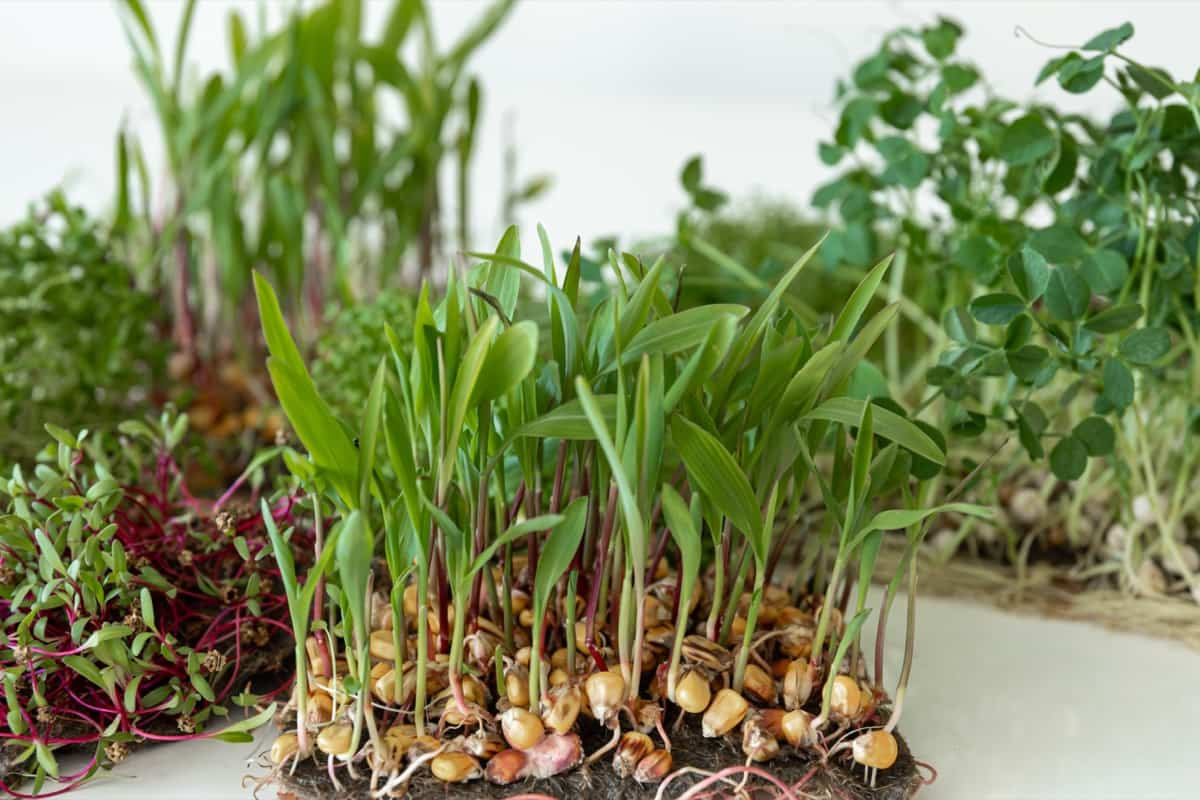
Microgreens gained popularity recently due to their high nutritional value and versatility in culinary applications. However, like any other plant, microgreens are susceptible to various problems that can hinder their growth and affect their quality. This document will discuss ten common problems with microgreens that growers face and provide treatment and solutions for each issue.

10 Common Problems With Microgreens
Preventing Mold Growth in Microgreens
What does mold on microgreens look like? Mold on microgreens often appears as a fuzzy layer on the surface. Depending on the mold type, it may have different colors, including white, gray, green, or black. For preventing mold growth on microgreens naturally
- Start with seeds free from pathogens and mold spores. This reduces the chances of mold growth from the beginning.
- Ensure that the trays and soil are clean and free from contaminants. If possible, sterilize the trays and use fresh, sterile soil for each batch of microgreens.
- Ensure your trays have adequate drainage to prevent water pooling, as excess moisture can create the perfect environment for mold growth.
- Adequate airflow is essential to prevent mold growth. Place the trays in a well-ventilated area or use a fan to circulate air around the microgreens.
- Mold thrives in high-humidity environments. Keep the humidity level around your microgreens low by avoiding excessive moisture and providing good ventilation.
Dealing With Yellowing Microgreen Leaves
Yellowing microgreen leaves can be a common issue faced by growers. It is important to address this problem promptly to ensure the health and vitality of your microgreens. For dealing with yellowing microgreen leaves at home,
- Find the right balance and provide your microgreens with the appropriate water.
- Ensure that your microgreens are placed in a well-lit area, preferably near a south-facing window where they can receive adequate sunlight.
- Consider using a balanced organic fertilizer to give your microgreens the necessary nutrients.
- Avoid placing them near drafts or directly contacting heating or cooling sources.
- Maintaining a moderate humidity level of around 40-60% can also help prevent leaf yellowing.
In case you missed it: Feeding Livestock with Microgreens: For Cattle, Goats, Sheep, Rabbits, and Pigs

Common Causes of Leggy Microgreens and How to Fix It
- Insufficient light: To fix this issue, ensure your microgreens can access bright, indirect light or provide them with supplemental grow lights.
- High temperature: To address this problem, maintain an optimal temperature range of 18-24°C. Use fans or ventilation to regulate air circulation and prevent heat buildup.
- Overcrowding: To avoid overcrowding, sow seeds at an appropriate density and thin out the seedlings when they are a few inches tall.
- Nutrient imbalance: To address this, use a quality organic potting mix or a specific microgreen growing medium that provides adequate nutrition.
Identifying and Treating Pests in Microgreen Trays
The most common pests in microgreens are aphids, whiteflies, and fungus gnats. One of the easiest ways to identify the presence of gnats in microgreens is by visually inspecting the microgreen trays. Look for tiny flying insects around the trays, especially near the soil surface. For treating these pests in microgreens, use neem oil, a natural insecticide that can effectively control gnats in microgreens.
Spider mites are also common pests that infest microgreens, especially in dry and warm conditions. These can cause extensive damage by sucking the plant’s sap. Spider mites can be identified by their webbing and the presence of tiny, moving specks on the plant’s surface. For treating spider mites in microgreens, use Insecticidal soaps. These soaps work by breaking down the protective coating of the pests, leading to their dehydration and eventual death.
Solutions for Preventing Damping-off Disease in Microgreens
Damping off disease of seedlings is caused by several soil-borne fungi and fungus-like organisms, including Pythium, Phytophthora, Rhizoctonia, and Fusarium. The symptoms of damping off disease infect seedlings and cause them to ‘damp off’ or collapse and decay.
- Damping-off disease thrives in cool, damp conditions. Maintain a consistent temperature range of 18-24°C in the growing area to damping off prevention.
- As a damping-off chemical control, fungicides like captan and thiram are commonly used for seed treatments. It is important to follow the recommended dosages and application methods specified by the manufacturer.
- For damping off disease treatment, soil drenching is a method where a fungicidal solution is applied directly to the soil around the base of the microgreens. Fungicides such as mefenoxam and metalaxyl can be used for soil drenches.
In case you missed it: How to Germinate Microgreen Seeds in Paper Towel

How to Avoid Overwatering Microgreen Trays
Choose microgreen trays with holes that allow water drainage and water to come into your growing medium when you’re bottom-watering your microgreens. The microgreen trays without holes don’t allow for water drainage and will contain all the water within the tray.
Avoid watering the microgreens during germination. However, providing the right moisture to the microgreens is crucial during this stage. The seeds require a moist environment to sprout; overwatering can drown them or lead to fungal growth. Instead, mist the surface of the soil lightly to keep it moist. You can start bottom-watering once the microgreens have sprouted and developed their first set of true leaves.
Protecting Microgreens From Excessive Heat or Sunburn
- Location: Choosing the right location for growing microgreens can protect them from excessive heat or sunburn. Consider using structures such as greenhouses or shade nets to provide an optimal growing environment.
- Shading: You can use shade cloth made from a breathable material that filters sunlight. Install the shade cloth above the microgreens, ensuring it is securely fastened to prevent it from blowing away.
- Ventilation: Ensuring proper ventilation is essential to dissipate heat and maintain an optimal growing environment. Use fans strategically placed to promote air circulation and prevent hotspots.
- Watering: Excessive heat can cause the soil to dry out quickly, leading to stress and damage to the plants. Regularly check the moisture levels and water the microgreens as needed.
Preventing Nutrient Deficiencies in Microgreens
| Nutrient | Role in Microgreens | Symptoms of Deficiency | Best Fertilizers |
| Nitrogen | Promotes leaf and stem growth | Yellowing, stunted growth | Blood meal |
| Phosphorous | Promotes root development | Purplish or dark leaves | Bone meal |
| Potassium | Enhances overall plant health | Browing or curling of leaf edges | Wood ash |
How to Deter Fungus Gnats in Microgreen Trays
- Use cinnamon powder: Cinnamon powder has antifungal properties and can help deter fungus gnats. Sprinkle a thin layer of cinnamon powder on the soil surface in your microgreen trays.
- Introduce beneficial nematodes: To deter fungus gnats in microgreen trays naturally, introduce beneficial nematodes, microscopic worms that prey on fungus gnat larvae. They will hunt down and feed on the larvae, effectively reducing the population of fungus gnats.
- Use sticky traps: These traps are coated with a sticky substance that attracts the insects and prevents them from flying away. Place the traps near your microgreen trays to capture any adult gnats and reduce their population.
In case you missed it: A Step-By-Step Guide for Growing Alfalfa Microgreens: DIY from Seed in Pots

Treating Leaf Spot or Leaf Blight in Microgreens
Prepare Baking soda solution for treating leaf spots or leaf blight in microgreens naturally. Mix one tablespoon of baking soda with one gallon of water and spray the solution on the affected plants. Baking soda alters the pH level on the leaf surface, making it less favorable for fungal growth. Use neem oil spray as an alternative for treating leaf spots or leaf blight in microgreens at home. Dilute neem oil according to the manufacturer’s instructions and spray it on the affected leaves.
Conclusion
Understanding and addressing these common problems can ensure high-quality microgreens’ successful growth and production. Implementing appropriate treatments and solutions will help you overcome challenges and enjoy a bountiful harvest of these nutritious and flavorful greens.
- Feed Your Flock for Less: Top 10 Tips to Save on Chicken Feed
- Ultimate Guide to Ossabaw Island Hog: Breeding, Raising, Diet, and Care
- Hatching Answers: The Top 10 Reasons Your Chickens Aren’t Laying Eggs
- Eggs and Economics: Breaking Down the Cost of Raising Backyard Chickens
- Defend Your Greens: Proven Methods to Keep Iguanas Out of Your Garden
- Ultimate Guide to Cinnamon Queen Chicken: A Comprehensive Guide for Beginners
- Ultimate Guide to California Tan Chicken: Breeding, Raising, Diet, Egg-Production and Care
- Ultimate Guide to Marsh Daisy Chicken: Breeding, Raising, Diet, and Care
- 10 Types of Chicken Farming Businesses You Can Start for Profits