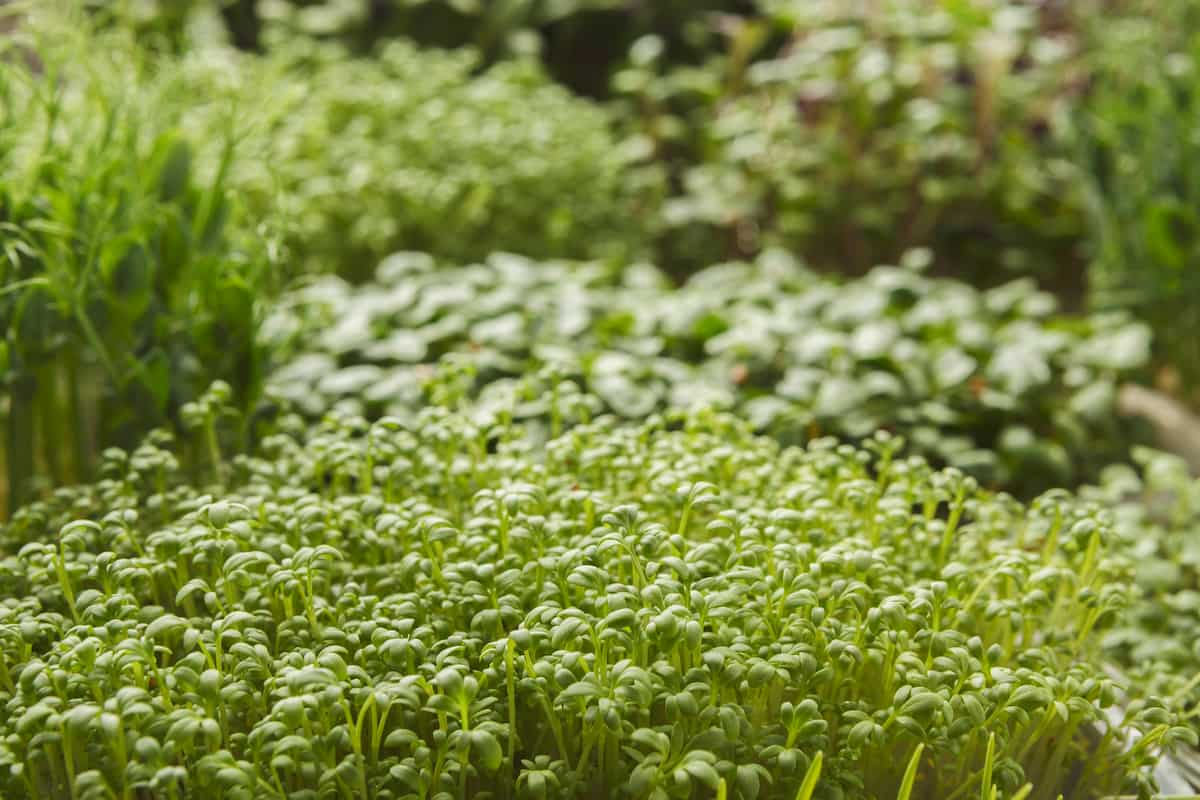
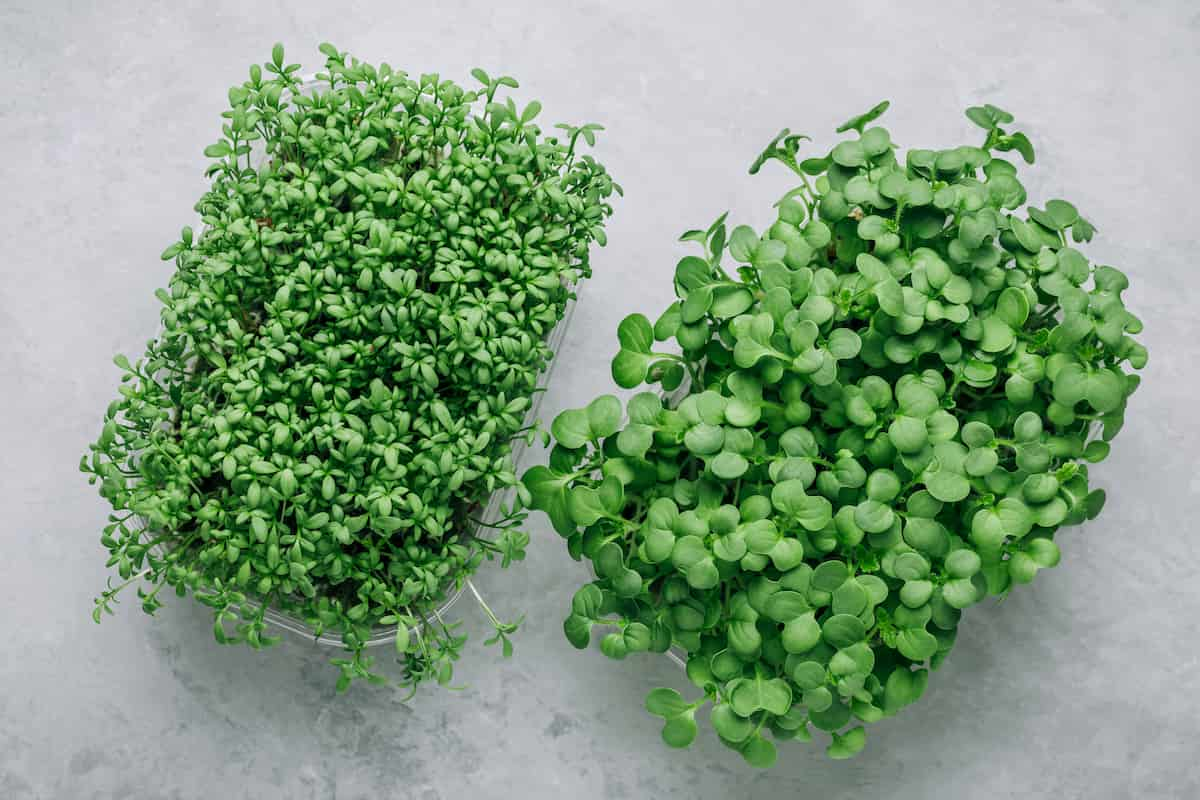
If you want to add more nutrition to your diet or want to start growing your food, microgreens are a great place to start. They’re easy to grow and can be done year-round in most climates. Organic microgreens are nutrient-dense and good sources of vitamins A, C, and E, such as iron and calcium. Organic gardening is becoming more popular as people become more aware of the benefits of eating organic foods. They are easy to grow at home and can be used in various dishes to add flavor and nutrition.

A Step-By-Step Guide for Growing Organic Microgreens
Supplies Needed for Growing Organic Microgreens
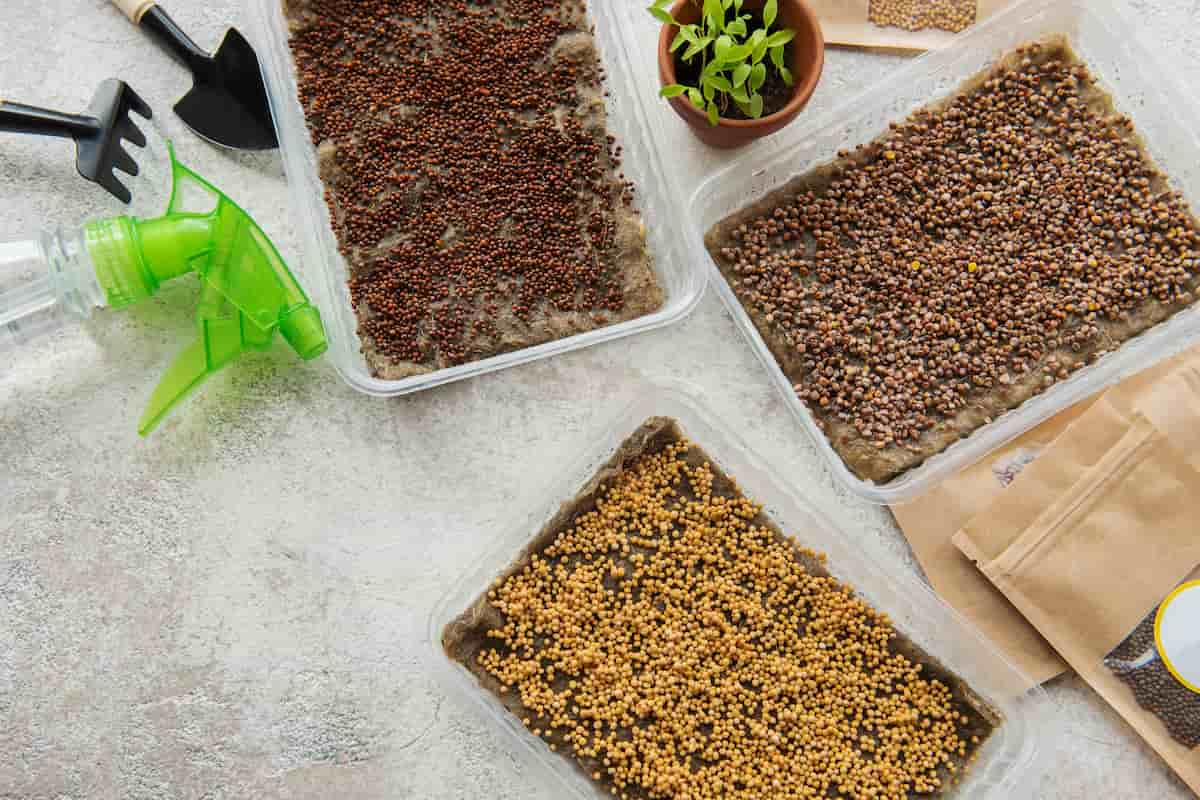
- A container with drainage holes (a recycled plastic container or tray will work fine)
- Organic seed starter mix
- A spray bottle or mister for watering
- A sunny windowsill or grow light (if you don’t have a sunny spot)
- A light source: Either grow them indoors near a south-facing window or use grow lights.
- Planting containers: You can use recycled plastic flats, egg cartons, or anything that has drainage holes and is at least 2-3 inches deep.
- Potting mix: Use a sterile, soilless mix or make your own by mixing 1 part peat moss with 1 part perlite.
- Organic microgreen seeds: Choose from various microgreen seeds, such as Pea, Mustard, Cauliflower, Basil, Brussel Sprouts, Kale, Kohlrabi, Radish, and Chia.
Varieties of Microgreens for Growing Organically
- Arugula: Arugula is a bitter green with a sharp, peppery flavor. It is often used in salads or as a garnish. Arugula microgreens have a peppery flavor that is perfect for salads, sandwiches, and pesto. They are one of the easiest microgreens to grow and only germinate for 4-5 days.
- Beet: Beet microgreens are earthy and sweet with a slightly bitter aftertaste. They make a beautiful garnish on any dish and pair well with citrus flavors.
- Broccoli: Broccoli microgreens are slightly nutty with a hint of sweetness.
- Cabbage: Cabbage microgreens are crunchy and slightly bitter. They make a great addition to slaws and salads or can be used as a garnish on sushi rolls.
- Carrot: Carrot microgreens are sweet and often used as a garnish.
- Cilantro: Cilantro is a type of parsley with a strong, pungent flavor. It is commonly used in Mexican cuisine.
- Chard: Chard is a leafy green vegetable with thick stems and large leaves. It has a slightly sweet flavor and can be used in salads or as a cooked green. Swiss chard is the most common type of chard.
- Kale: Kale is a leafy green vegetable in various varieties, including curly kale, dinosaur kale, and Russian kale. It has a slightly bitter taste and is often used in soups, stews, or as a cooked green.
In case you missed it: A Step-By-Step Guide for Growing Pea Microgreens: DIY in Simple Way from Seeds in Containers

Tips for Growing Organic Microgreens
- Choose the right seed mix – many different mixes are available, so research to find one that will work best for you.
- Make sure your containers are clean and sterile – this will help prevent any disease or mold from taking hold.
- Use a good quality potting mix – something loose and well-draining is ideal.
- Water regularly, but don’t overdo it – too much water can lead to problems like root rot.
- Fertilize sparingly – too much fertilizer can burn young plants. A small amount every other week should be plenty.
- Harvest when the greens are about 2-3 inches tall – cut them just above the soil line with sharp scissors or a knife.
Pests and Diseases of Microgreens
Pests and diseases are relatively uncommon in microgreens, but there are a few that you should be aware of. The most common pests in microgreens are aphids, whiteflies, and spider mites. These can all be controlled with organic methods such as spraying with water or neem oil.
Diseases are also relatively rare in microgreens, but powdery mildew is the most common. This can be controlled by planting in well-ventilated areas and using organic fungicides such as sulfur or copper. With proper care, you should be able to grow healthy microgreens without any problems from pests or diseases.
Step-By-Step Process to Grow Microgreens
- Decide on the type of microgreen you would like to grow. Some popular varieties include Arugula, Broccoli, and Radish.
- Choose a container at least 2-3 inches deep with drainage holes. You can use a plastic or clay pot or recycled container or purchase a specially-made microgreen tray.
- Fill your container with a high-quality potting or seed starting mix and moisten it well.
- Sow your seeds thinly and evenly over the soil’s surface, then lightly press them into the soil.
- Place your container in a sunny place and keep the soil moist by misting it daily or watering it as needed.
- Once your seeds have germinated (in 3-7 days), thin out any overcrowded seedlings so that the remaining plants have room to grow.
- If desired, continue to water regularly and fertilize every week or two with a weak liquid fertilizer solution. Harvest your microgreens when they are about 2-3 inches tall by snipping them off at the base with scissors.
Growing Organic Microgreens Without Soil
Microgreens are an easy and fun way to grow your food at home, and they don’t require a lot of space or equipment. One of the great things about microgreens is that you can grow them without soil. This method is called hydroponics, and it’s a great way to get started with growing your food.
There are some different ways that you can grow microgreens without soil. One popular method is to use a deep-water culture system. This system uses a container that is filled with water and nutrients. The seeds are placed in net pots that sit in the water. The roots of the plants will grow down into the water, and the plants will get all the nutrients they need from the water.
Another popular method for growing microgreens without soil is to use an aeroponic system. This system uses misting to deliver water and nutrients to the roots of the plants. The seeds are germinated in a media such as vermiculite or perlite, and then they are transferred to an aeroponic chamber where they are misted with nutrient-rich water.
Storing and Preserving Microgreens
- Once you have harvested your microgreens, storing and preserving them properly is important to maintain their freshness and flavor.
- Place microgreens in an airtight container or bag and store them in the refrigerator.
- You can also freeze microgreens for long-term storage. Place the greens in a freezer-safe bag or container and store microgreens in the freezer for up to 6 months.
In case you missed it: A Step-By-Step Guide for Growing Carrot Microgreens: DIY in Simple Way from Seeds in Containers

Conclusion
Organic microgreens are a great way to grow healthy and nutritious greens. With the right soil mix, containers, drainage holes, and seeds, plus some patience and love, you’ll have an abundance of fresh organic greens ready for harvest in just a few weeks. Microgreens are immature greens that are typically harvested when they are about 2-3 inches tall. They can be grown from various seeds, including sunflower, radish, and broccoli.
- Feed Your Flock for Less: Top 10 Tips to Save on Chicken Feed
- Ultimate Guide to Ossabaw Island Hog: Breeding, Raising, Diet, and Care
- Hatching Answers: The Top 10 Reasons Your Chickens Aren’t Laying Eggs
- Eggs and Economics: Breaking Down the Cost of Raising Backyard Chickens
- Defend Your Greens: Proven Methods to Keep Iguanas Out of Your Garden
- Ultimate Guide to Cinnamon Queen Chicken: A Comprehensive Guide for Beginners
- Ultimate Guide to California Tan Chicken: Breeding, Raising, Diet, Egg-Production and Care
- Ultimate Guide to Marsh Daisy Chicken: Breeding, Raising, Diet, and Care
- 10 Types of Chicken Farming Businesses You Can Start for Profits