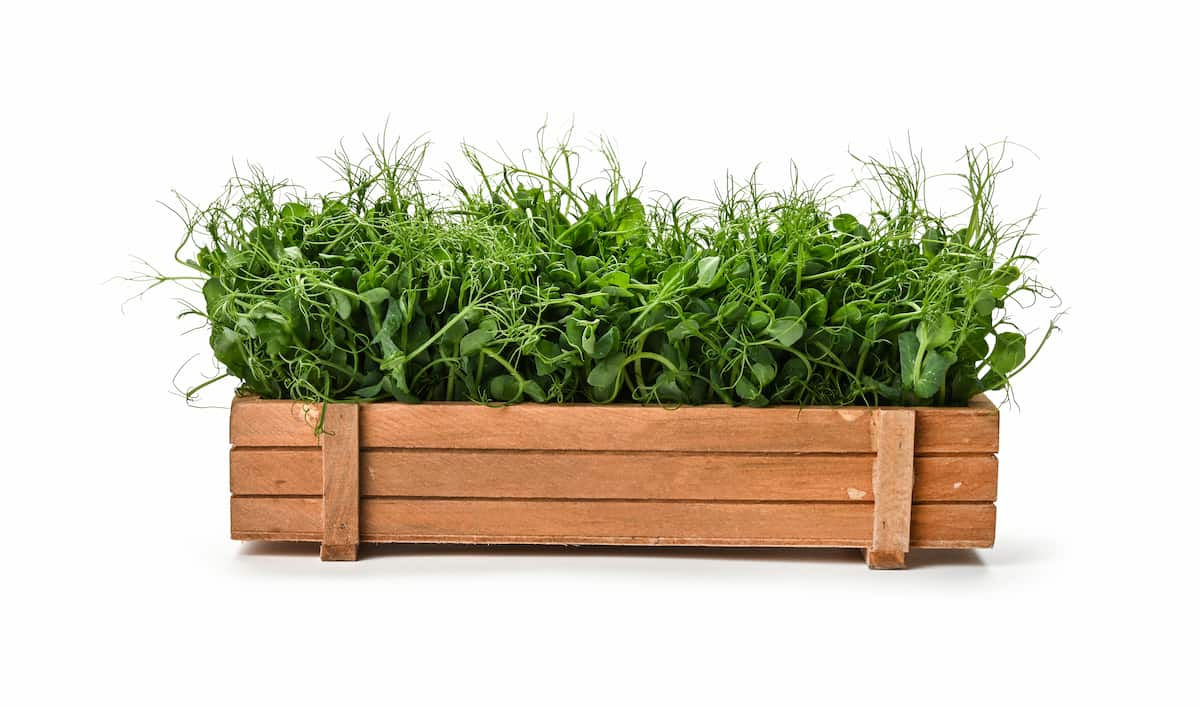
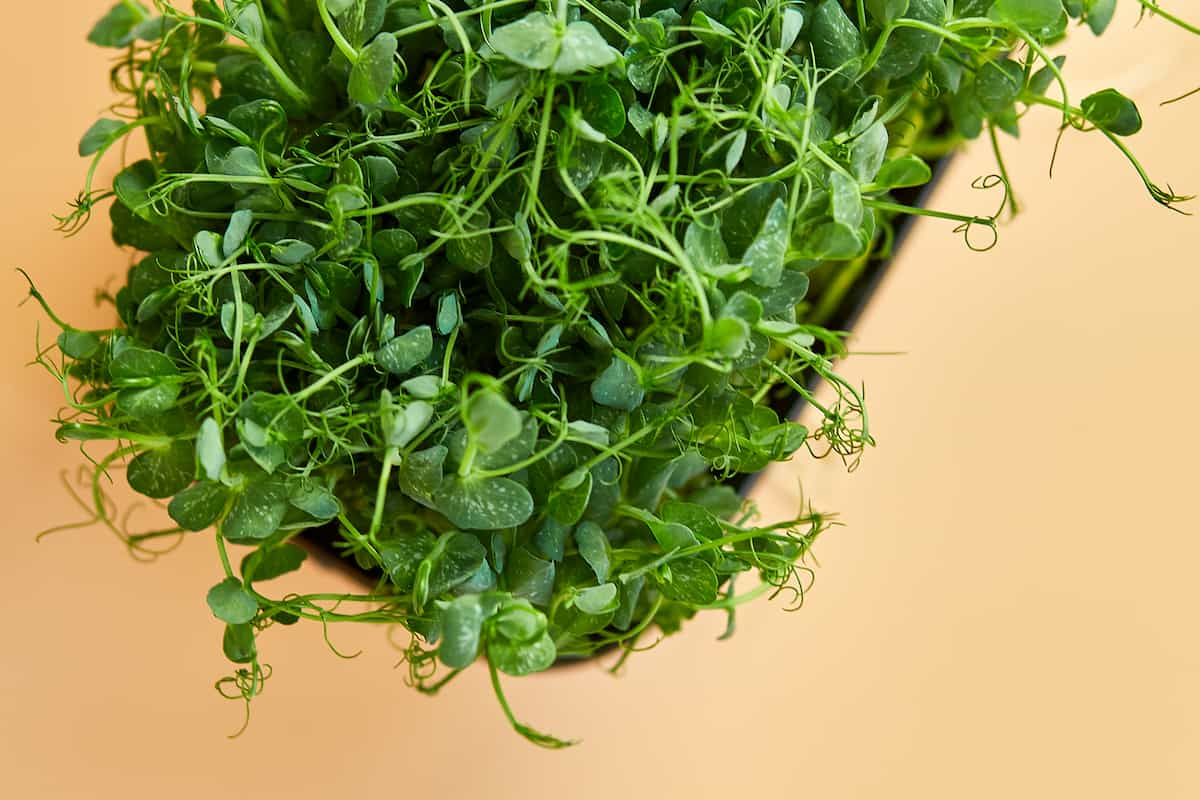
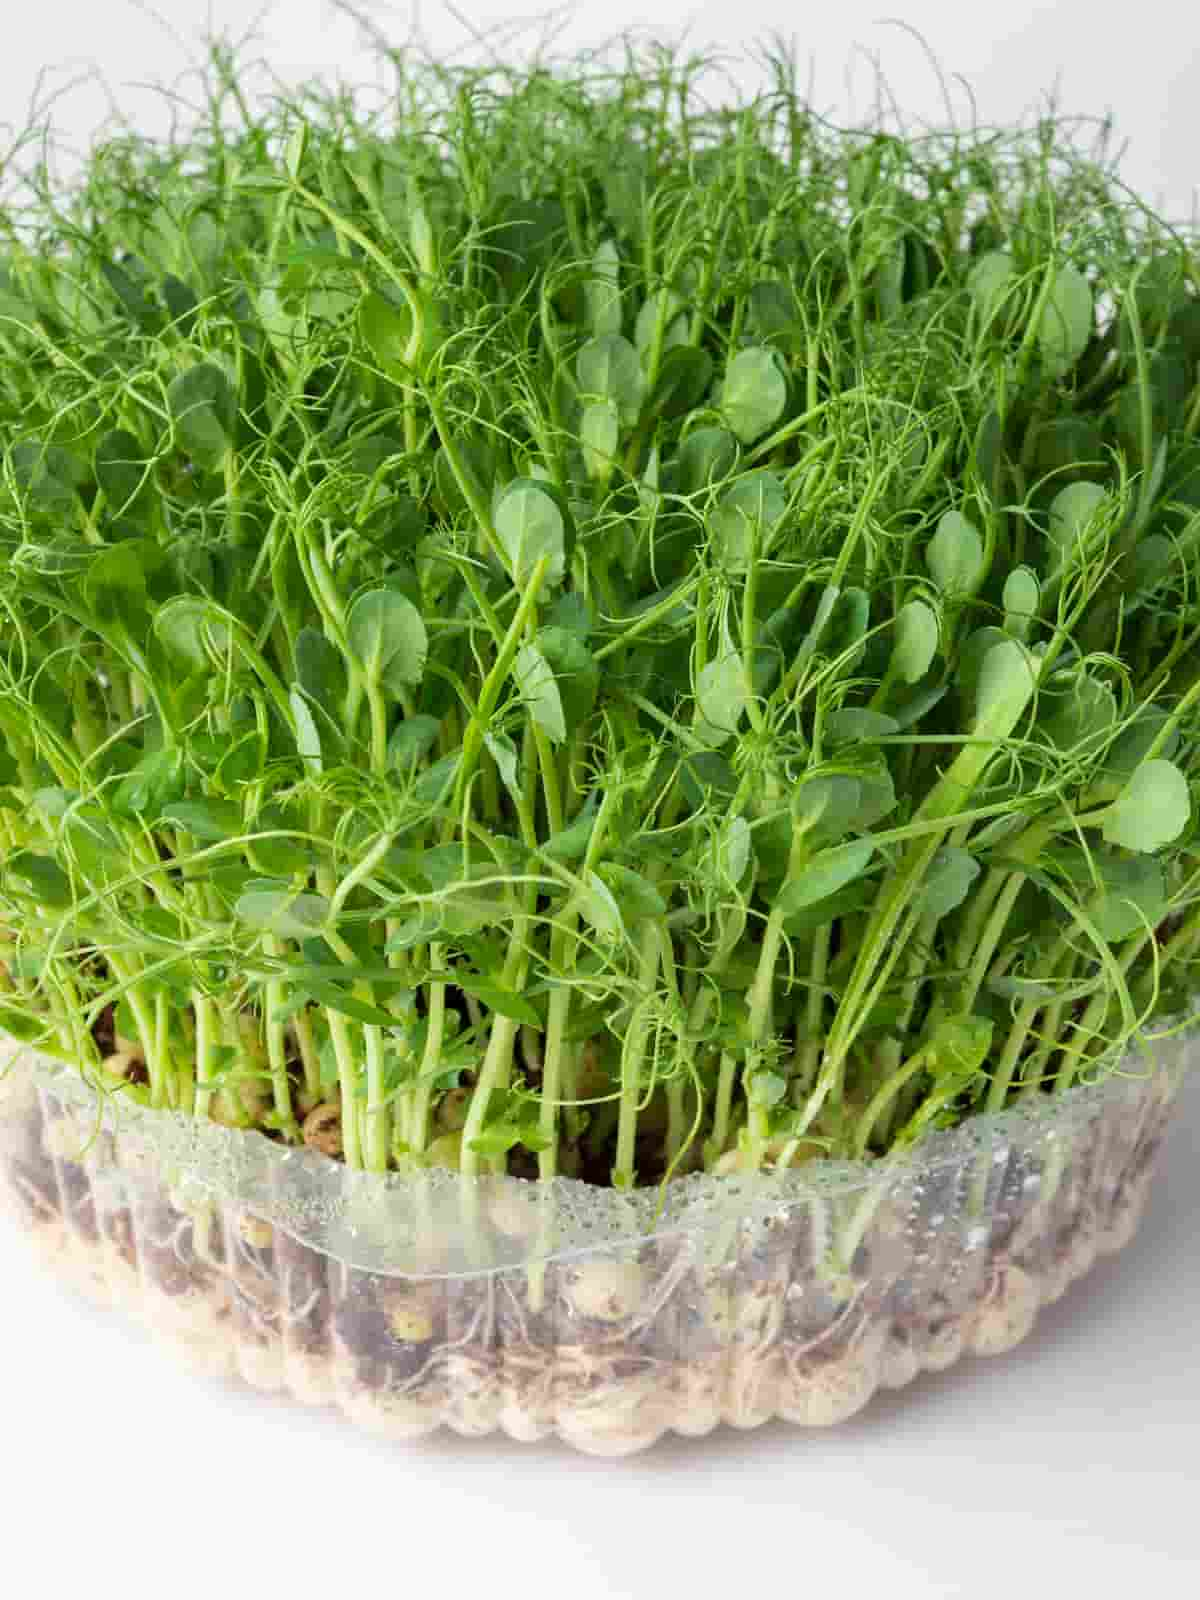
Growing microgreens is a great way to get them interested in gardening and healthy eating. Growing your greens means you’ll always have fresh, healthy produce on hand whenever you need it. Microgreens are a type of vegetable typically harvested when they are between 1 and 3 inches tall. Pea microgreens are popular because they are relatively easy to grow and have a mild flavor that goes well with many dishes.

What are Pea Microgreens?
Pea microgreens are incredibly easy to grow and add to any meal. To grow Pea microgreens successfully, it is important to start with high-quality seeds. Choose a variety of Pea seeds that are known to germinate well.
Pea microgreens do best in slightly acidic soil, so if using potting soil, consider adding Peat moss or other organic matter to lower the pH. Gently pressing the seeds into the soil can help ensure good contact and germination. Keeping your Pea microgreens moist during germination and early growth is important.
Things You Should Know About Growing Pea Microgreens
Growing your Pea microgreens is easy and requires only a few simple supplies. You will need Pea seeds, A container with drainage holes (we suggest using a recycled plastic tray or an egg carton), Potting mix or soil, and Water.
- Start by planting Pea seeds in the potting mix or soil. You will want to plant them fairly close together, as they need room to grow. Water the seeds well and place the container in a sunny spot.
- Pea microgreens will begin to sprout in few days. Once they have sprouted, water them regularly and keep them in a sunny spot.
- After about 2 weeks, your Pea microgreens will be ready to harvest. Use sharp scissors to cut the greens at the base, just above the soil line. Enjoy your fresh and healthy microgreens. Use sharp scissors or a knife to cut the greens just above the soil line. Enjoy your fresh, nutritious microgreens right away, or store these microgreens in a plastic bag in the refrigerator for later use.
A Step-By-Step Guide for Growing Pea Microgreens
Step 1: Soak the Seeds
To get started, you will need to soak your Pea seeds overnight. This will help them to germinate and grow faster. Place the seeds in a bowl or container and add enough water to cover them. Let soak the seeds for at least 8 hours or overnight.
Step 2: Fill the Container with Potting Mix
To fill your container with potting mix, add a layer of mix to the bottom of the container. Then, add water to the mix and stir until the mix is evenly moistened. Next, add more potting mix to the container, using your hands to pack it down as you go lightly. Once the container is filled, water the mix again and allow it to drain before planting your seeds.
Step 3: Sow the Seeds
- Once your containers are set up with soil, it’s time to sow the seeds. You’ll want to evenly distribute the seeds in each container and gently press them into the soil. Once the seeds are in place, you can lightly water them. Be sure not to overwater, which can cause the seeds to rot.
- Once the seeds are in place, they will need light to germinate. You can either place them near a sunny window or under grow lights. If you’re using grow lights, keep them on for 14-16 hours daily.
- After a few days, you should see the seedlings poking through the soil. At this point, you can reduce the water you’re giving them, as they won’t need as much now that they’re growing. Continue to provide them with plenty of light, and soon you’ll have a tray full of healthy microgreens.
In case you missed it: A Step-by-Step Guide for Growing Mustard Microgreens: DIY in Simple Way from Seeds in Containers

Step 4: Water the Seeds
Water the Pea seeds just enough so that the soil is moist but not soggy. Seeds need moisture to germinate, but too much water will produce oxygen, and they will rot. Use a spray bottle or a watering can with a very light stream to avoid washing the seeds away. You should water the seeds once daily, in the morning if possible.
Step 5: Place the Container in a Bright Location
- Once your container is filled with moistened potting mix, it’s time to place it in a sunny location. If you’re growing your microgreens indoors, choose a spot near a south- or west-facing window. If you’re growing them outdoors, pick a sunny spot in your yard, deck, or patio.
- Your microgreens will need at least four hours of sunlight each day, so ensure they’ll get plenty of light in their new location. Once you’ve found the perfect spot for your container, set it down and water the soil again until it’s evenly moist.
Step 6: Thin the Seedlings
- Now that your Pea microgreens have germinated and are growing well, it is time to thin out the seedlings. This is important because it allows the plants to have more space to grow and also prevents them from competing with each other for resources.
- To thin out your seedlings, take a pair of scissors and cut off the weaker or smaller seedlings at the base. You can also pull them up by hand if you prefer. Be sure to leave only the strongest and healthiest plants in the soil.
- After thinning out your seedlings, please give them a good drink of water and watch them grow into healthy microgreens.
Growing Pea Microgreens Without Soil
- You can grow Pea microgreens without soil is a simple process. All you need is a container, some water, and Pea seeds. You can purchase a pre-made hydroponic kit or use recycled materials.
- To get started, fill your container with enough water to cover the Pea seeds. Then, add the seeds to the water and stir gently. Place the container in a sunny spot and wait for the seeds to germinate. Once they do, you will see little sprouts emerging from the water.
- Now, it is time to fertilize the Pea microgreens. You can use commercial fertilizer or make your own using compost or manure. Mix the fertilizer with water based on the package directions and apply it to the microgreens.
- Once the Pea microgreens are established, you can begin harvesting them. Cut them just above the soil line with a sharp knife or scissors. Enjoy them fresh in salads, sandwiches, or as a garnish for soups and other dishes.
In case you missed it: A Step-by-Step Guide for Growing Brussels Sprouts Microgreens: DIY in Simple Way from Seeds in Containers

Conclusion
Growing your Pea microgreens is incredibly easy – even if you don’t have much experience with gardening. These tiny greens are packed with vitamins, antioxidants, and other nutrients, making them an excellent addition to any diet.
- Feed Your Flock for Less: Top 10 Tips to Save on Chicken Feed
- Ultimate Guide to Ossabaw Island Hog: Breeding, Raising, Diet, and Care
- Hatching Answers: The Top 10 Reasons Your Chickens Aren’t Laying Eggs
- Eggs and Economics: Breaking Down the Cost of Raising Backyard Chickens
- Defend Your Greens: Proven Methods to Keep Iguanas Out of Your Garden
- Ultimate Guide to Cinnamon Queen Chicken: A Comprehensive Guide for Beginners
- Ultimate Guide to California Tan Chicken: Breeding, Raising, Diet, Egg-Production and Care
- Ultimate Guide to Marsh Daisy Chicken: Breeding, Raising, Diet, and Care
- 10 Types of Chicken Farming Businesses You Can Start for Profits