Bird’s eye chili, also known as Thai chili or bird pepper, is a popular and spicy ingredient in many Southeast Asian cuisines. This small and fiery chili pepper is easy to grow from seed and is a great addition to any garden or indoor space. This step-by-step guide will walk you through growing bird’s eye chili from seeds, from planting to harvest.

How to Grow Bird’s Eye Chili from Seed
Gather Your Supplies
- Bird’s eye chili seeds
- Potting soil
- Seed tray or small pots
- Plastic wrap or a plastic dome
- Watering can
- Fertilizer
- Grow lights (optional)
Soak the Seeds
Bird’s eye chili seeds have a hard outer coating, making germination difficult. To help soften the seed coat and speed up germination, soak the seeds in warm water for 24 hours before planting. You can use a small cup or jar to soak the seeds.
Plant the Seeds
Fill a seed tray or small pots with potting soil. Make a small hole in the soil and plant the bird’s eye chili seeds about ¼ inch deep. Space the seeds about 1-2 inches apart. Cover the seeds with soil and gently pat them down.
Cover the Seeds
Cover the seed tray or pots with plastic wrap or a plastic dome to create a warm and humid environment that will help the seeds germinate. Make sure the plastic is not touching the soil or the seeds. Place the seed tray or pots in a warm and bright location but out of direct sunlight.
Water the Seeds
Keep the soil moist but not waterlogged. Water the seeds gently with a watering can, taking care not to displace the seeds. Avoid using a spray bottle, as it can disturb the soil and seeds. Water the seeds regularly, but do not overwater as it can lead to fungal growth.
Wait for the Seeds to Germinate
Bird’s eye chili seeds can germinate for up to two weeks, so be patient. To help the seeds grow, take them out of their plastic containers and put them in a well-lit area as they begin to sprout. If you are growing the chilies indoors, consider using grow lights to give the plants enough light.
In case you missed it: Chili Production Guide: A Step-By-Step Cultivation Practices

Transplant the Seedlings
Once the seedlings have grown their first true leaves, it’s time to transplant them into larger pots or containers. Choose a container at least 6 inches deep with drainage holes. Fill the container with potting soil and make a small hole for each seedling. Gently remove the seedlings from the seed tray or pot and place them in the new container. Cover the roots with soil and water gently.
Fertilize the Plants
To encourage healthy growth and fruit production, you can fertilize the plants with a balanced fertilizer every two weeks. How often and how much fertiliser should be applied can be found on the packaging.
Care for the Plants
Bird’s eye chili plants need regular watering and plenty of sunlight to grow and produce fruit. Be sure to water your plants just when the soil begins to feel dry. Provide the plants with at least 6 hours of sunlight daily, either from natural sunlight or grow lights. Pruning the plants may be necessary to promote fuller development and more fruit.
Harvest the Chilies
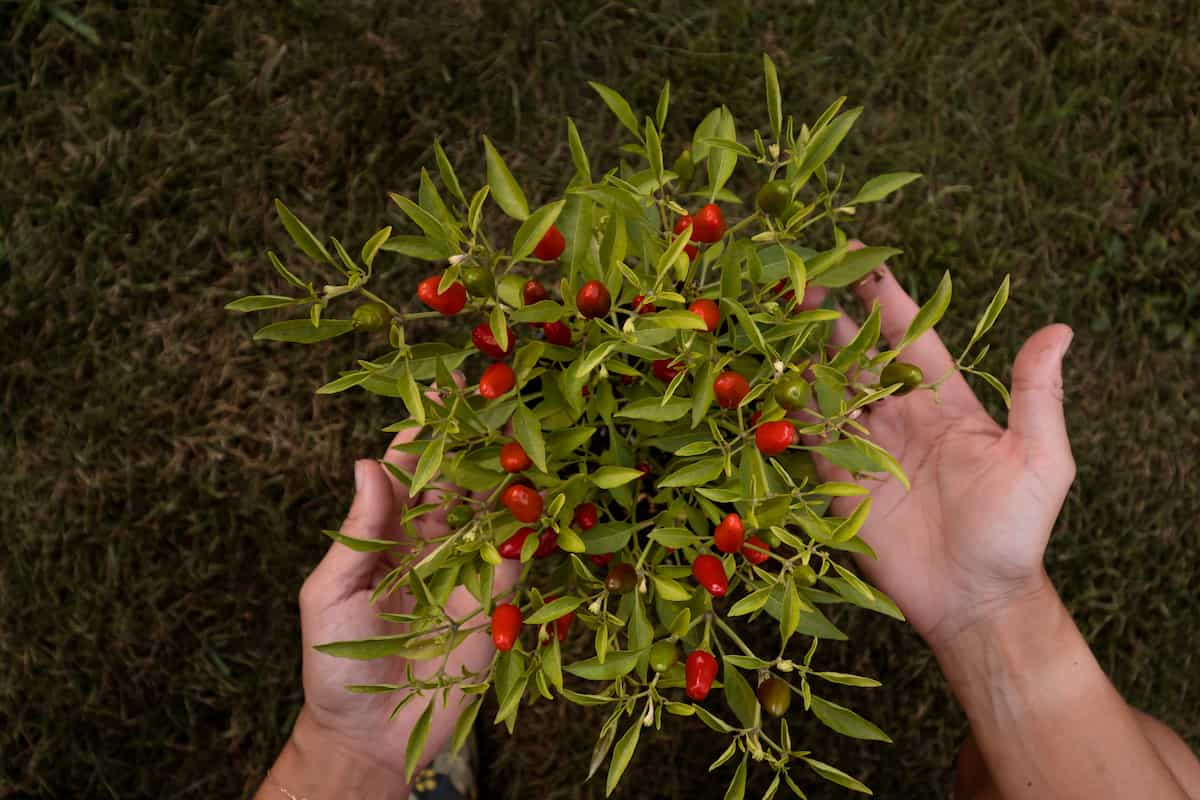
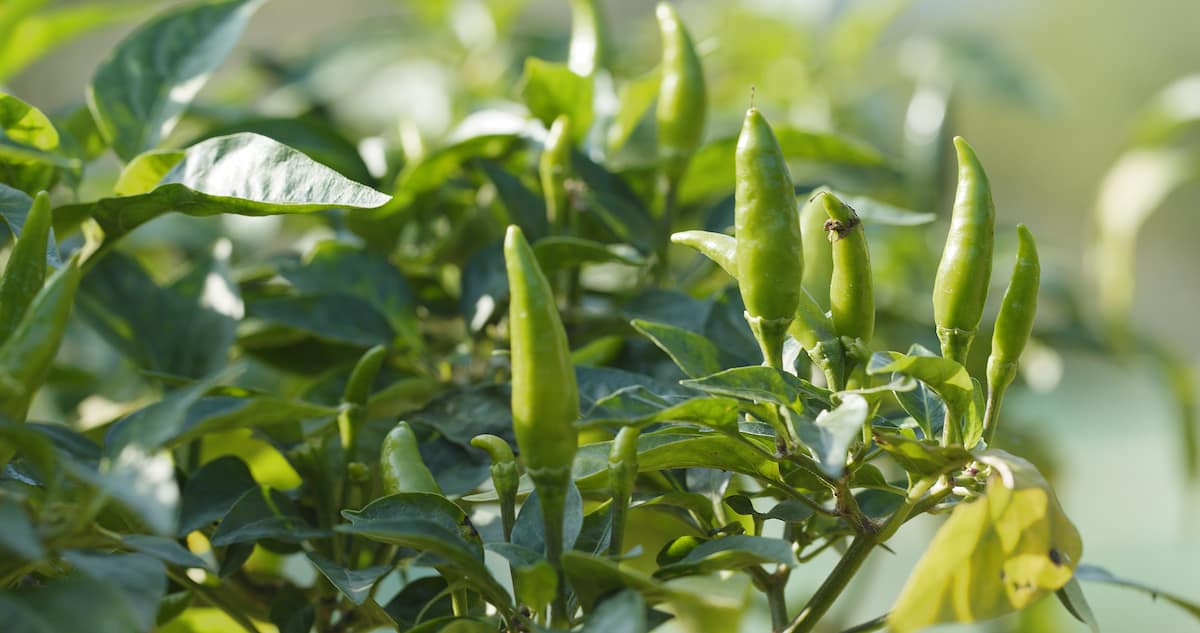
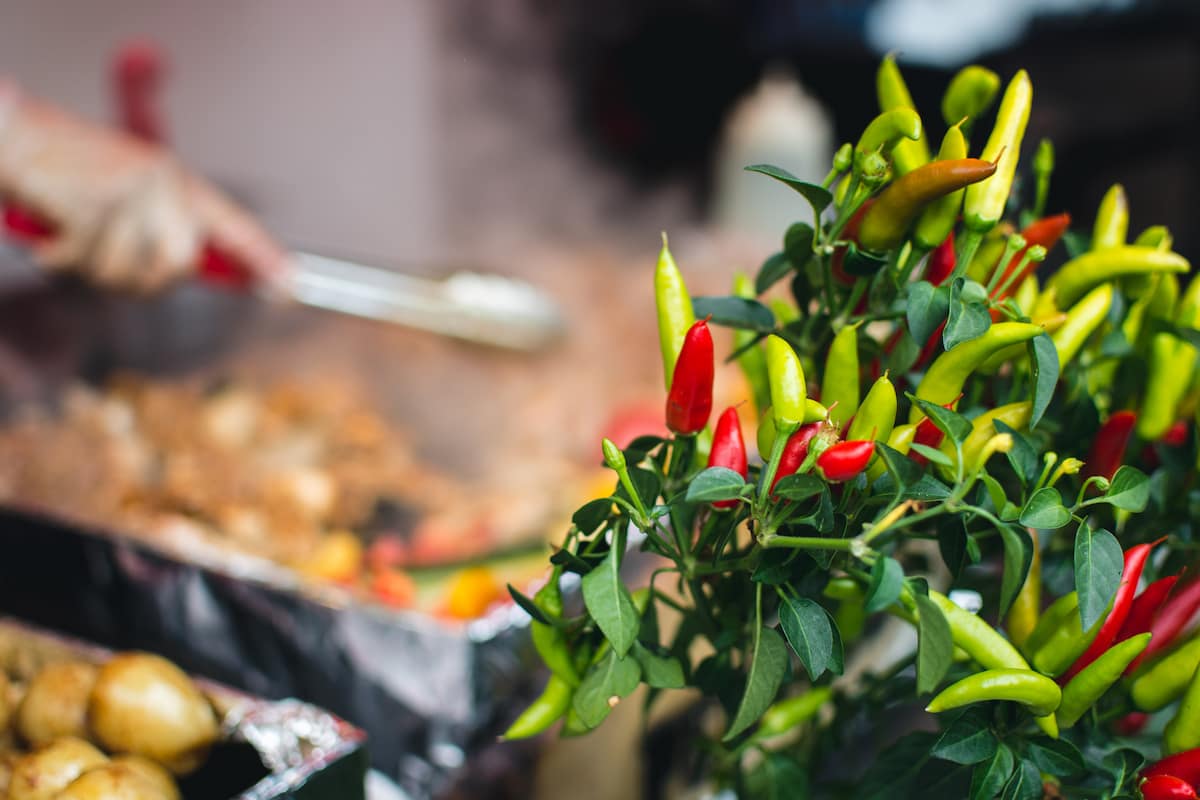
Bird’s eye chili plants typically produce fruit 2-3 months after planting. The chilies will start green and turn red when fully ripe. You can harvest the chilies as soon as they turn red or wait until they reach their maximum heat level, which can take a few more days. To harvest the chilies, use scissors or pruning shears to snip them off the plant.
Use or Store the Chilies
Bird’s eye chilies can be used fresh or dried. They are commonly used in soups, curries, and stir-fries to add heat and flavor. To dry the chilies, simply thread them onto a string and hang them in a warm, dry, and well-ventilated place. Once fully dry, you can store them in an airtight container for future use.
In case you missed it: Yellow Capsicum/Bell Pepper Farming in Greenhouse/Polyhouse

Conclusion
Growing bird’s eye chili from seeds can be a fun and rewarding experience. Following these steps, you can enjoy a bountiful harvest of fresh, spicy peppers perfect for adding heat and flavor to your favorite dishes. Remember to provide your plants with the right light, warmth, water, and nutrients to ensure they grow strong and healthy.
- Feed Your Flock for Less: Top 10 Tips to Save on Chicken Feed
- Ultimate Guide to Ossabaw Island Hog: Breeding, Raising, Diet, and Care
- Hatching Answers: The Top 10 Reasons Your Chickens Aren’t Laying Eggs
- Eggs and Economics: Breaking Down the Cost of Raising Backyard Chickens
- Defend Your Greens: Proven Methods to Keep Iguanas Out of Your Garden
- Ultimate Guide to Cinnamon Queen Chicken: A Comprehensive Guide for Beginners
- Ultimate Guide to California Tan Chicken: Breeding, Raising, Diet, Egg-Production and Care
- Ultimate Guide to Marsh Daisy Chicken: Breeding, Raising, Diet, and Care
- 10 Types of Chicken Farming Businesses You Can Start for Profits