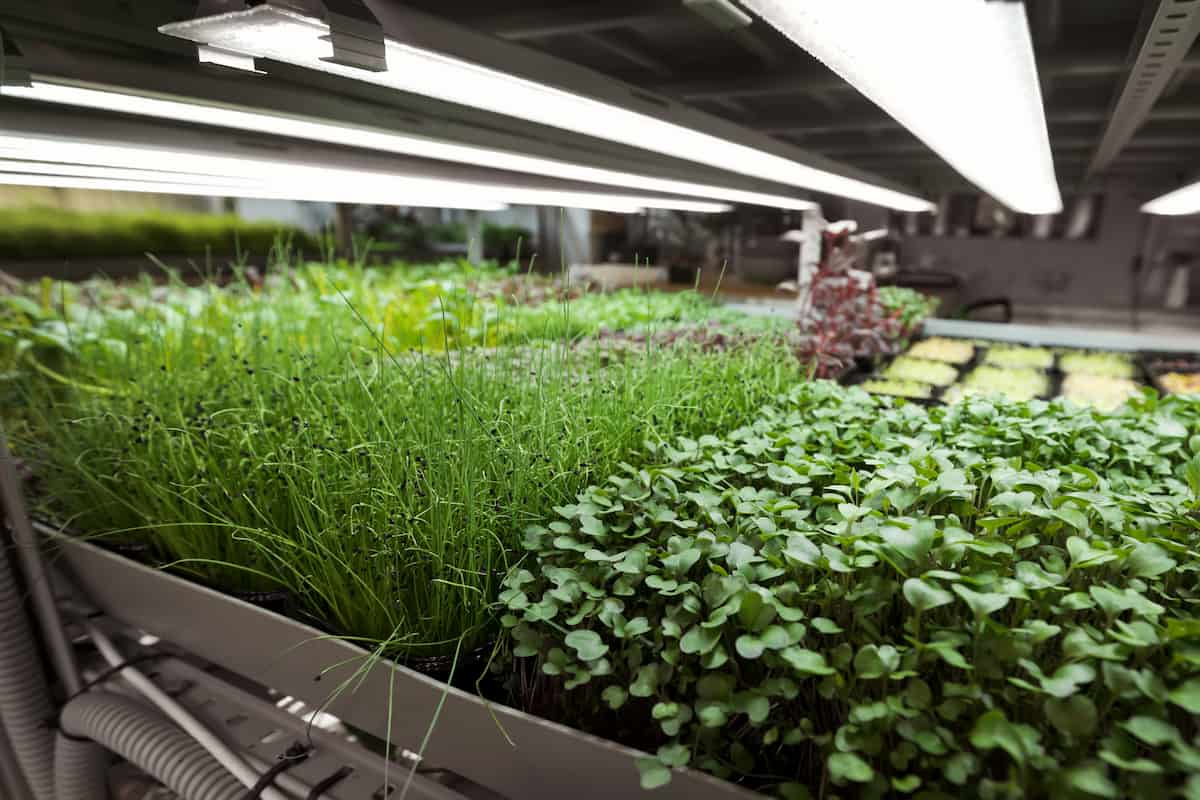
Growing vegetables and microgreens can greatly benefit your health and the environment. Since microgreens have become more widely used in the kitchen for their taste and health benefits, growing them has become increasingly popular. A greenhouse can grow them on a larger scale, or you can grow them inside your home.

Growing microgreens on a larger scale for your consumption or starting a microgreens business, this guide will help you with how to use a greenhouse. Building or buying a greenhouse and obtaining seeds for microgreens are prerequisites for growing microgreens. Next, choose the variety of microgreens you want, create an optimal greenhouse climate, and set up automated watering.
How to Grow Microgreens in Greenhouse
What Kind of Greenhouse is Best for Microgreens?
Your climate and harvest goals will determine the type of greenhouse where you will grow microgreens. A simple setup is all you need to extend your growing season and enjoy harvesting microgreens for yourself and your family. It’s important to keep microgreens at a relatively warm temperature since they cannot tolerate freezing temperatures.
It should be fine to use an unheated greenhouse in locations where temperatures rarely fall below freezing. If, however, you would like to grow microgreens through the frigid winter or produce them commercially, you may be interested in growing them. If that is the scenario, you will need to consider a more complex growing system.
What Kind of Microgreens are Best for Growing in Greenhouses?
The flavor of microgreens is generally more concentrated from the adult plant, so you can select crops that you are already growing and enjoying. It will depend on your preferences and what type of microgreens you grow in your greenhouse. Different microgreens have different tastes; some are mild, bland, or spicy, while others are bitter or sour. Although this is not a complete list of microgreens you may choose to grow, these are some of the most common.
| Arugula | Kale |
| Basil | Lettuce |
| Beets | Peas |
| Broccoli | Radish |
| Carrot | Watercress |
| Chard | Wheatgrass |
Any crop can be grown as a microgreen, so if you have a favorite not listed here, plant extra to harvest as microgreens. The growth of some plants will be easier than others. In addition to your green thumb, you may also want to consider your experience raising certain crops. The susceptibility of your chosen crop to diseases or pests may also be important to consider. Those living in harsh climates might also need to consider plants that can withstand cold temperatures if they don’t have a heated greenhouse.
Soil and Media for Growing Microgreens in Greenhouses
The soil in your greenhouse should be soft and friable, not clay-like hard. Excess water can be difficult to drain from some hard soils. In that case, you can mix peat moss or coco-coir with the garden soil. A hardboard should then be used to flatten the soil after it has been mixed and loosened. Once the soil is prepared, the seeds can be planted.
Temperature and Humidity for Growing Microgreens in Greenhouses
Microgreens thrive best when they are grown at room temperature between 21°C and 27°C, as well as between a 50% and 60% humidity level. Because these factors can vary wildly from one location to another, you may want to consider getting a dehumidifier and air conditioner for a more controlled environment in your home.
In case you missed it: A Step-By-Step Guide for Growing Carrot Microgreens: DIY in Simple Way from Seeds in Containers

Planting and Growing Microgreens in Greenhouses
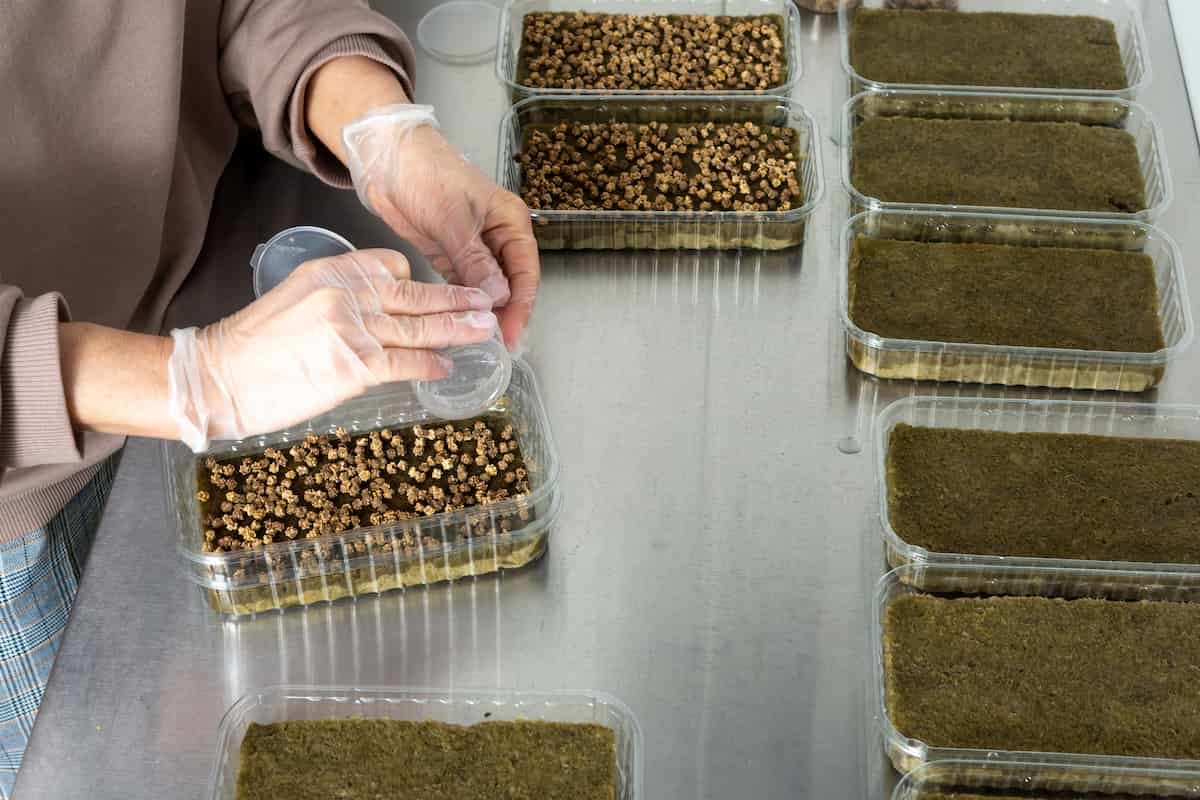
As a first step, you will have to purchase the seeds of your choice before you can get started. It is possible to find these products at any local nursery, garden center, or online retailer. You should soak the seeds according to the instructions on the seed package before planting. You just need to measure out the amount of seeds you wish to use and put them in a bowl.
The seeds should be rinsed off well and drained in a strainer or colander to remove any residue that might remain on them. Afterward, add sufficient water to the bowl and let them soak in it for 12 hours or overnight. You will have to drain off any excess water in a colander once your seeds have soaked for a few hours. Once they have been rinsed and drained, give them a quick rinse and repeat the process.
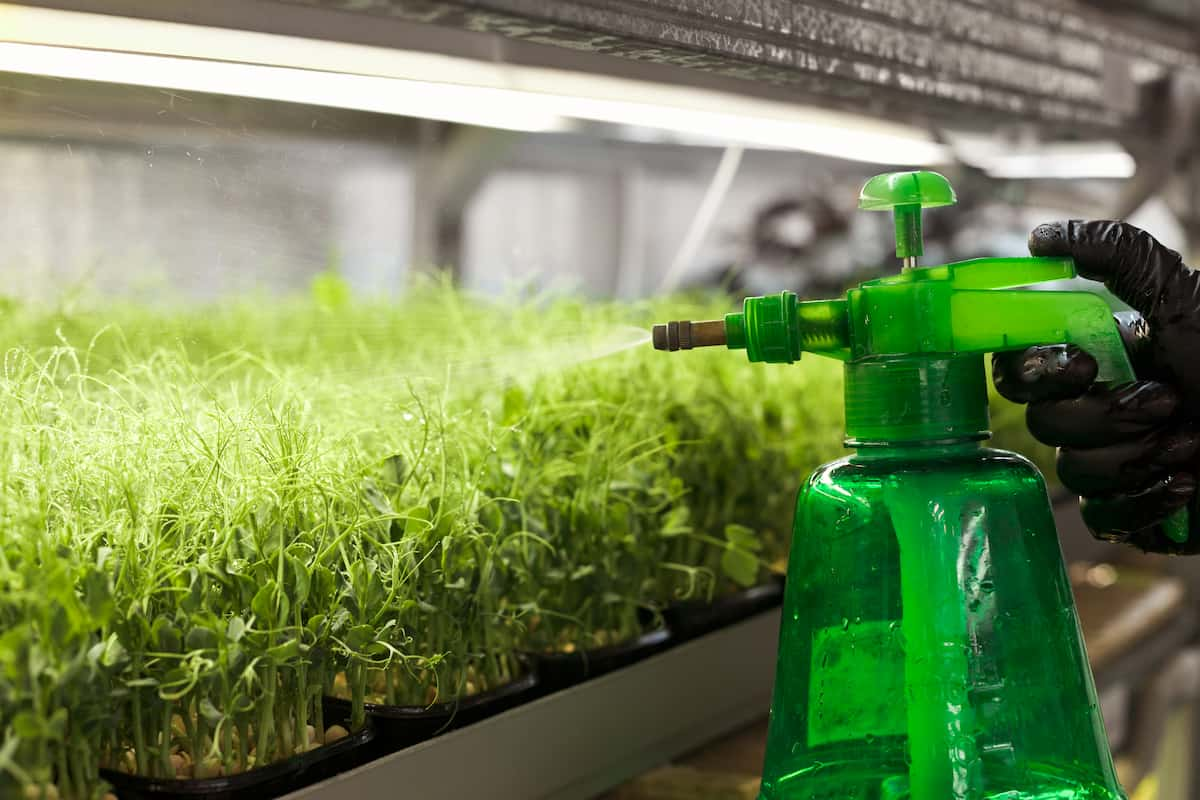
Covering your bowl with a wet paper towel or plastic wrap would be a good idea to keep the moisture in and let it sprout for another 12 to 24 hours. Microgreens should be planted on an even surface, but the soil shouldn’t be compacted. Seeds should be sprinkled across the surface of your soil and covered by about 1/8 inch of soil. Maintain the soil moist, but do not overwater; it can wash the seeds away. After watering, make sure there are no dry patches in the soil.
As the seeds germinate, you must keep the soil moist but not too wet. It may be possible to accomplish this depending on your climate and greenhouse. If your greenhouse is in a dry climate, you may want to cover your seeds with a plastic sheet. It is important not to overwater your microgreens, however. Ensure to water only when necessary, check your greenhouse’s ventilation, and adjust to prevent disease and pest infestation. Within a few days, tiny plants should begin to sprout on the surface of your soil.
Get ready to harvest those seedlings soon, as they will grow fast. It will take approximately 10 days for the plants to reach the nutrient content of microgreens. In the beginning, they are considered sprouts. Harvest every 10 to 14 days, depending on the species of plants you’re growing. Microgreens can be harvested as often as every two weeks if you grow them consistently in a greenhouse, so plan your planting schedule accordingly.
How to Harvest Microgreens in Greenhouses
Different people have different opinions about when microgreens should be grown. It is common for people to harvest them right after their first leaves or cotyledons appear. Those who wait until a few more leaves have opened can recognize the plant better. Because they appear as the plant’s adult leaves, this second flush of leaves is often called “true leaves.” Because some chefs prefer them younger, it depends on your market.
Depending on the plant type, harvesting can occur at different times. You should research the optimal harvest time for each variety you grow. Usually, it’s when the plant has the best appearance and flavor. You can harvest microgreens with sharp scissors, a harvesting knife, or a small hedge trimmer. Simply cut through the microgreen stems close to the soil using your chosen tool. There should be no dangling scraps of vegetation that will spoil quickly from these cuts.
In case you missed it: A Step-By-Step Guide for Growing Organic Microgreens

Conclusion
Microgreens have a short post-harvest life, which can lead to local demand and large profits if there is a market. Over the past few years, microgreens have become increasingly popular in restaurants and greenhouses. Furthermore, they have a high-profit margin, which is advantageous for farmers when harvests are low.
- Feed Your Flock for Less: Top 10 Tips to Save on Chicken Feed
- Ultimate Guide to Ossabaw Island Hog: Breeding, Raising, Diet, and Care
- Hatching Answers: The Top 10 Reasons Your Chickens Aren’t Laying Eggs
- Eggs and Economics: Breaking Down the Cost of Raising Backyard Chickens
- Defend Your Greens: Proven Methods to Keep Iguanas Out of Your Garden
- Ultimate Guide to Cinnamon Queen Chicken: A Comprehensive Guide for Beginners
- Ultimate Guide to California Tan Chicken: Breeding, Raising, Diet, Egg-Production and Care
- Ultimate Guide to Marsh Daisy Chicken: Breeding, Raising, Diet, and Care
- 10 Types of Chicken Farming Businesses You Can Start for Profits