Growing New Zealand Spinach in your garden can be a rewarding experience. Not only does it provide you with a nutritious addition to your meals, but it also allows you to connect with nature and cultivate something beautiful. With a little effort and dedication, you’ll soon have an abundant supply of tasty New Zealand Spinach right at your fingertips.

How to Grow New Zealand Spinach in Your Garden
Ideal Growing Conditions for New Zealand Spinach
New Zealand Spinach is a versatile and nutritious green that can thrive in a variety of growing conditions. To ensure successful cultivation, it’s important to provide the ideal environment for this leafy vegetable. First and foremost, New Zealand Spinach prefers full sun exposure. It needs at least six hours of direct sunlight daily to grow vigorously. However, it can also tolerate partial shade if necessary. Next, New Zealand Spinach requires well-draining soil that is rich in organic matter.
Before planting, mix your soil with organic matter to improve its fertility and drainage capabilities. In terms of temperature, this hardy plant thrives in cooler climates with average temperatures ranging from 10°C to 21°C. It can withstand light frosts but may struggle in extreme heat. Another crucial aspect of growing New Zealand Spinach is providing sufficient moisture. This plant requires consistent watering throughout its growth cycle. Aim for evenly moist soil without allowing it to become waterlogged. New Zealand Spinach appreciates regular feeding with a balanced fertilizer high in nitrogen content.
Right Location for Planting New Zealand Spinach in Your Garden
Choosing the right location for planting New Zealand Spinach in your garden is crucial for its growth and success. This leafy green vegetable thrives in full sun or partial shade, so it’s important to select a place that receives 6 hours of sunlight per day. When considering the location, make sure it has well-drained soil to prevent waterlogged roots and potential rot.
If planting directly into the soil, ensure that it is loose and friable by adding organic matter such as compost or aged manure. If you opt for container gardening, choose pots that are 12 inches deep to accommodate the plant’s root system. Be sure to use a high-quality potting mix that provides good drainage. Consider spacing when planting New Zealand Spinach. Give each plant ample room to grow and spread out its trailing vines without overcrowding neighboring plants.
Preparing the Soil for New Zealand Spinach Cultivation
When it comes to growing New Zealand Spinach in your garden, one of the most important steps is preparing the soil. The quality and fertility of your soil will directly impact the growth of your plants. Start by clearing any debris from the area where you plan to plant your New Zealand Spinach.
Next, ensure that the soil is well-drained. New Zealand Spinach prefers moist but not waterlogged conditions. If you have heavy clay soil, consider mixing organic matter to improve drainage. Testing the pH level of your soil is another essential step. Aim for a pH between 6.0 and 7.0 for optimal growth of New Zealand Spinach.
In case you missed it: 10 Steps to Grow Spinach in Aquaponics: How to Plant and Care for Aquaponic Spinach

Before planting, loosen up the top layer of soil using a garden fork or tiller. This will help promote root development and allow air circulation within the soil. To further enhance nutrient availability in the soil, consider adding a balanced organic fertilizer before planting. This will provide essential nutrients needed by your New Zealand Spinach plants throughout their growing cycle.
Planting New Zealand Spinach Seeds or Seedlings
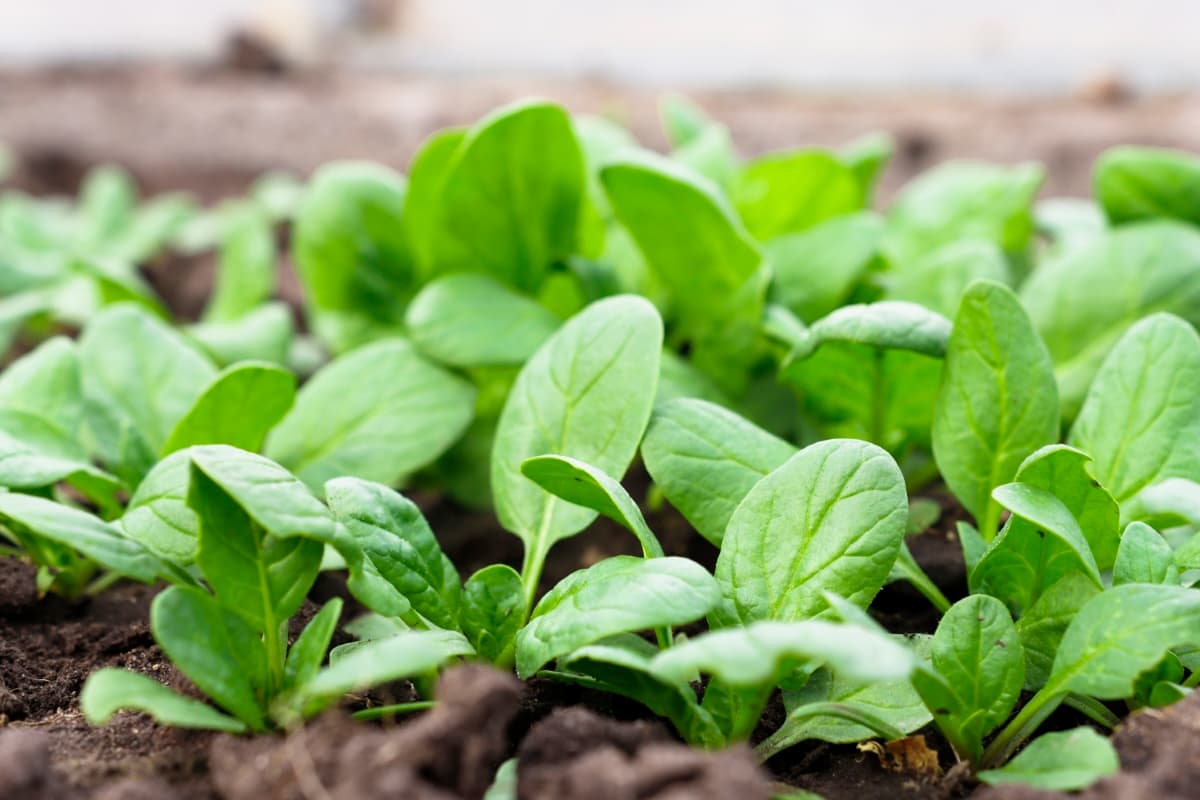
When it comes to growing New Zealand Spinach in your garden, you have two options: planting seeds or seedlings. If you choose to plant seeds, start by preparing the soil. Make sure it is well-drained and has been enriched with organic matter. Create furrows and sow the seeds thinly along them. Cover the seeds with a light layer of soil and gently press down. Keep the soil moist but not waterlogged during germination. In about 7-10 days, you should see little sprouts emerging from the soil.
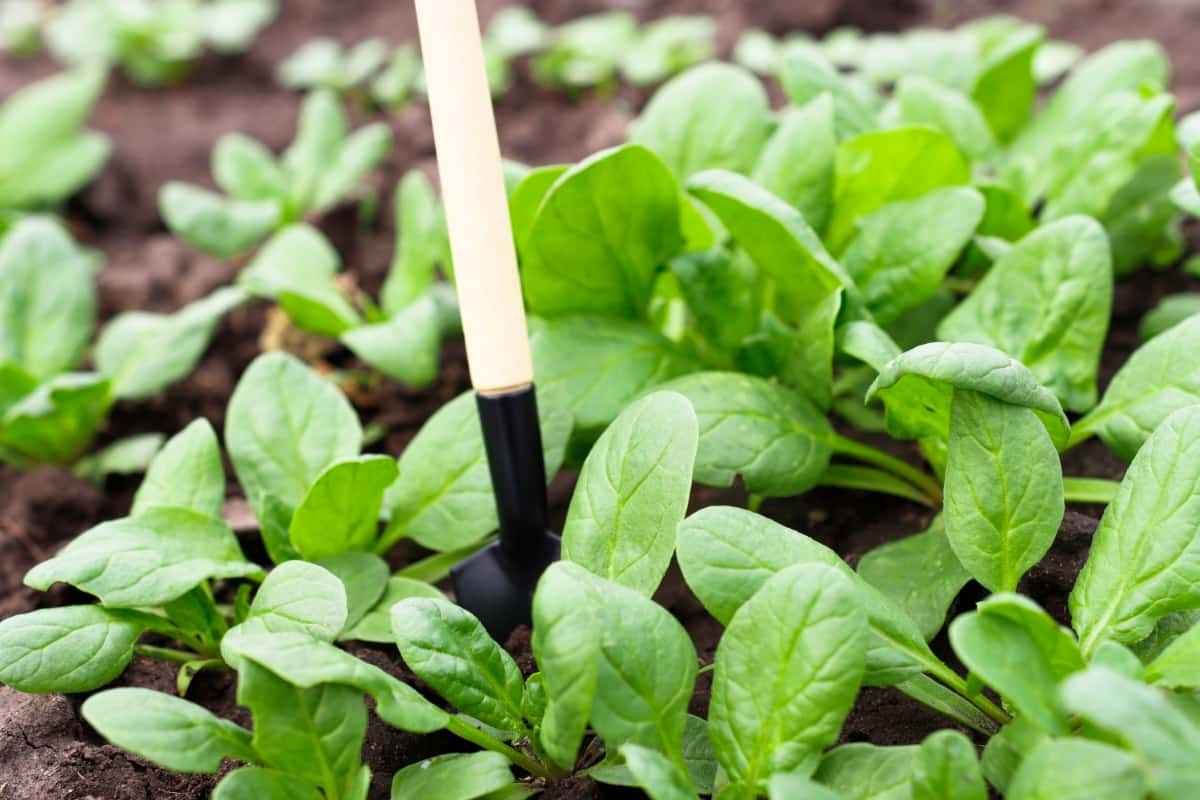
Thin out the seedlings once they are around 2 inches tall, leaving 6-8 inches between each plant. Alternatively, if you opt for seedlings, purchase healthy ones from a reputable nursery or start your own indoors using peat pots filled with potting mix. Transplant them into your garden when they are around 4-6 weeks old and all risk of frost has passed. Whichever method you choose, make sure to provide adequate sunlight (at least 6 hours per day) for optimal growth.
Watering and Irrigation Practices for New Zealand Spinach
Watering and irrigation are crucial practices when it comes to growing New Zealand Spinach. These leafy greens require consistent moisture throughout their growing season to thrive and produce abundant yields. To ensure proper watering, it is essential to keep the soil moist but not waterlogged.
When watering New Zealand Spinach, opt for a slow and deep watering method rather than a quick sprinkle. This allows the roots to absorb more water and promotes healthier growth. During hot summer months, you may need to increase the frequency of watering as evaporation rates rise. Aim for providing about 1-2 inches of water per week, adjusting based on weather conditions.
Fertilizing Techniques for New Zealand Spinach Growth
When it comes to fertilizing New Zealand Spinach, organic options are preferred. Compost or well-rotted manure can be mixed into the soil before planting to enrich it with essential nutrients. Additionally, applying a balanced organic fertilizer during the growing season can help promote healthy foliage and vigorous growth.
Pests and Diseases in New Zealand Spinach Plants
One common pest that affects this leafy green is the aphid. To combat aphids, you can introduce natural predators like ladybugs into your garden. Another potential problem is powdery mildew, which appears as a white powdery substance on the leaves. To prevent powdery mildew, make sure your plants have good air circulation by spacing them properly.
In case you missed it: How to Grow Spinach in Greenhouse: A Step-by-Step Guide for Seed to Harvest

Root rot is another issue that may affect New Zealand Spinach plants if they are overwatered or planted in poorly drained soil. To prevent root rot, ensure that your soil is well-drained and avoid overwatering. Slugs and snails are also known to munch on New Zealand Spinach leaves during damp weather conditions. You can protect these pests by setting up beer traps or using organic slug repellents.
Pruning and Harvesting New Zealand Spinach Leaves
When it comes to growing New Zealand Spinach in your garden, knowing when and how to prune and harvest the leaves is essential for maintaining a healthy plant and enjoying a bountiful yield. Pruning helps promote new growth while harvesting ensures you get the most out of your crop. To start, it’s important to understand that New Zealand Spinach is a fast-growing vine with thick, succulent leaves. When the vines reach about 6 inches in length, use clean shears or scissors to trim them back by about half.
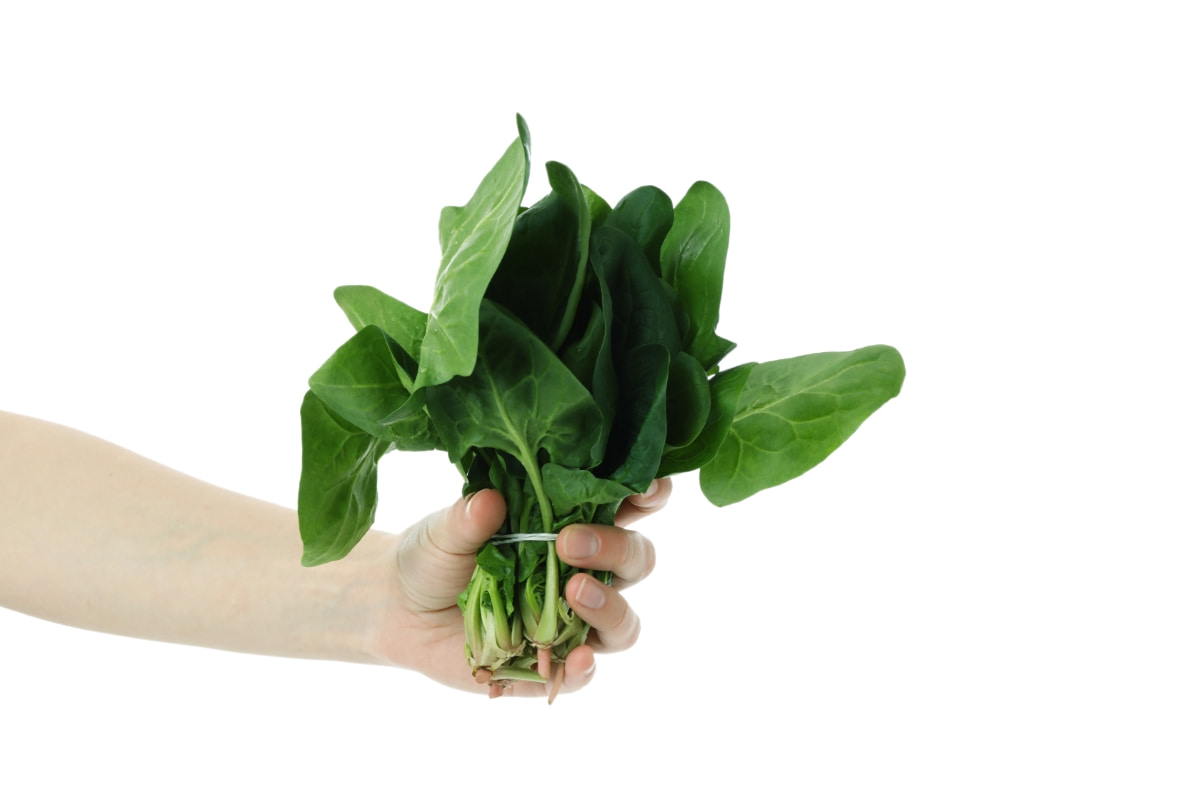
Harvesting the leaves can begin once they have reached a desirable size – typically around 4-6 inches long. Gently pluck the outermost leaves from each stem, being careful not to damage neighboring foliage or stems. This selective harvesting method allows for continuous regrowth throughout the growing season. Remember that New Zealand Spinach plants are sensitive to heat stress, so it’s best to harvest in the early morning or evening when temperatures are cooler. Avoid picking during peak sun hours, as this can lead to wilting or reduced flavor.
Tips for Maximizing Yield and Quality of New Zealand Spinach
- Adequate sunlight: New Zealand Spinach thrives in full sun, so ensure your garden bed gets 6-8 hours of direct sunlight each day.
- Proper spacing: Give each plant enough room to grow by spacing them about 12 inches apart.
- Regular watering: Keep the soil consistently moist but not waterlogged. Water deeply once or twice a week, especially during dry spells or hot weather, to promote healthy growth.
- Mulching benefits: Apply organic mulch around the plants to retain moisture, suppress weeds, and regulate soil temperature.
- Balanced fertilization: Use a balanced fertilizer with nitrogen, phosphorus, and potassium to provide nutrients for vigorous growth.
- Pest control measures: Monitor your plants regularly for signs of pests like aphids or slugs. If infestations occur, consider using natural pest control methods such as neem oil spray or introducing beneficial insects like ladybugs into your garden.
- Harvesting techniques: Harvest leaves when they reach a desirable size (around 4-6 inches) by cutting them off near the stem base with clean shears or scissors. Continuously harvesting outer leaves promotes new growth and prolongs the harvest period.
In case you missed it: How to Grow Spinach in Small Spaces: A Guide for Urban Gardeners

Conclusion
Growing New Zealand Spinach in your garden can be a rewarding and enjoyable experience. By providing the ideal growing conditions, choosing the right location, preparing the soil properly, and following proper planting techniques, you can ensure healthy growth and bountiful harvests. With these tips in mind, you are well-equipped to grow thriving New Zealand Spinach in your garden.
- Feed Your Flock for Less: Top 10 Tips to Save on Chicken Feed
- Ultimate Guide to Ossabaw Island Hog: Breeding, Raising, Diet, and Care
- Hatching Answers: The Top 10 Reasons Your Chickens Aren’t Laying Eggs
- Eggs and Economics: Breaking Down the Cost of Raising Backyard Chickens
- Defend Your Greens: Proven Methods to Keep Iguanas Out of Your Garden
- Ultimate Guide to Cinnamon Queen Chicken: A Comprehensive Guide for Beginners
- Ultimate Guide to California Tan Chicken: Breeding, Raising, Diet, Egg-Production and Care
- Ultimate Guide to Marsh Daisy Chicken: Breeding, Raising, Diet, and Care
- 10 Types of Chicken Farming Businesses You Can Start for Profits