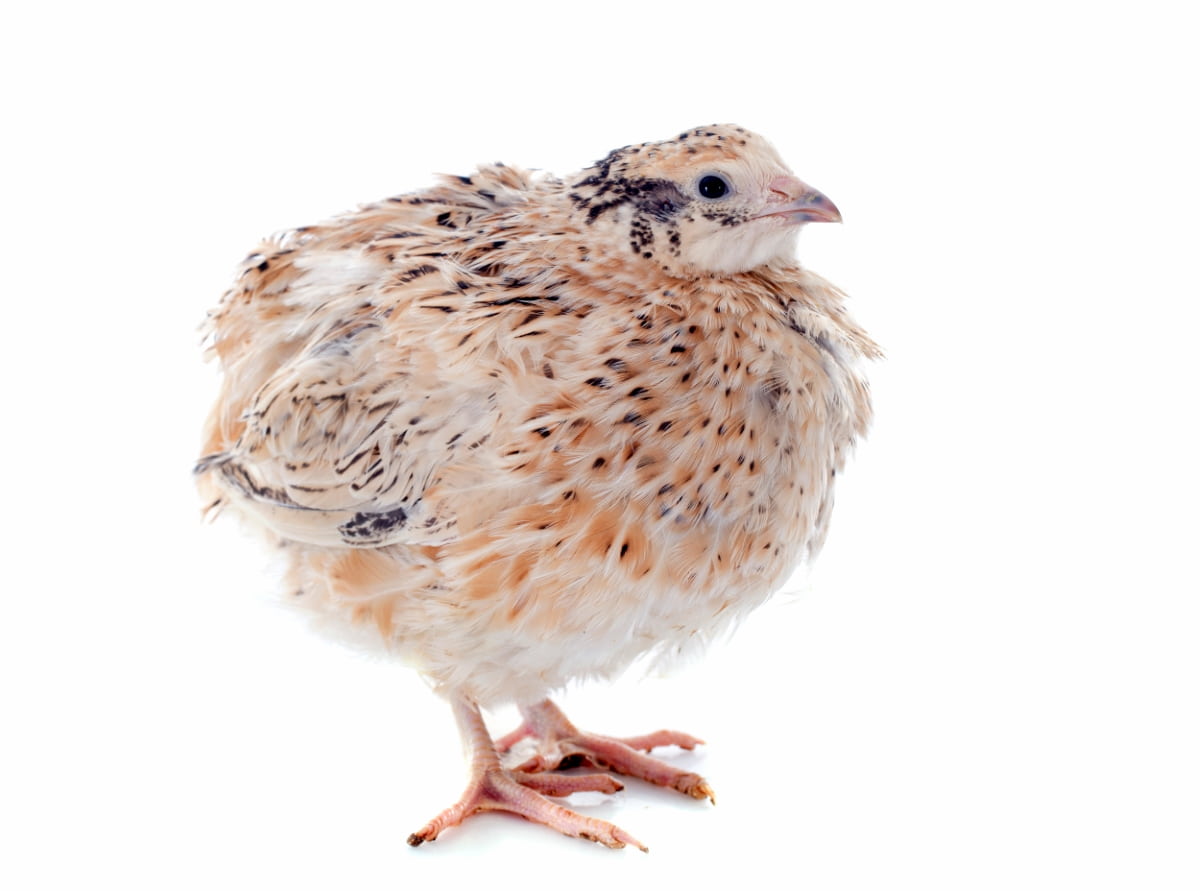
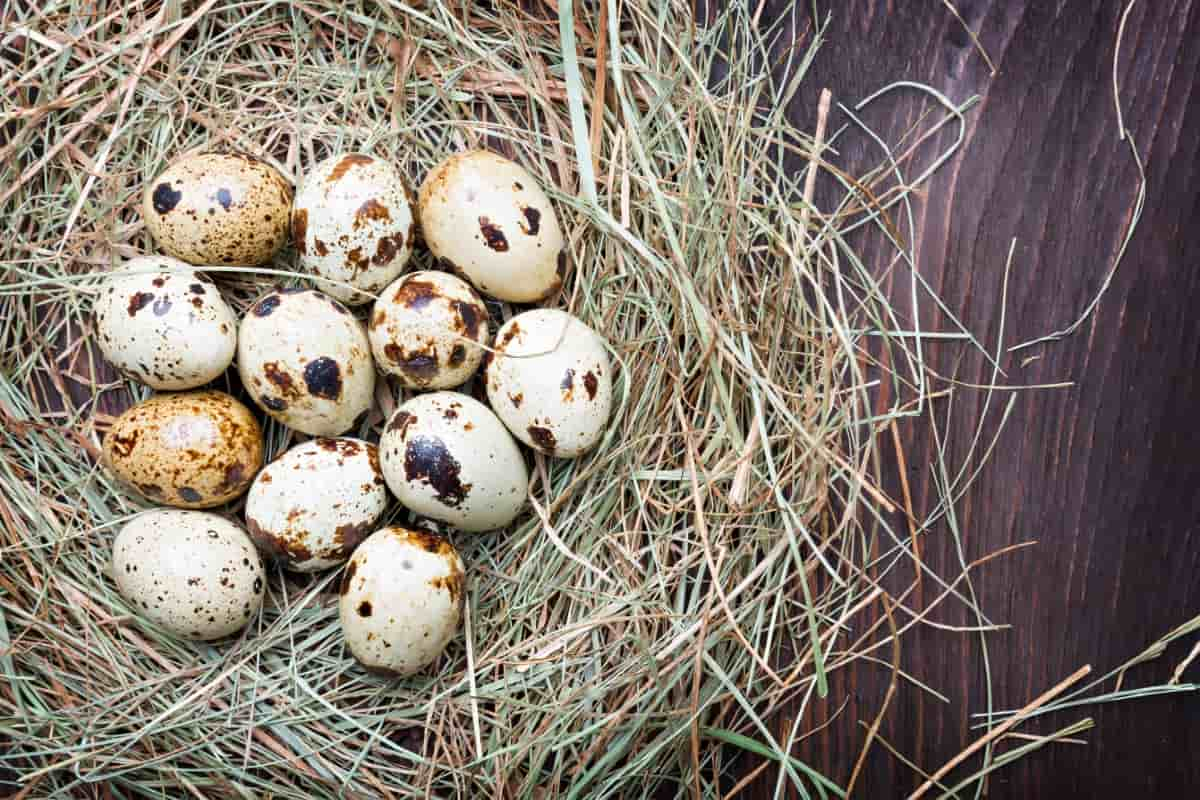
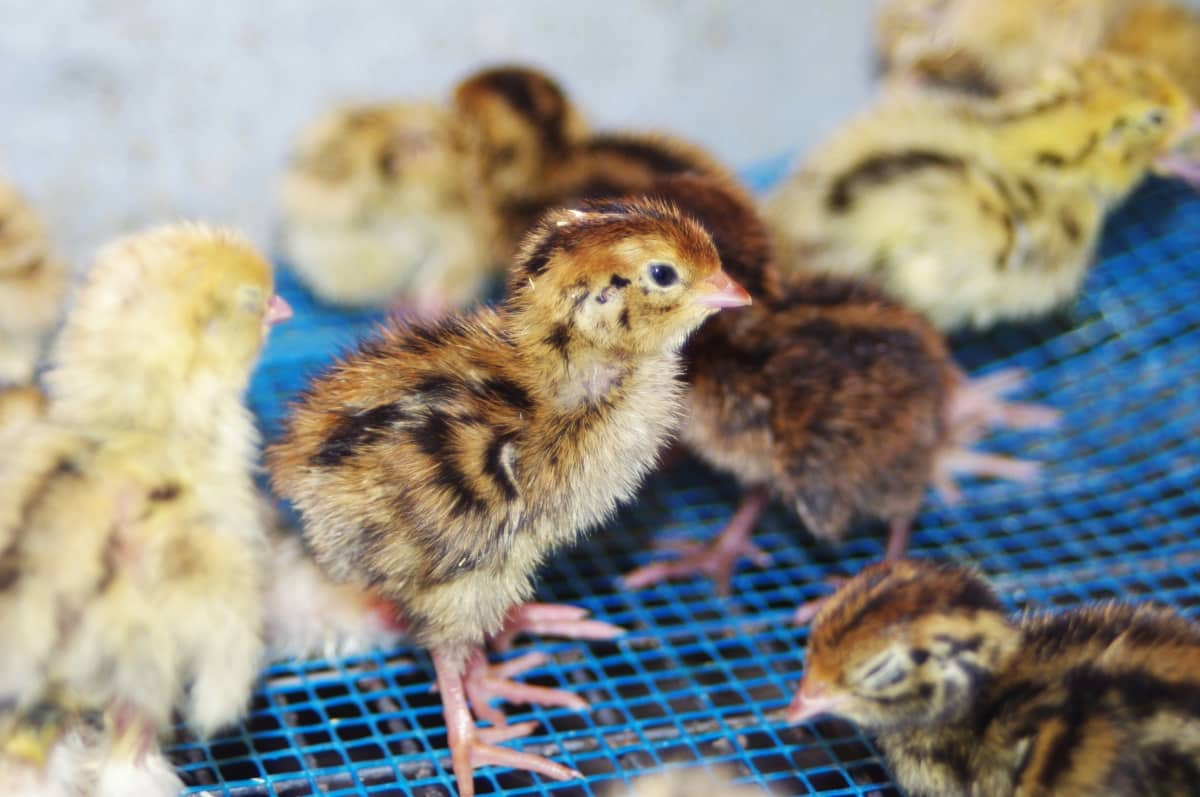
Incubating and hatching quail eggs is a fascinating and rewarding experience, whether you’re a hobbyist or looking to start a small-scale farming operation. With this comprehensive instruction guide, you’ll be taken through the process step by step, from selecting and storing eggs to maintaining the right incubation conditions and caring for your new hatchlings.

Incubating and Hatching Quail Eggs
Setting Up a Quail Egg Incubator: Equipment and Essentials
Choosing the right quail egg incubator is a crucial first step in your hatching journey. Several factors determine the quality and suitability of an incubator, including its capacity, automatic features (such as egg turning), and built-in hygrometer and thermometer for controlling humidity and temperature. The automatic features are particularly useful as they minimize the need for manual adjustments and thus reduce the risk of human error. The incubator should be set up in a room with stable conditions, free from drafts and fluctuations in temperature and humidity.
Optimal Temperature and Humidity Levels for Quail Egg Incubation
Maintaining precise quail egg incubation temperature and humidity levels is critical for successful hatching. The incubator temperature for quail eggs in Celsius should be maintained at around 37.5 degrees, with a variance not exceeding +/-0.5 degrees. Humidity is equally important in the hatching process. The quail egg incubation humidity level should be around 45% to 50% for the first 14 days, then increase to 65% in the last three days before hatching. These conditions closely mimic the natural incubation process in a mother quail’s nest, which is key to successful hatching.
How to Properly Candle Quail Eggs During Incubation
Candling is essential to the incubation process, allowing you to monitor the embryo’s development inside the egg. It involves shining a light onto the egg to see the shadows and outlines of the developing embryo. This method can detect problems, such as non-fertile eggs or dead embryos early on. These should be removed from the incubator to prevent contamination and ensure the health and safety of the remaining eggs.
Managing Ventilation and Airflow in a Quail Egg Incubator
Good airflow is a crucial component of successful quail egg incubation. The embryos need a fresh supply of oxygen for their growth and development and the removal of carbon dioxide that they produce. Most incubators have built-in ventilation systems, but you’ll need to ensure that these are properly maintained and not blocked by debris or dust. Regularly clean the incubator’s ventilation slots and ensure the eggs do not block them.
Selecting Healthy and Fertile Quail Eggs for Incubation
Healthy and fertile quail eggs are the basis of successful incubation. The eggs should be of standard size, not too small or too large, and should not have thin shells or any deformities. A good way to ensure fertility is to source eggs from a reliable breeder or supplier who practices sound breeding methods. After receiving the eggs, learn how to properly store quail eggs for hatching. They should be stored in a cool, humid place, ideally at a temperature of 13-15 degrees Celsius, and should not be washed as this can remove the protective bloom.
In case you missed it: Feed Management in Quail Farming: Feeding Plan, Feed Formula, and Feed Requirements

Understanding the Incubation Period and Hatching Process of Quail Eggs
The incubation period for quail eggs is typically 17-18 days, but it can vary slightly depending on the species and incubation conditions. Hatching quail eggs naturally is a passive process, with the mother quail doing most of the work. However, when using an incubator, you must play the mother’s role, carefully managing temperature and humidity conditions, turning the eggs, and monitoring the eggs’ health.
Around day 15, the eggs should be moved to the hatcher or, if the same incubator is used, cease the egg turning and increase humidity. The chicks should start pipping (breaking the shell) on day 17 or 18. Once hatched, they should be left in the incubator for about 24 hours to dry off and gain strength.
Troubleshooting Common Issues when Incubating Quail Eggs
Despite best efforts, issues may arise during the incubation process. Unhatched eggs can be due to various factors, including inappropriate temperature or humidity, improper turning, or genetic issues. Infertile eggs or early embryo death can be identified through candling and should be removed from the incubator.
Humidity issues can lead to chicks being “shrink-wrapped” in their shells, where low humidity causes the membrane inside the shell to stick to the chick, making it difficult for the chick to hatch. Monitoring and adjusting conditions as needed is crucial to avoid these problems.
Turning and Rotating Quail Eggs for Successful Incubation
Turning and rotating the eggs is a crucial part of the incubation process. In a natural setting, mother quails turn their eggs multiple times a day to prevent the embryo from sticking to the shell, which can lead to deformities or death. In an incubator, automatic turners can do this job, but if you are learning how to hatch quail eggs without an incubator, the eggs need to be turned manually at least three to five times a day. With clean hands, this should be done gently to avoid transferring bacteria or damaging the eggs.
Caring for Hatched Quail Chicks: Brooder Setup and Essentials
Once the chicks are dry and strong enough, they should be transferred from the incubator to a brooder. A brooder is a safe, warm space that mimics the conditions under a mother quail. The brooder should be equipped with a heat source to maintain a temperature of 35-37 degrees Celsius for the first week, gradually reduced over the following weeks. The brooder should also contain a feeder and waterer designed for chicks, ensuring they are low enough for them to access but designed to prevent them from falling in or fouling their food or water.
Transitioning Quail Chicks from Incubator to A Permanent Enclosure
The transition from brooder to a more permanent enclosure should be gradual and consider the chicks’ age, size, and feather development. Initially, they need a temperature-controlled environment, but they can tolerate cooler temperatures as they grow and develop feathers. A smooth transition process includes gradually decreasing the brooder temperature, introducing the chicks to their new food gradually, and ensuring the new enclosure is secure from predators. Following these steps and maintaining a watchful eye, you can successfully incubate and hatch quail eggs, providing a rewarding and educational experience.
In case you missed it: Top 10 Quail Diseases: Symptoms, Causes, Prevention, and Control

Conclusion
Incubating and hatching quail eggs is a multifaceted and intricate process that requires precision, patience, and a keen understanding of the conditions necessary for success. Every step is crucial from selecting the perfect quail egg incubator to understanding the optimal incubation temperature for quail eggs in Celsius. It’s not only about incubating and hatching; it’s also about providing the best possible care to the hatchlings and ensuring their successful transition from the incubator to their new home.
- Feed Your Flock for Less: Top 10 Tips to Save on Chicken Feed
- Ultimate Guide to Ossabaw Island Hog: Breeding, Raising, Diet, and Care
- Hatching Answers: The Top 10 Reasons Your Chickens Aren’t Laying Eggs
- Eggs and Economics: Breaking Down the Cost of Raising Backyard Chickens
- Defend Your Greens: Proven Methods to Keep Iguanas Out of Your Garden
- Ultimate Guide to Cinnamon Queen Chicken: A Comprehensive Guide for Beginners
- Ultimate Guide to California Tan Chicken: Breeding, Raising, Diet, Egg-Production and Care
- Ultimate Guide to Marsh Daisy Chicken: Breeding, Raising, Diet, and Care
- 10 Types of Chicken Farming Businesses You Can Start for Profits