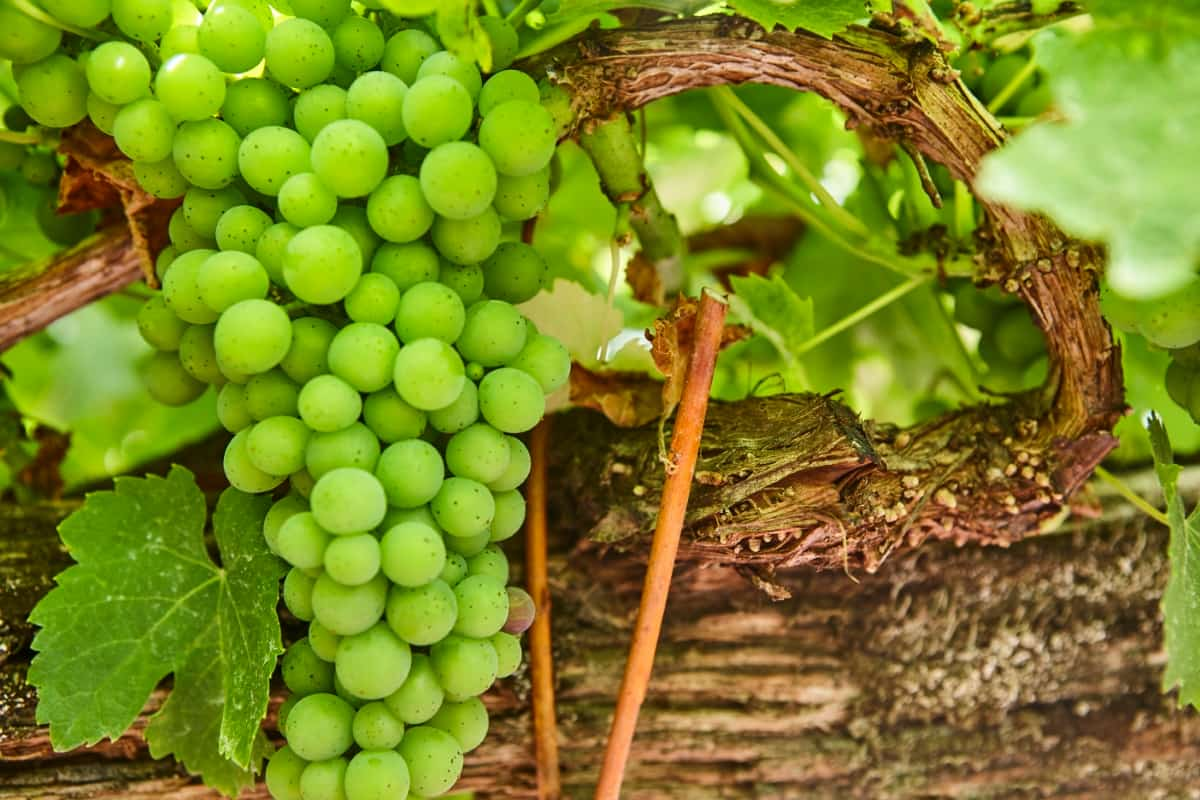
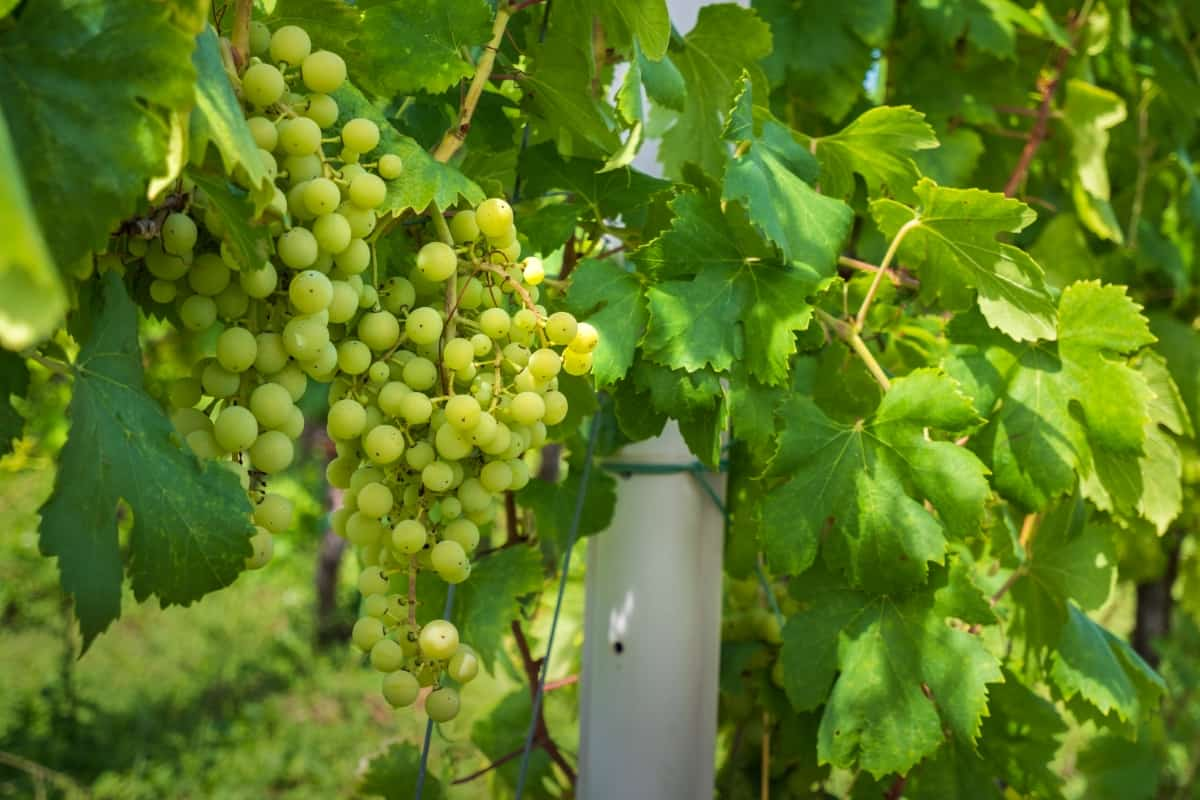
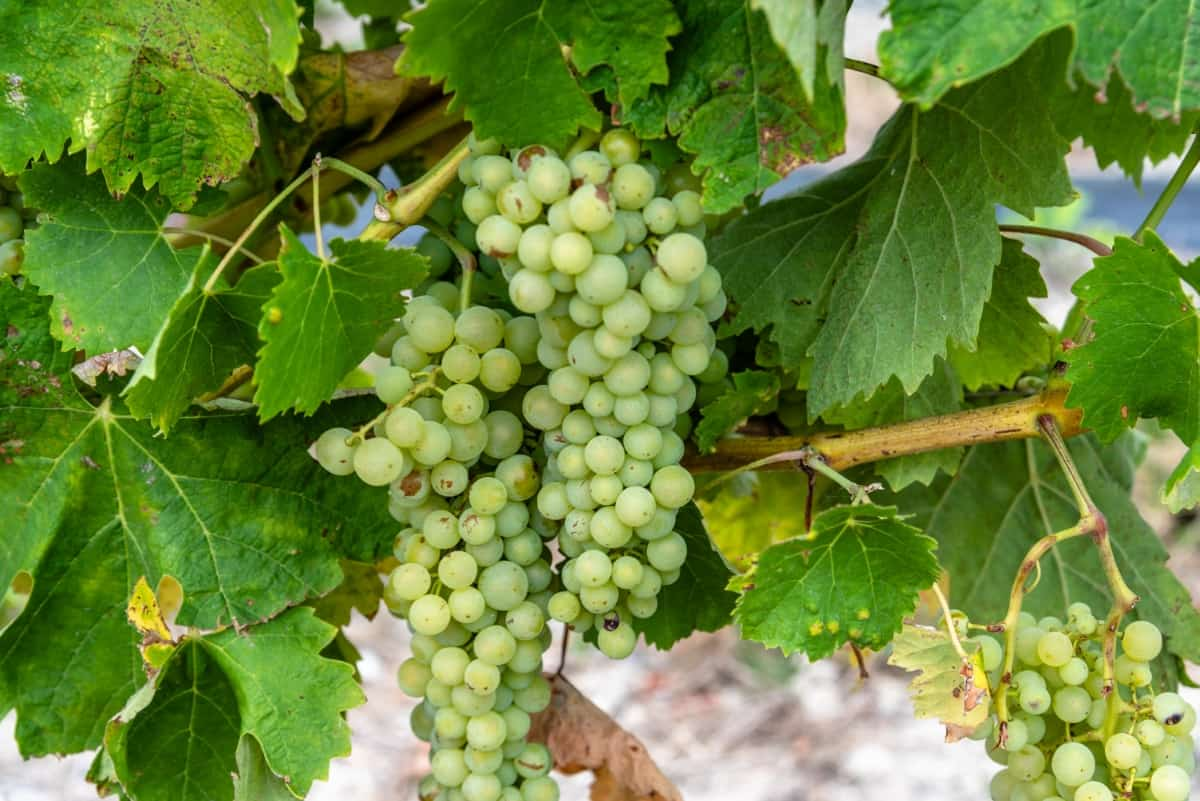
Niagara (Vitis labrusca) is the leading green grape grown in the United States. Not only do Niagara grapes offer a burst of sweet and tangy flavor, but they also bring several benefits to your garden and overall well-being. Cultivating Niagara Grapes in your garden adds aesthetic appeal to your outdoor space.

Growing Niagara Grapes
Choosing the Right Variety
Selecting a grapevine that suits your climate and preferences can greatly impact the success of your harvest. Niagara grapes are known for their cold tolerance, but some varieties may fare better in certain regions than others. Researching local recommendations or consulting with experienced growers can help guide you toward the best choice for your specific location.
Additionally, it’s worth considering whether you prefer seedless or seeded varieties. Seedless Niagara grapes are convenient for snacking straight from the vine. At the same time, seeded varieties tend to be more traditional and provide an added texture element when used in cooking or winemaking.
Planting Your Tree
Timing
In general, spring or fall are the best seasons for planting. In the spring, aim to plant your tree after the last frost has passed. This will give it enough time to establish its plant roots before the hot summer months arrive. Fall planting is also a viable option, as long as you do so at least 4-6 weeks before the first expected frost date.
Location
Location plays a major role in the successful growth of Niagara grapes in home gardens. These grapes thrive best in areas with full sun exposure for at least 6-8 hours a day. So, when choosing the perfect spot for your grapevine, make sure it receives ample sunlight. Avoid planting your grapevines near structures or dense vegetation that may obstruct airflow.
Soil
It’s important to ensure that the soil you choose for planting your Niagara Grape vines is well-draining. Grapes prefer soil that allows excess water to flow away easily, as they don’t like their roots sitting in soggy conditions. Additionally, grapes thrive best in slightly acidic soil with a pH level of 5.5 and 6.5.
Propagation Methods
One common propagation method of Niagara grapes is by taking cuttings from an existing grapevine. Start by selecting healthy vines with strong growth and no signs of disease or pests. Cut a section of the vine about 8-12 inches long, making sure to include at least two nodes (where leaves emerge). Remove any plant leaves from the bottom half of the cutting.
Next, dip the bottom end of the cutting in rooting hormone powder to promote root development. Plant the cutting in a potting mix, burying it about halfway into the soil. Keep the soil moist but not waterlogged, and locate it in a warm location with indirect sunlight.
Another propagation method is layering, which involves bending a low-growing branch down onto the ground and covering part of it with soil while still attached to its parent plant. Over time, roots will form where the stem touches the soil, allowing you to separate and transplant it as a new vine.
You can propagate Niagara grapes by grafting them onto rootstock. This technique involves joining two different grape plants together so that they grow as one unified plant. It requires some skill and knowledge but can be highly effective for ensuring specific characteristics or disease resistance.
Watering and Mulching
Proper watering ensures that the grape plants receive enough moisture to thrive, while mulching helps to conserve water and control weeds. When it comes to watering Niagara grapevines, it’s important to strike a balance. The best approach is to water deeply but infrequently, allowing the soil to dry out.
Mulching around the base of the grapevine is another key practice for successful cultivation. An organic mulch layer helps retain moisture in the soil and suppresses weed growth. It also acts as a layer, protecting the roots from extreme temperatures.
In case you missed it: The Ultimate Guide to Growing Trollinger Grapes in Home Gardens

Fertilizing
Proper fertilization provides the necessary nutrients for growth, helps to maintain soil fertility, and promotes vigorous plant development. When it comes to fertilizing grapes, it’s important to strike a balance. Too much fertilizer can affect excessive vegetative growth at the expense of grape fruit production, while too little can result in nutrient deficiencies and poor overall plant health.
To determine the appropriate amount of fertilizer for your Niagara grapes, you should conduct a soil test. However, once they begin bearing fruit, phosphorus and potassium become more important for proper fruit development. It’s best to use a balanced fertilizer that contains all three major nutrients – nitrogen (N), phosphorus (P), and potassium (K) – in appropriate ratios.
Pruning and Training
Proper pruning helps maintain the vine shape, promotes airflow, and allows sunlight to reach all parts of the plant. It also helps remove any dead or diseased wood, preventing the spread of infections. Start by pruning your Niagara grapevines in late winter or early spring when they are dormant.
As your vines grow, use a trellis system to support them and guide their growth. This will help prevent tangled branches and make it easier for you to manage them during maintenance tasks like spraying or harvesting. During the summer months, continue to monitor your vines for excessive growth and prune accordingly.
Pest and Disease Management
These plants can be susceptible to various pests and diseases that can damage the vines and reduce fruit production. Taking proactive measures to prevent and control these issues is crucial for a successful harvest. One common pest that affects Niagara grapes is the grape berry moth. Another challenge for grape growers is fungal diseases such as powdery mildew and black rot.
In addition to grape pests and diseases, other general garden pests like aphids, slugs, or snails may also attack your Niagara vines. Implementing organic pest control methods such as using neem oil or introducing beneficial insects like ladybugs can help keep these guests at bay.
Remember that prevention is important when it comes to managing pests and diseases in your Niagara grapevine. Regularly inspecting your plants, maintaining proper sanitation practices, and providing adequate airflow around the vines through pruning techniques are all important steps toward a healthy crop.
When and How to Harvest
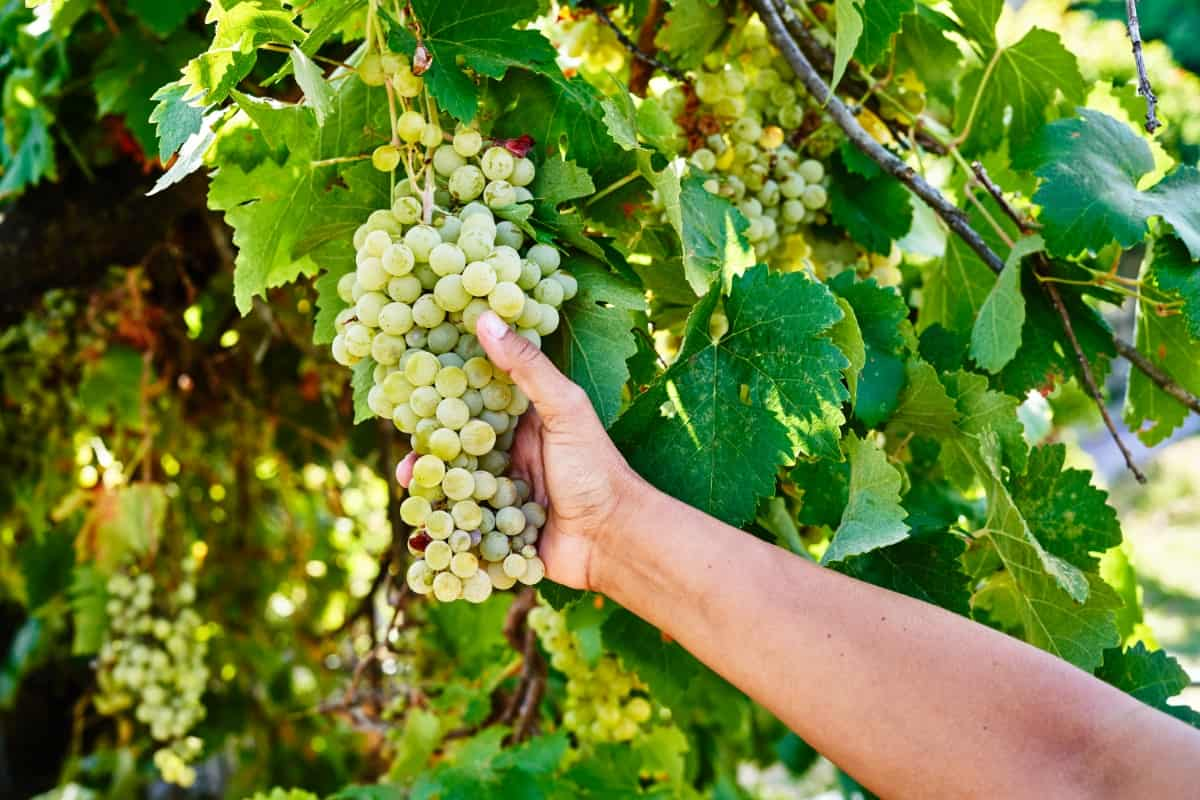
The right time to harvest Niagara grapes depends on the desired sweetness level and color you prefer. Generally, Niagara grapes are ready for picking between late August and early September. To determine if they’re ripe enough, gently squeeze a few berries – they should be plump and slightly soft. Be careful not to damage the clusters or individual berries during this process.
When harvesting, use sharp pruning shears or scissors to cut the entire cluster from the vine, leaving a short stem attached. It’s essential to handle the clusters carefully to avoid bruising or damaging the fruit.
In case you missed it: The Ultimate Guide to Growing Flame Seedless Grapes in Home Gardens

Winter Care
During the cold winter months, it is crucial to provide proper protection to your Niagara grape plants. One important aspect of winter care is pruning. Before the first frost hits, trim back any dead or damaged branches to prevent disease spread and encourage new growth in the upcoming season.
Regular watering is still necessary even during winter. Although grapevines are dormant at this time, they still need some hydration to stay healthy. However, be careful not to overwater the grape plant, as excessive moisture can affect root rot.
Growing in Containers
For selecting a container for your Niagara grape plant, make sure it has good drainage holes. A 15-gallon pot should be sufficient, but larger options are available if you have the space.
Planting in containers requires attention to soil quality and moisture levels. Fertilizing your container-grown Niagara grapes is also important for optimal growth and fruit production. Apply a balanced fertilizer every 4 weeks during the growing season according to package instructions. Pest management may be easier when growing Niagara grapes in containers as opposed to traditional gardens since they are elevated off of the ground, where pests can access them more easily.
Yield
The yield of Niagara grapes can vary depending on several factors, such as the age and health of the vine, growing conditions, and proper care. On average, a mature Niagara grapevine can produce around 15-20 pounds of grapes per year. However, this amount can increase or decrease based on various circumstances.
In case you missed it: Seedless Grapes Crop Profile: Cultivation Practices, Varieties, Fertilizers, and Yield

Conclusion
Growing Niagara grapes in home gardens offers a multitude of benefits and is becoming increasingly popular among gardening enthusiasts. Growing your own Niagara Grapes allows you to have complete control over the cultivation process. Make sure no harmful chemicals are used on your grape plants. This means that you’ll be able to enjoy organic and healthier grapes straight from your backyard.
- Feed Your Flock for Less: Top 10 Tips to Save on Chicken Feed
- Ultimate Guide to Ossabaw Island Hog: Breeding, Raising, Diet, and Care
- Hatching Answers: The Top 10 Reasons Your Chickens Aren’t Laying Eggs
- Eggs and Economics: Breaking Down the Cost of Raising Backyard Chickens
- Defend Your Greens: Proven Methods to Keep Iguanas Out of Your Garden
- Ultimate Guide to Cinnamon Queen Chicken: A Comprehensive Guide for Beginners
- Ultimate Guide to California Tan Chicken: Breeding, Raising, Diet, Egg-Production and Care
- Ultimate Guide to Marsh Daisy Chicken: Breeding, Raising, Diet, and Care
- 10 Types of Chicken Farming Businesses You Can Start for Profits